


CK AERO Alchemy Pro Builder's Kit Foam Cores
 05-24-2022, 06:01 PM
#26

some progress from right now:
I did the first stab.
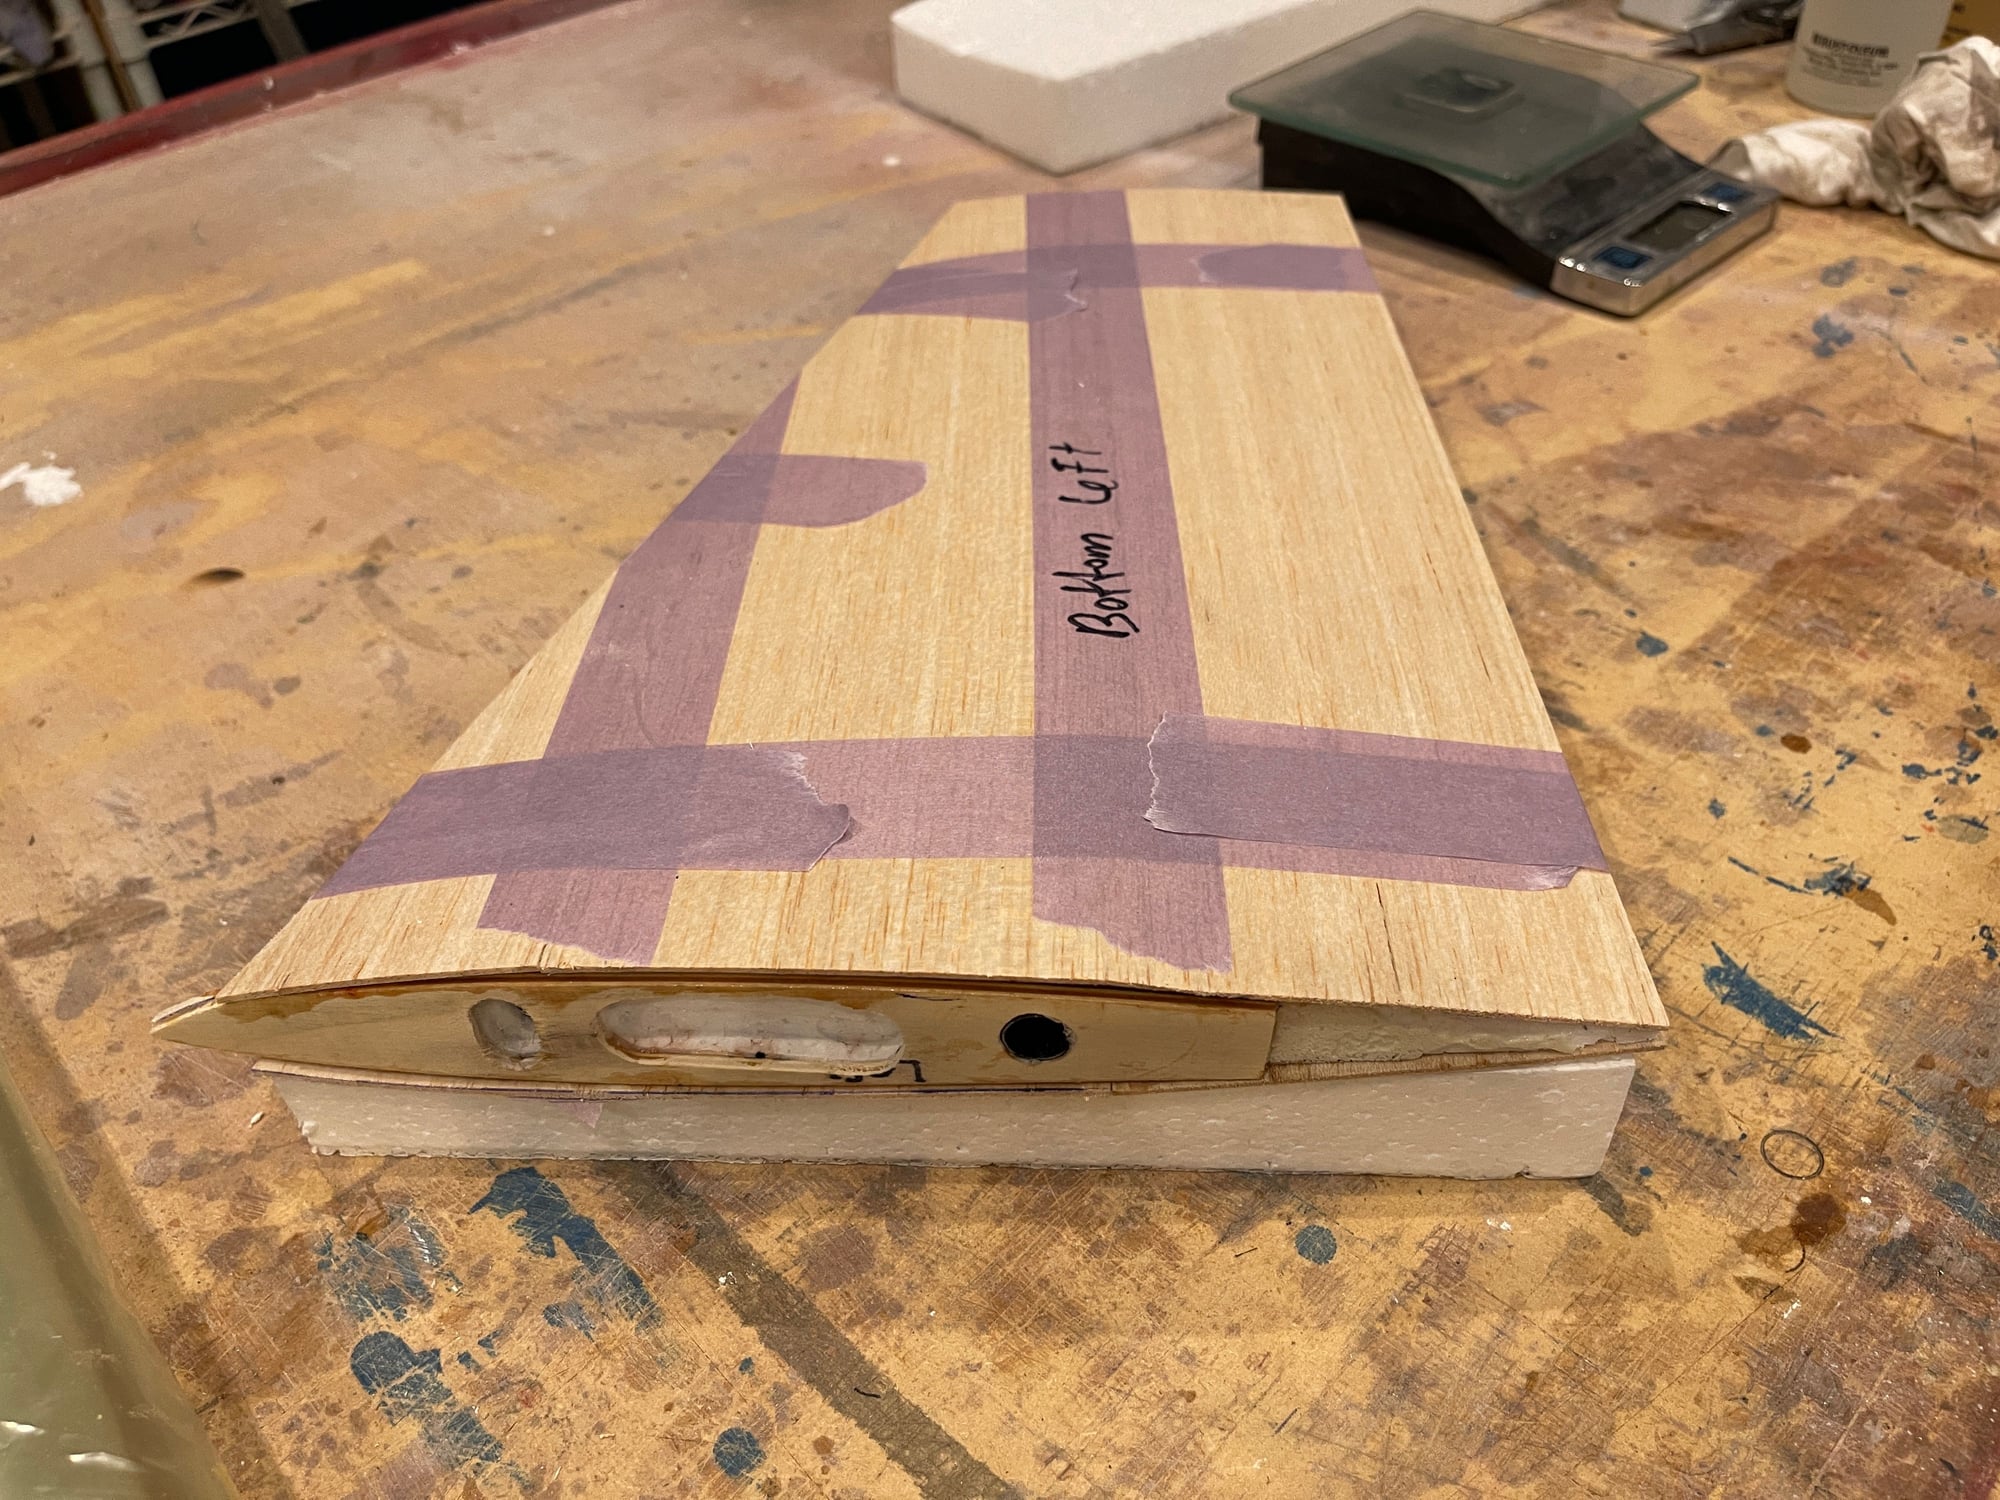
just to show all the small hard points in place and now ready to glue the skins onto the stab,
I will do one stab at a time.
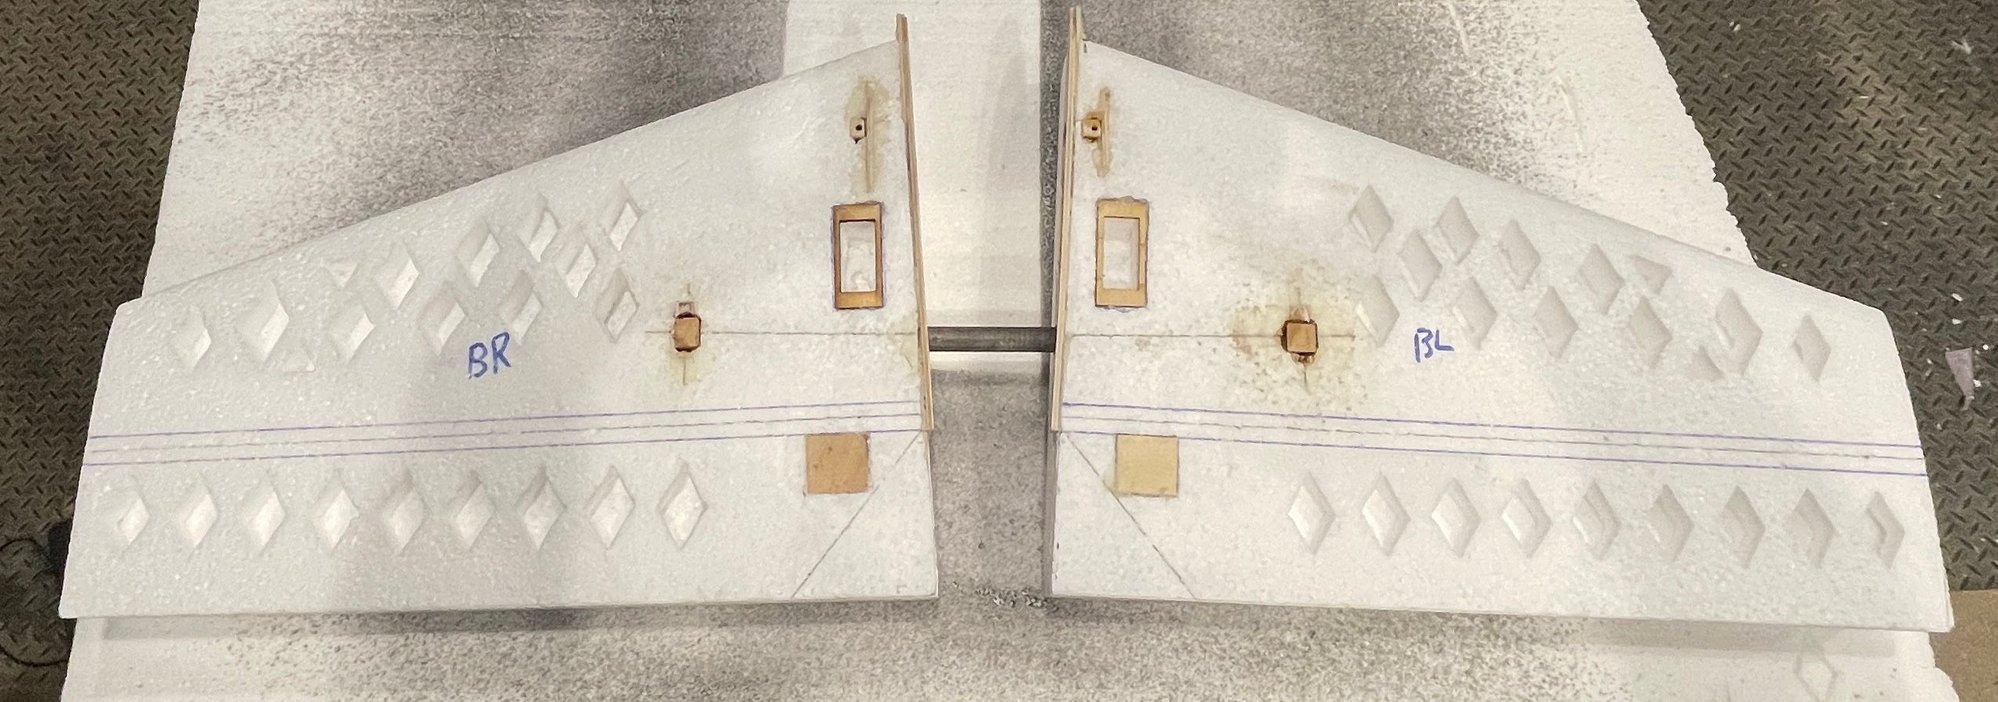
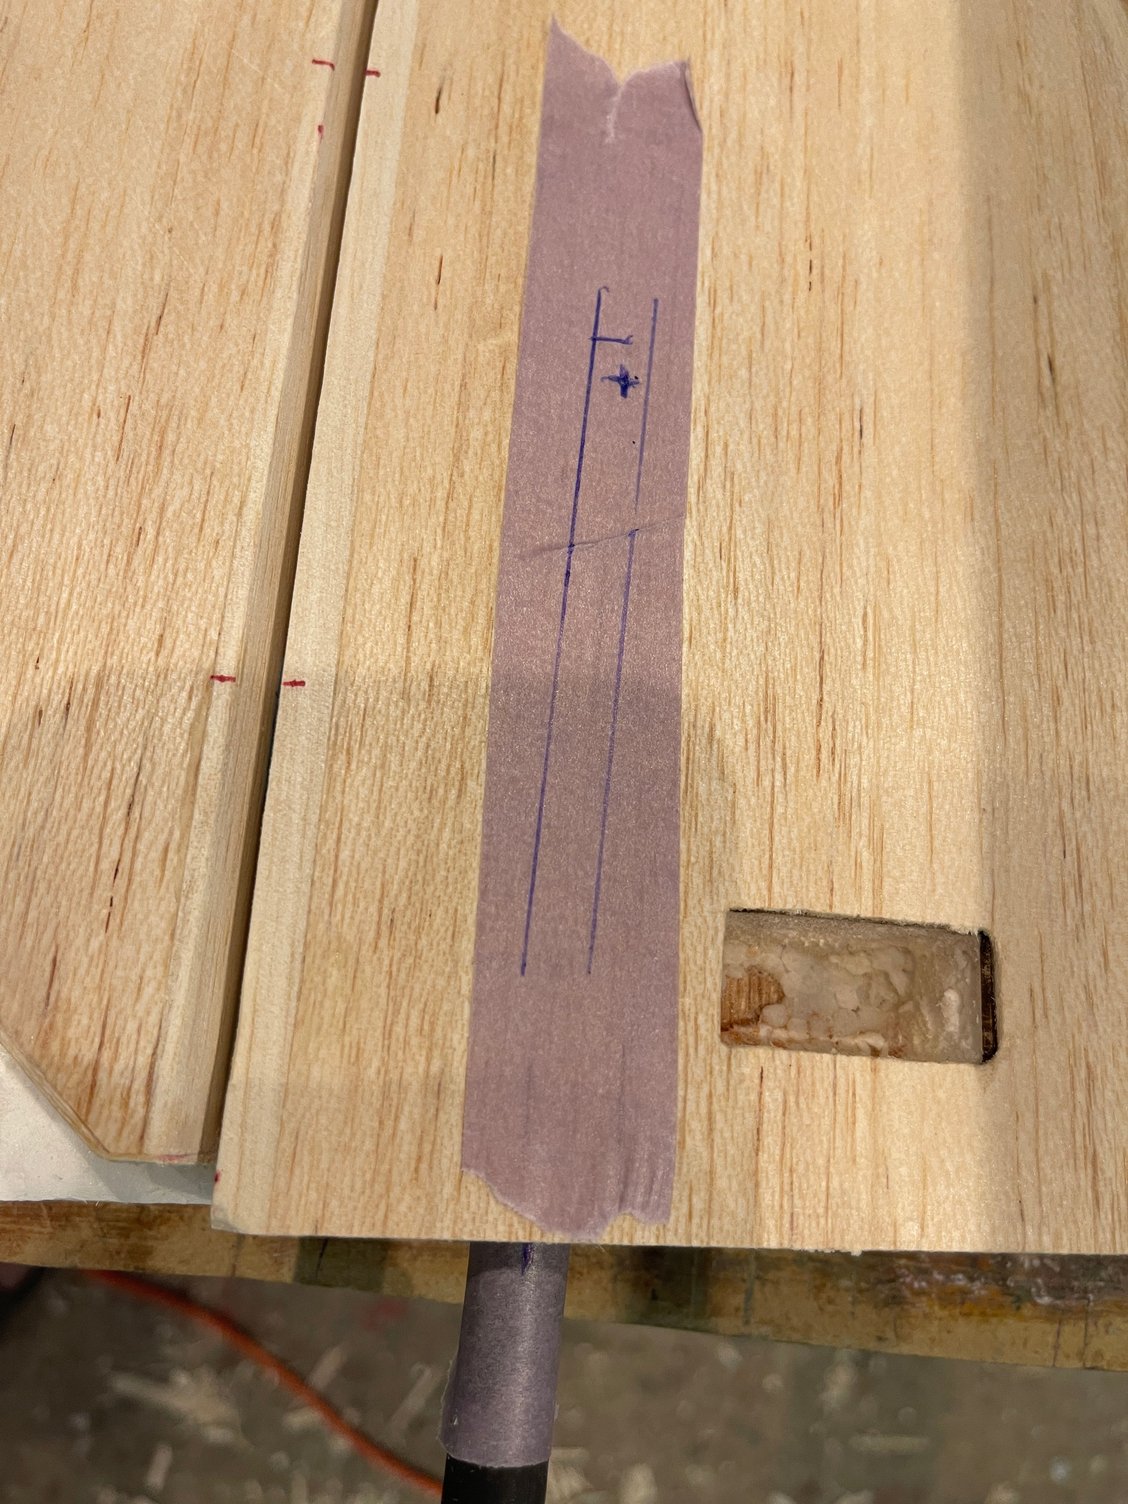
hard points for the control horns, stab tube screws, and holes for the setting of the stab adjusters.
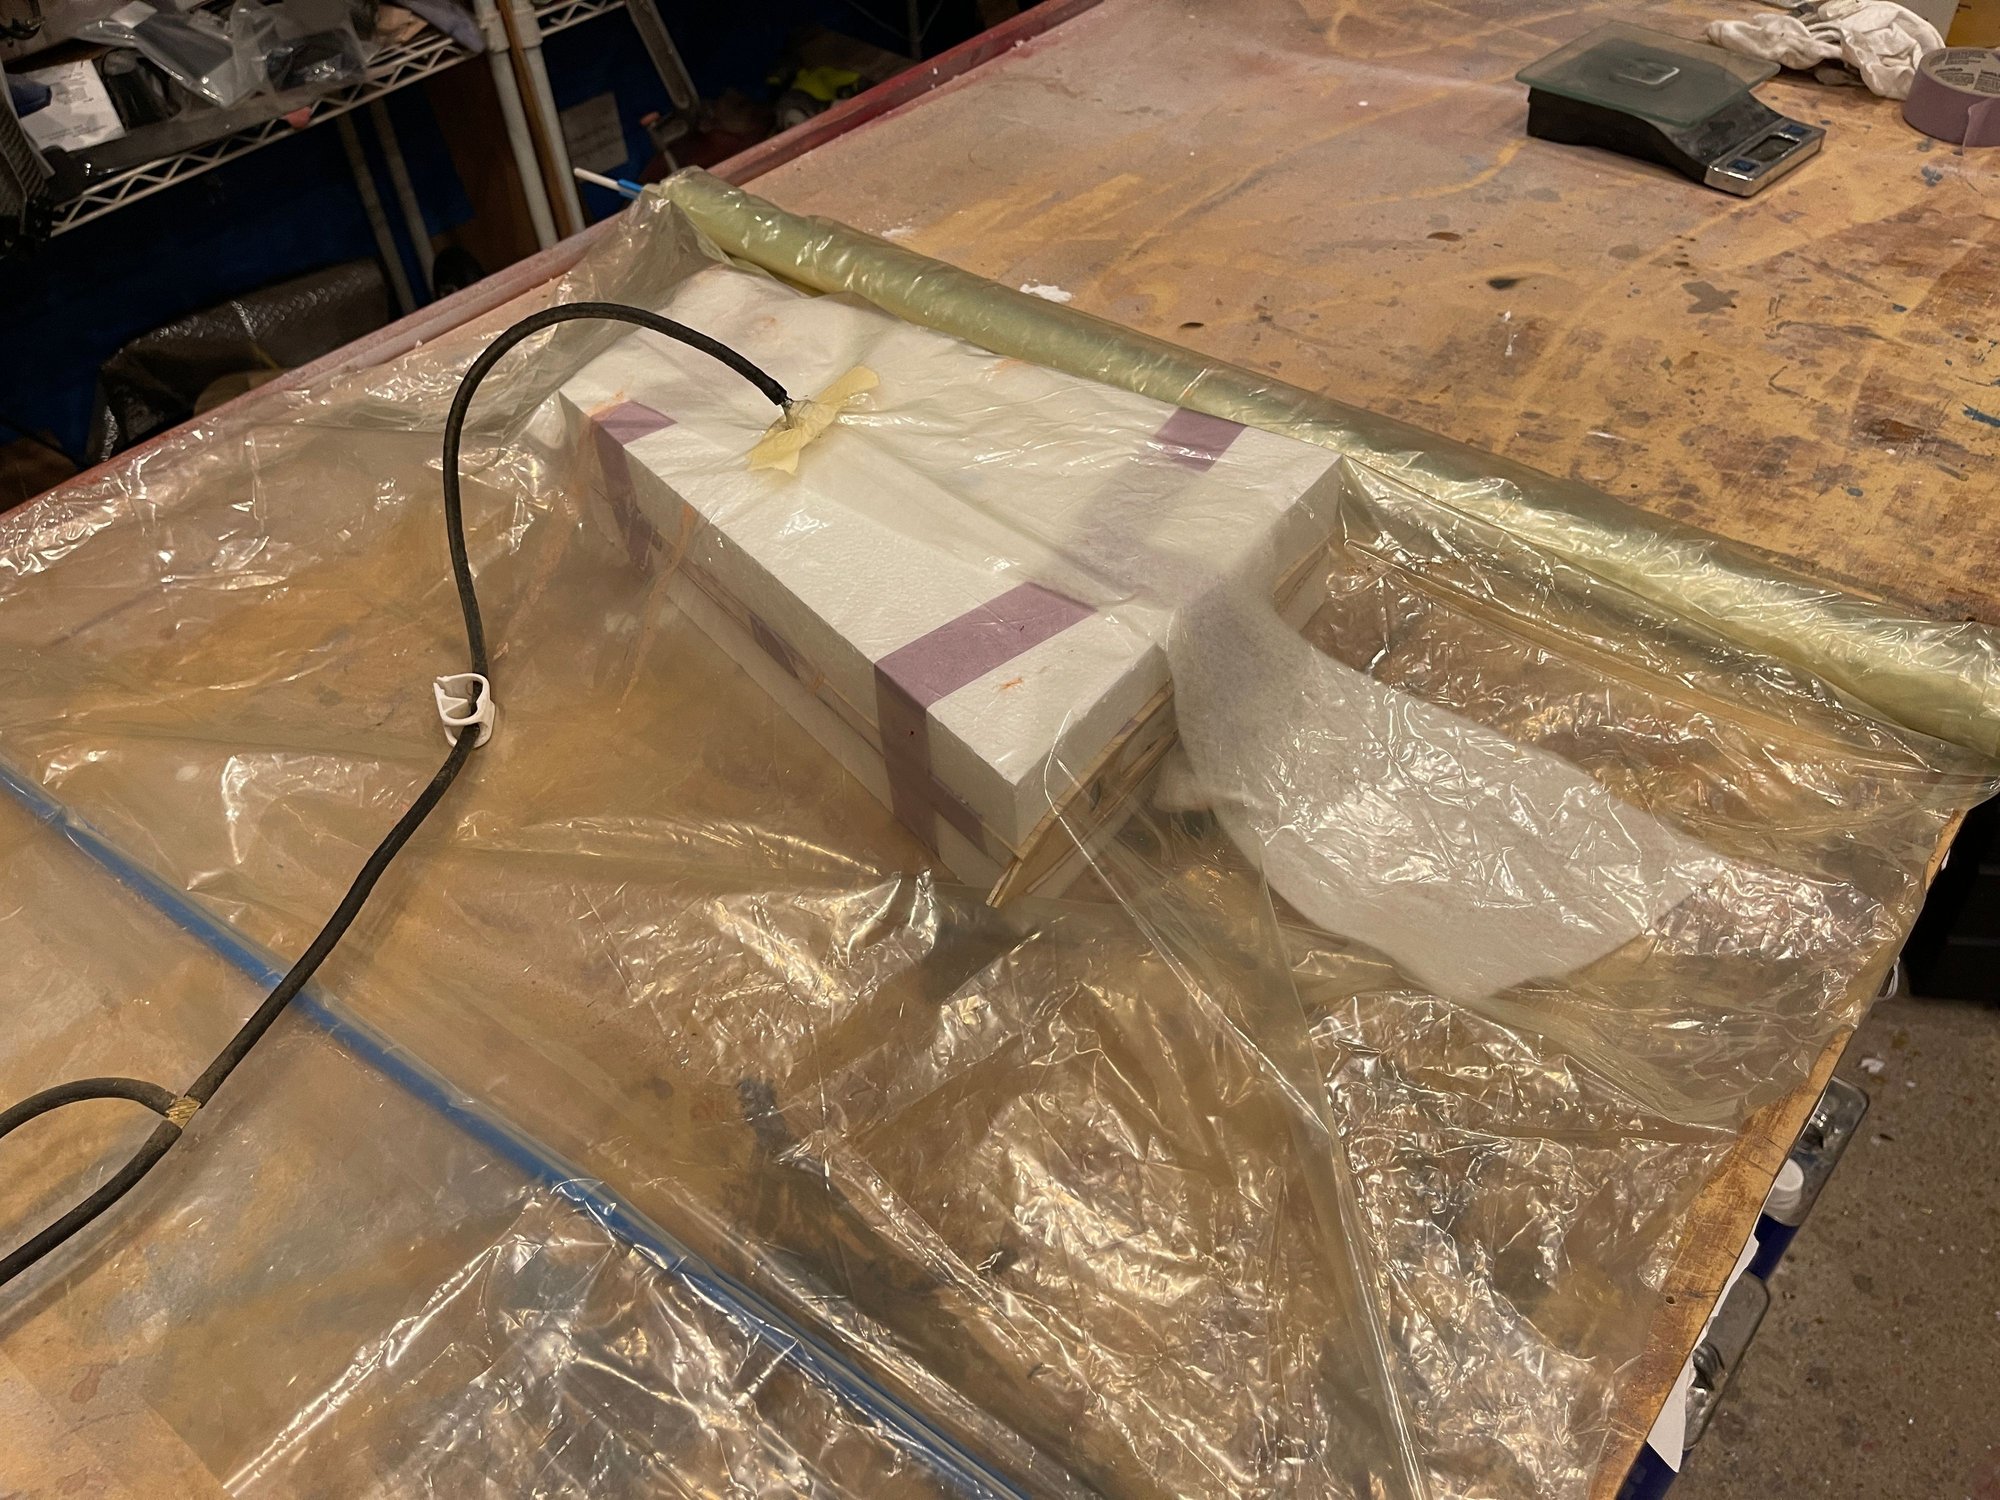
this is my set up for the vaccum bag technique.
I first tested my ole pump.
and it worked. Dusted it off best I could. been a long time since I have done this.

Got this pump 10 years ago. still works. Set for pressure cut off at 7 in/Hg
this is my bag set up:

this bag is for a 40% wing. They do sell smaller size bags.
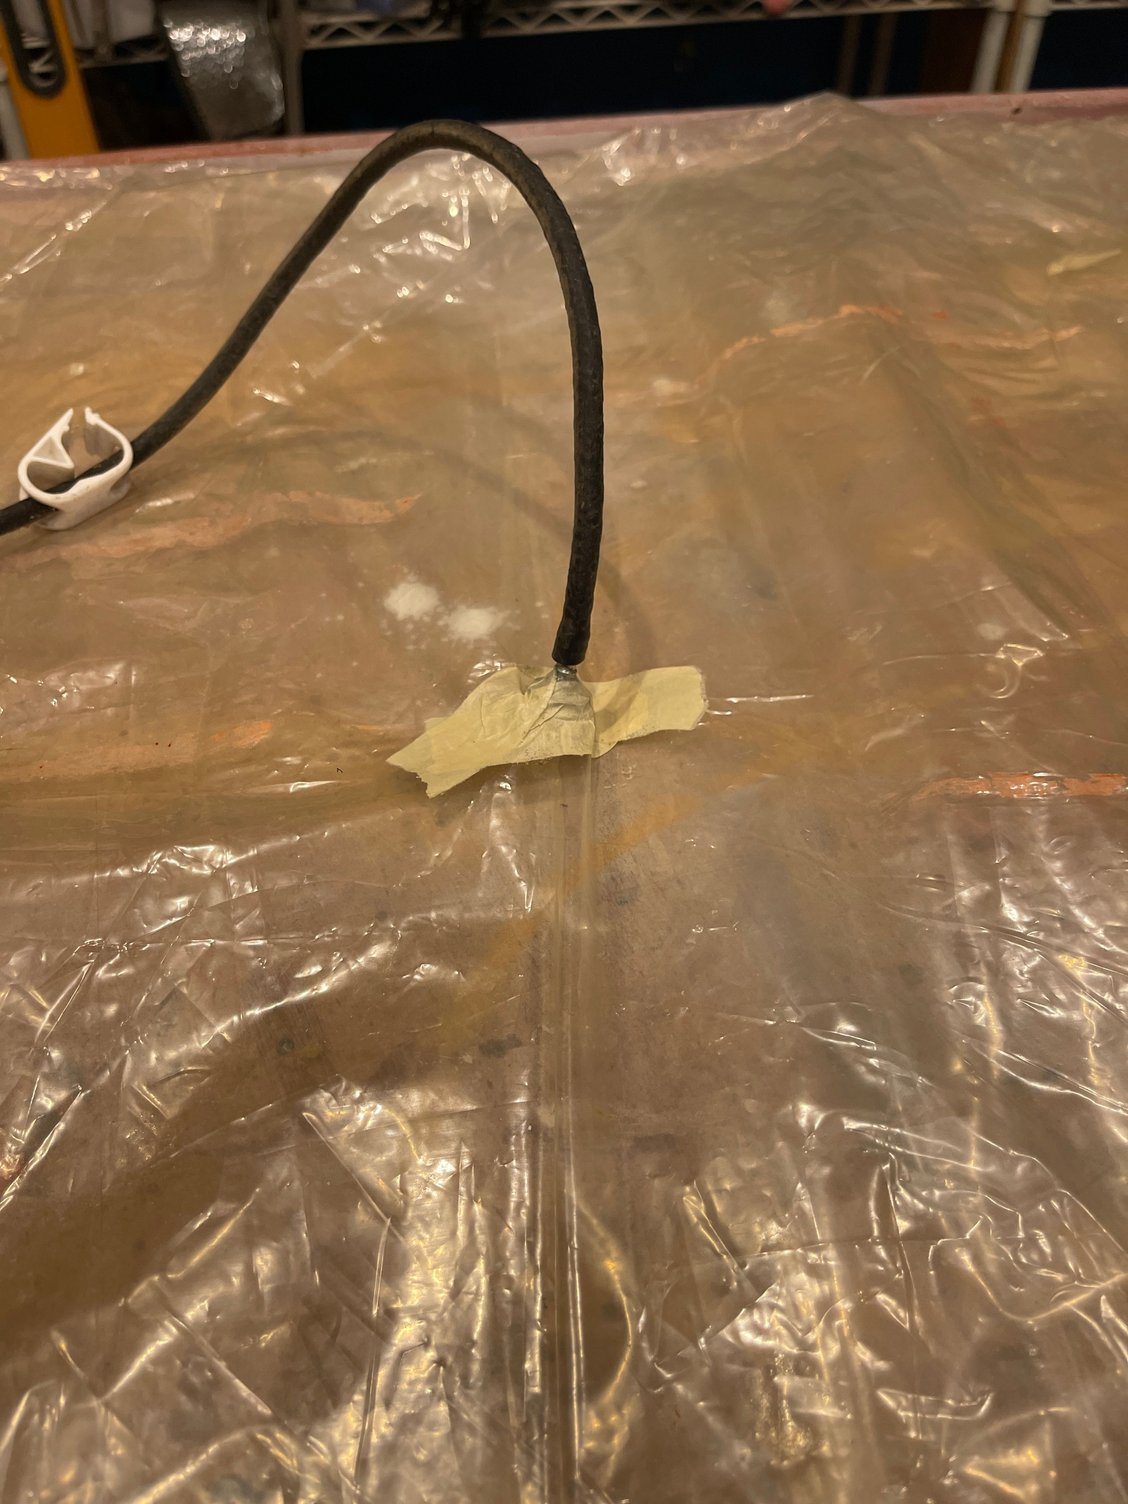
This is the nipple that enters the bag.
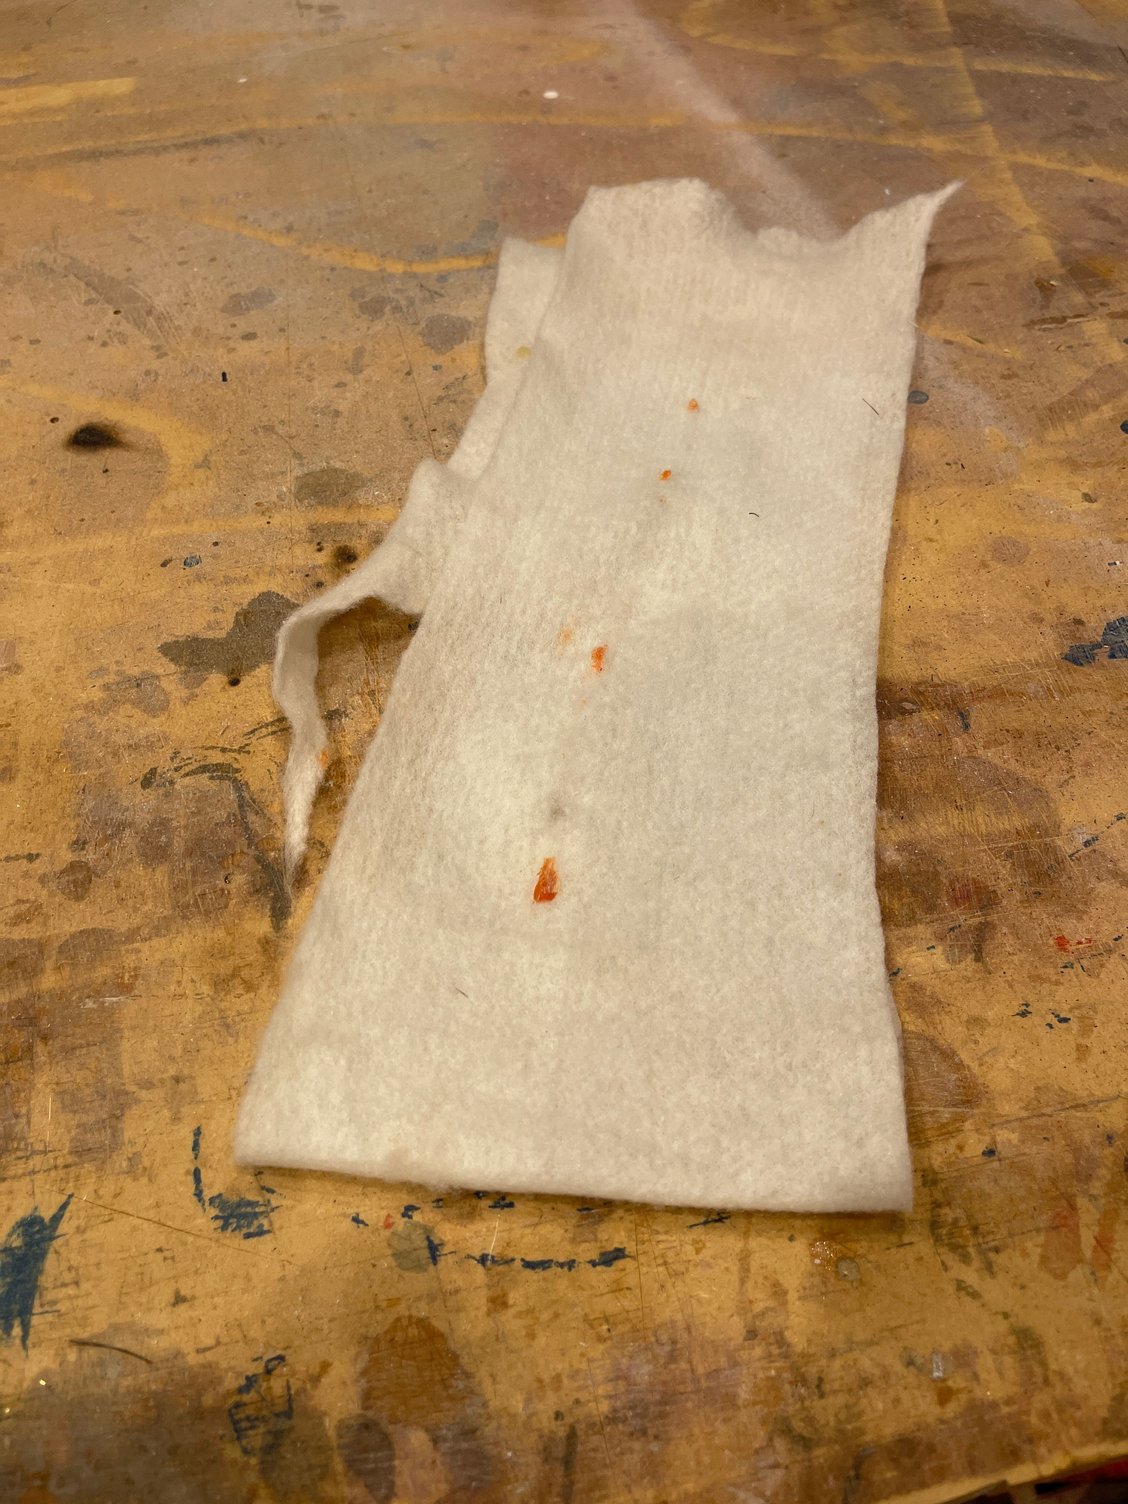
and now, one important aspect, is the felt. needs to be placed between that vacuum nipple and the top of the foam of the shucks.
I did the first stab.
just to show all the small hard points in place and now ready to glue the skins onto the stab,
I will do one stab at a time.
hard points for the control horns, stab tube screws, and holes for the setting of the stab adjusters.
this is my set up for the vaccum bag technique.
I first tested my ole pump.
and it worked. Dusted it off best I could. been a long time since I have done this.
Got this pump 10 years ago. still works. Set for pressure cut off at 7 in/Hg
this is my bag set up:
this bag is for a 40% wing. They do sell smaller size bags.
This is the nipple that enters the bag.
and now, one important aspect, is the felt. needs to be placed between that vacuum nipple and the top of the foam of the shucks.
 05-24-2022, 06:05 PM
#27
Next step is for the process of mixing and applying the epoxy resin.
I am using west systems epoxy resin. Gives me plenty of work time.
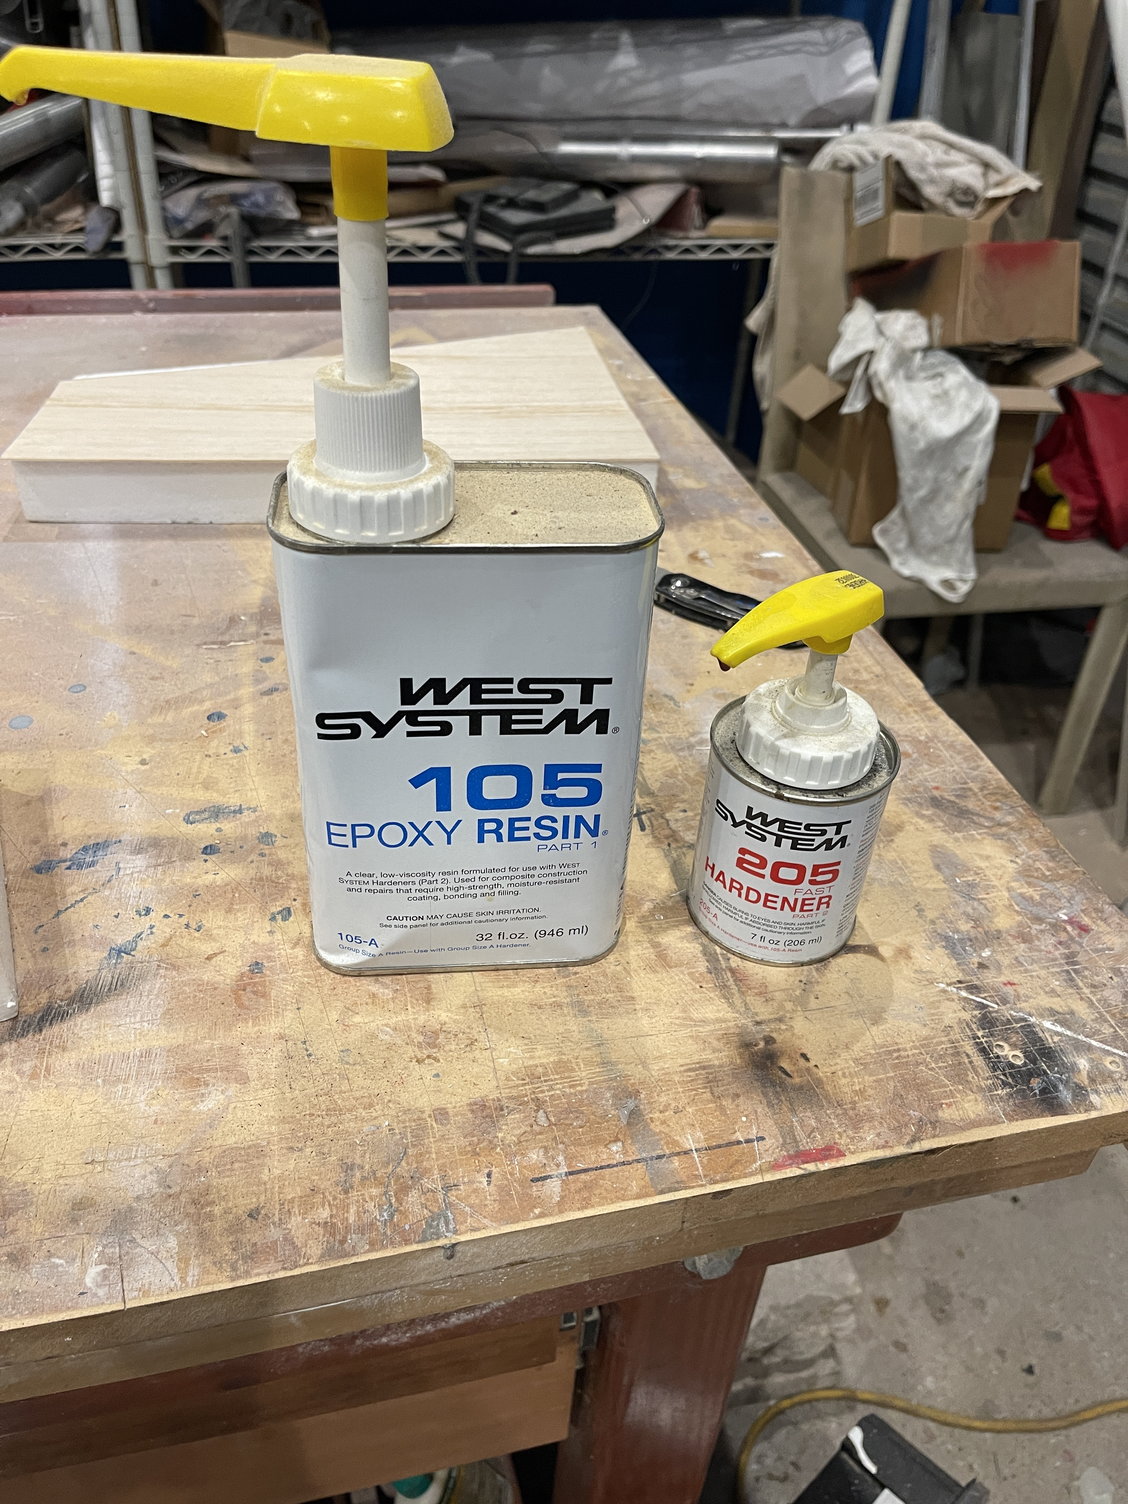
West System resin with the 205 fast hardener.
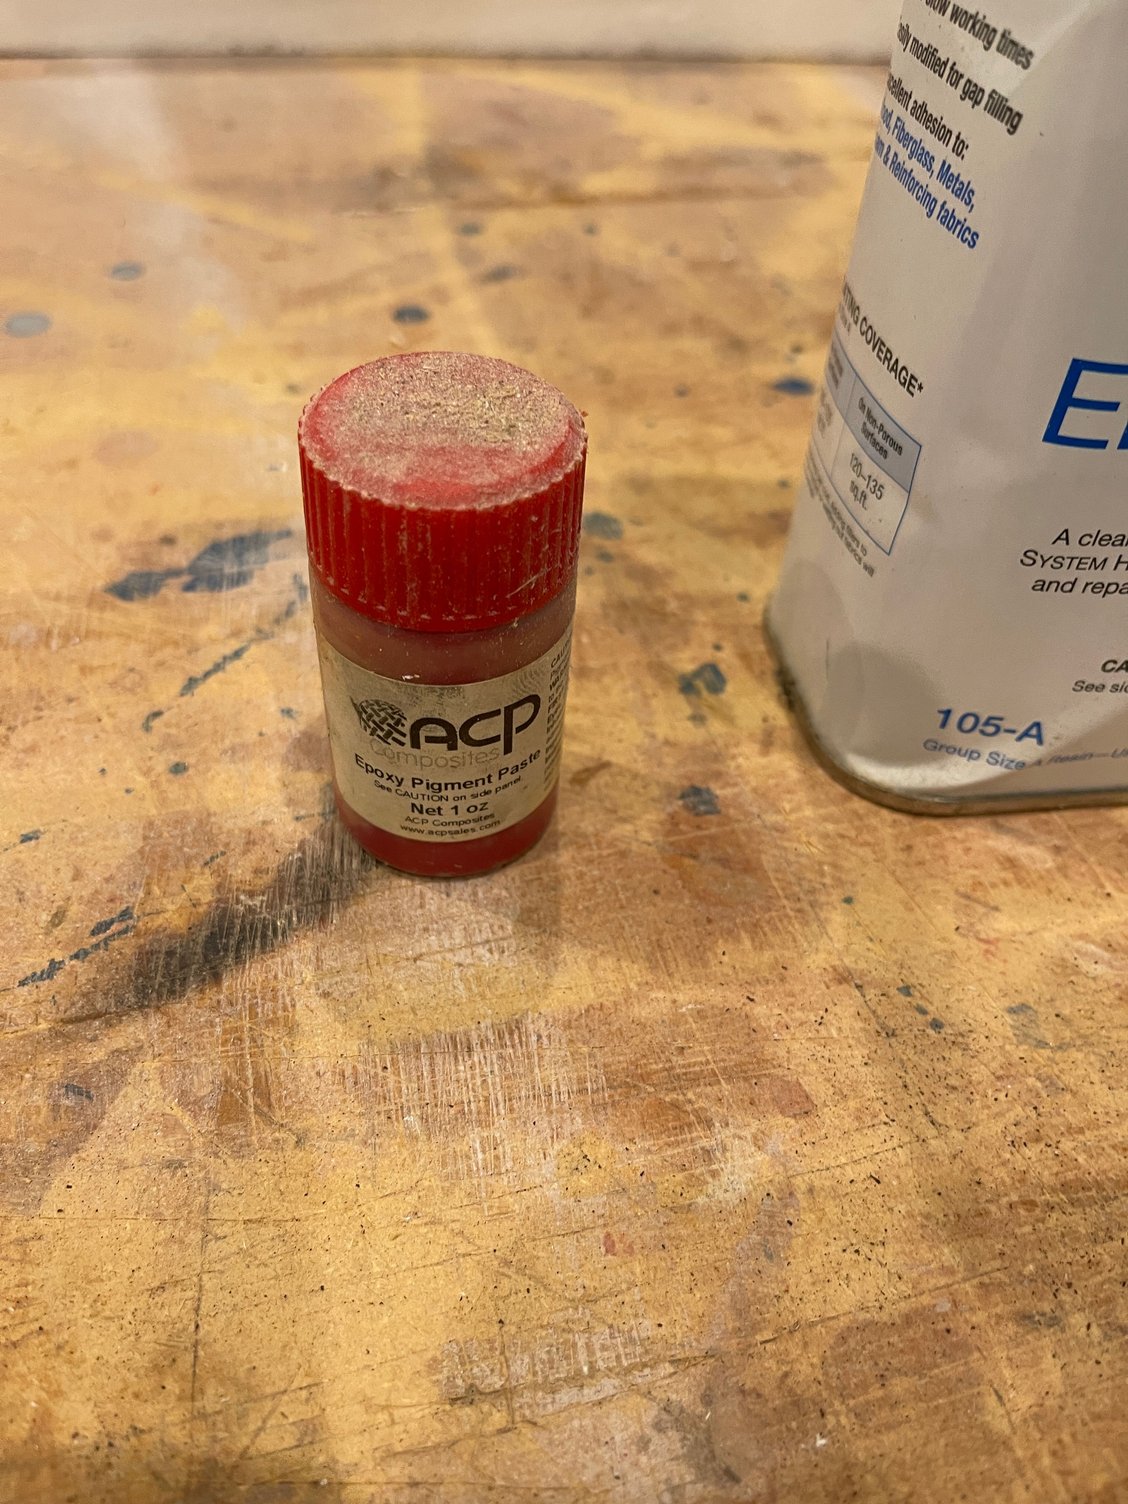
I use like a tiny little bit of this dye into the resin when mixing. Just enough to give the resin a pink tinge, so I can see where I have applied the resin.
I then APPLIED the resin to the foam, after trimming each skin, then placed the foam on the skin.
I then taped them togethere and placed them in the shuck
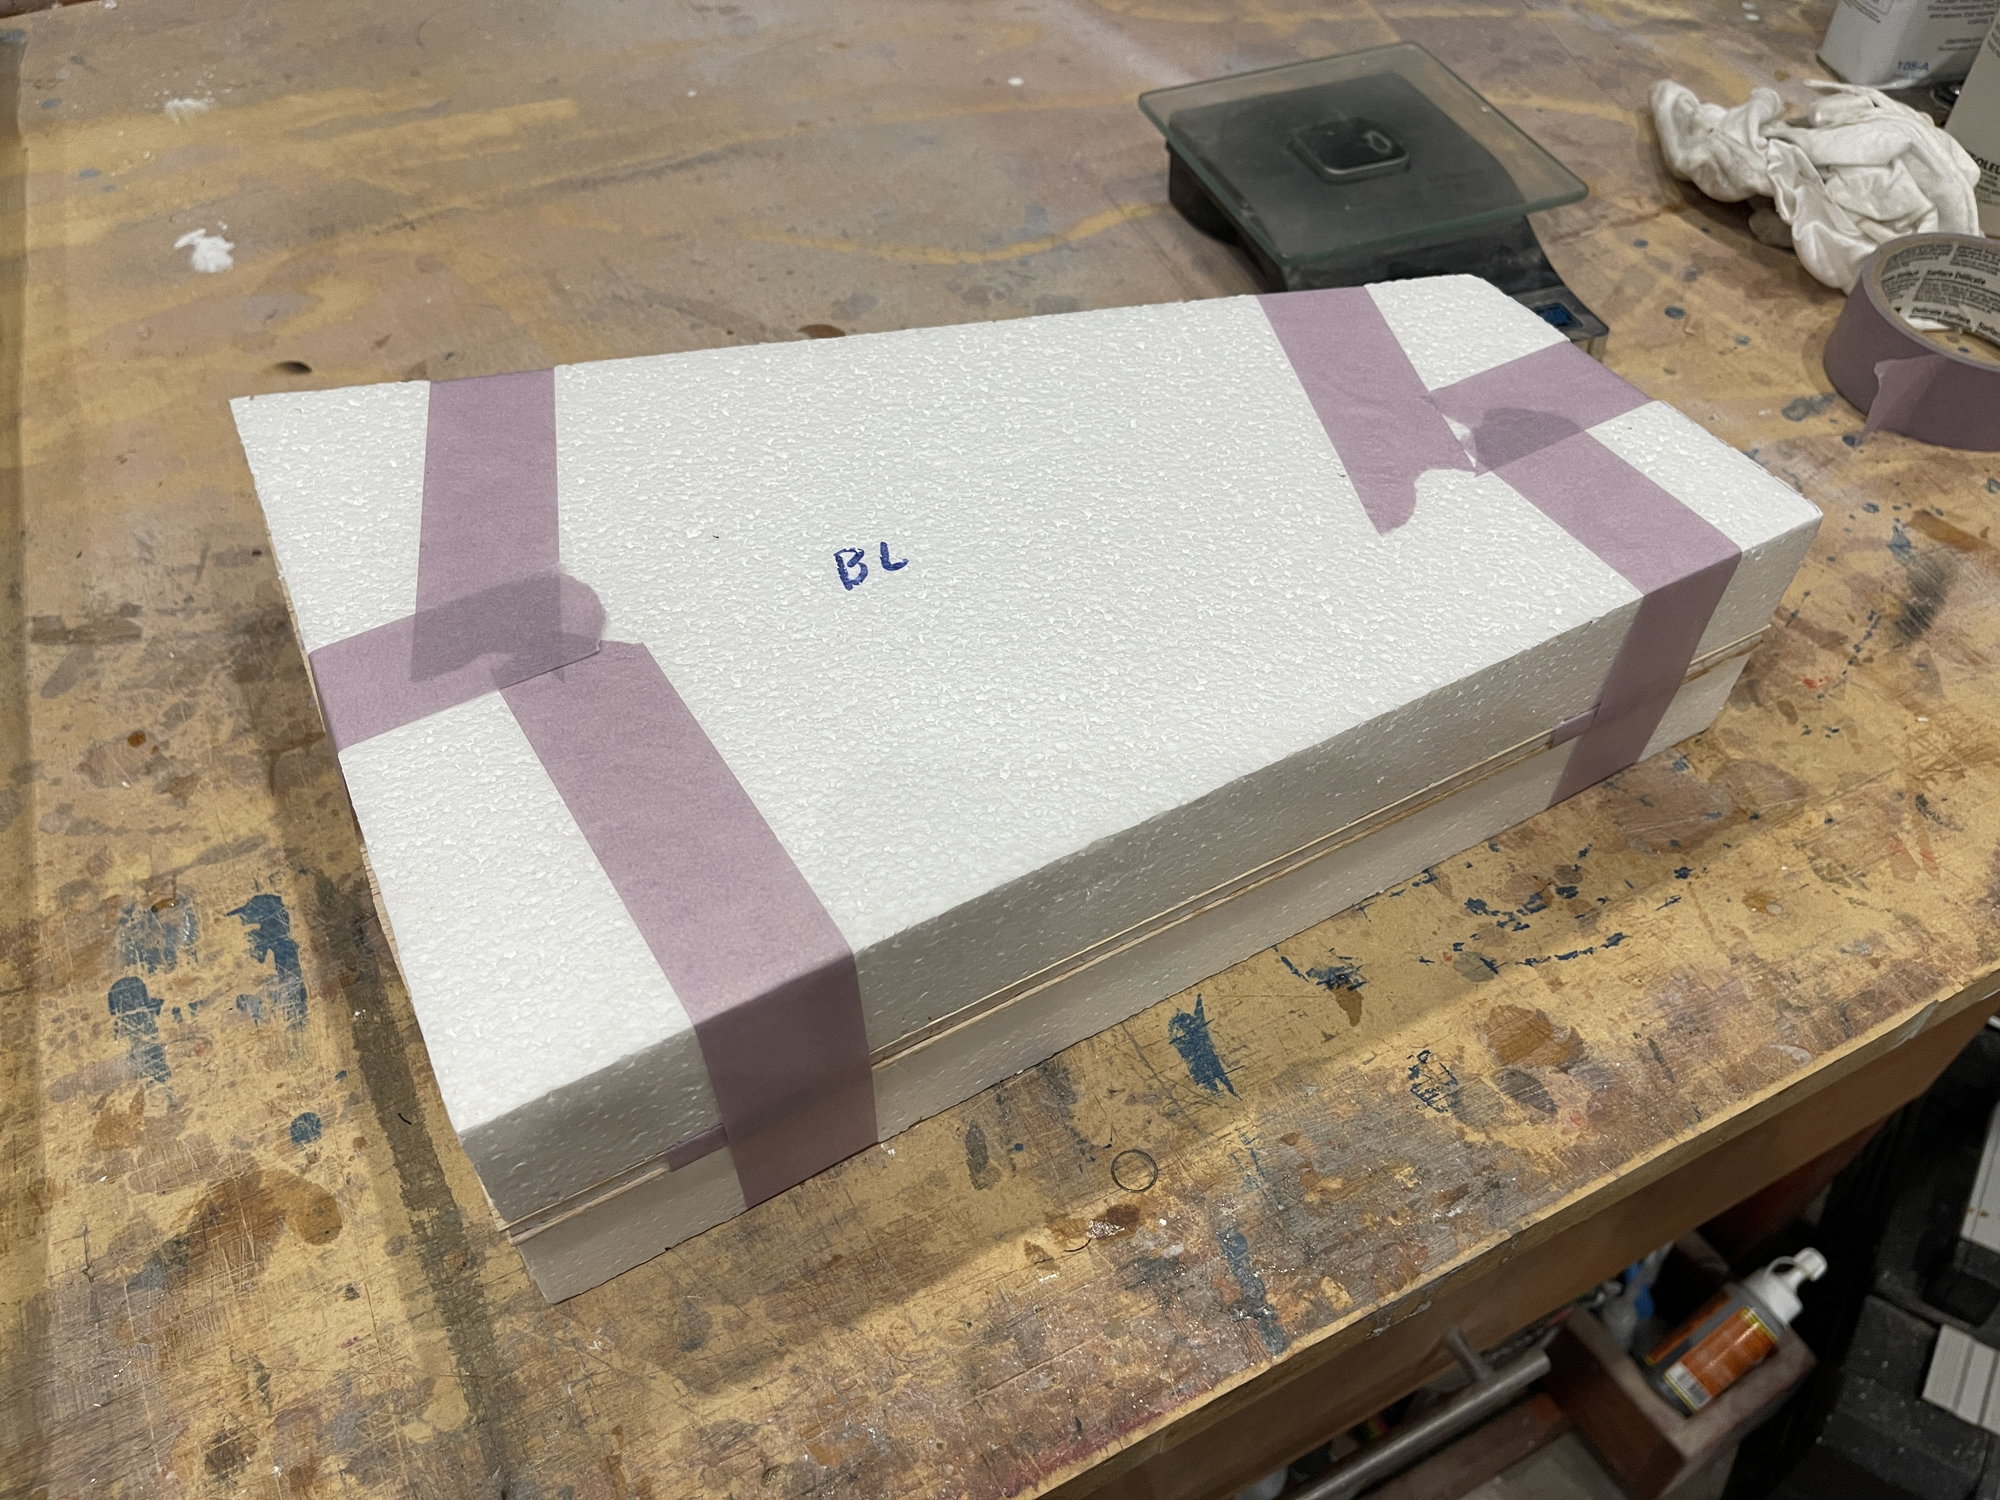
then into the bag.
I am using west systems epoxy resin. Gives me plenty of work time.
West System resin with the 205 fast hardener.
I use like a tiny little bit of this dye into the resin when mixing. Just enough to give the resin a pink tinge, so I can see where I have applied the resin.
I then APPLIED the resin to the foam, after trimming each skin, then placed the foam on the skin.
I then taped them togethere and placed them in the shuck
then into the bag.
The following users liked this post:
Ricardo M. (05-25-2022)
05-25-2022, 05:02 PM
#28
here are the results from the Vacuum bag of the stabs:
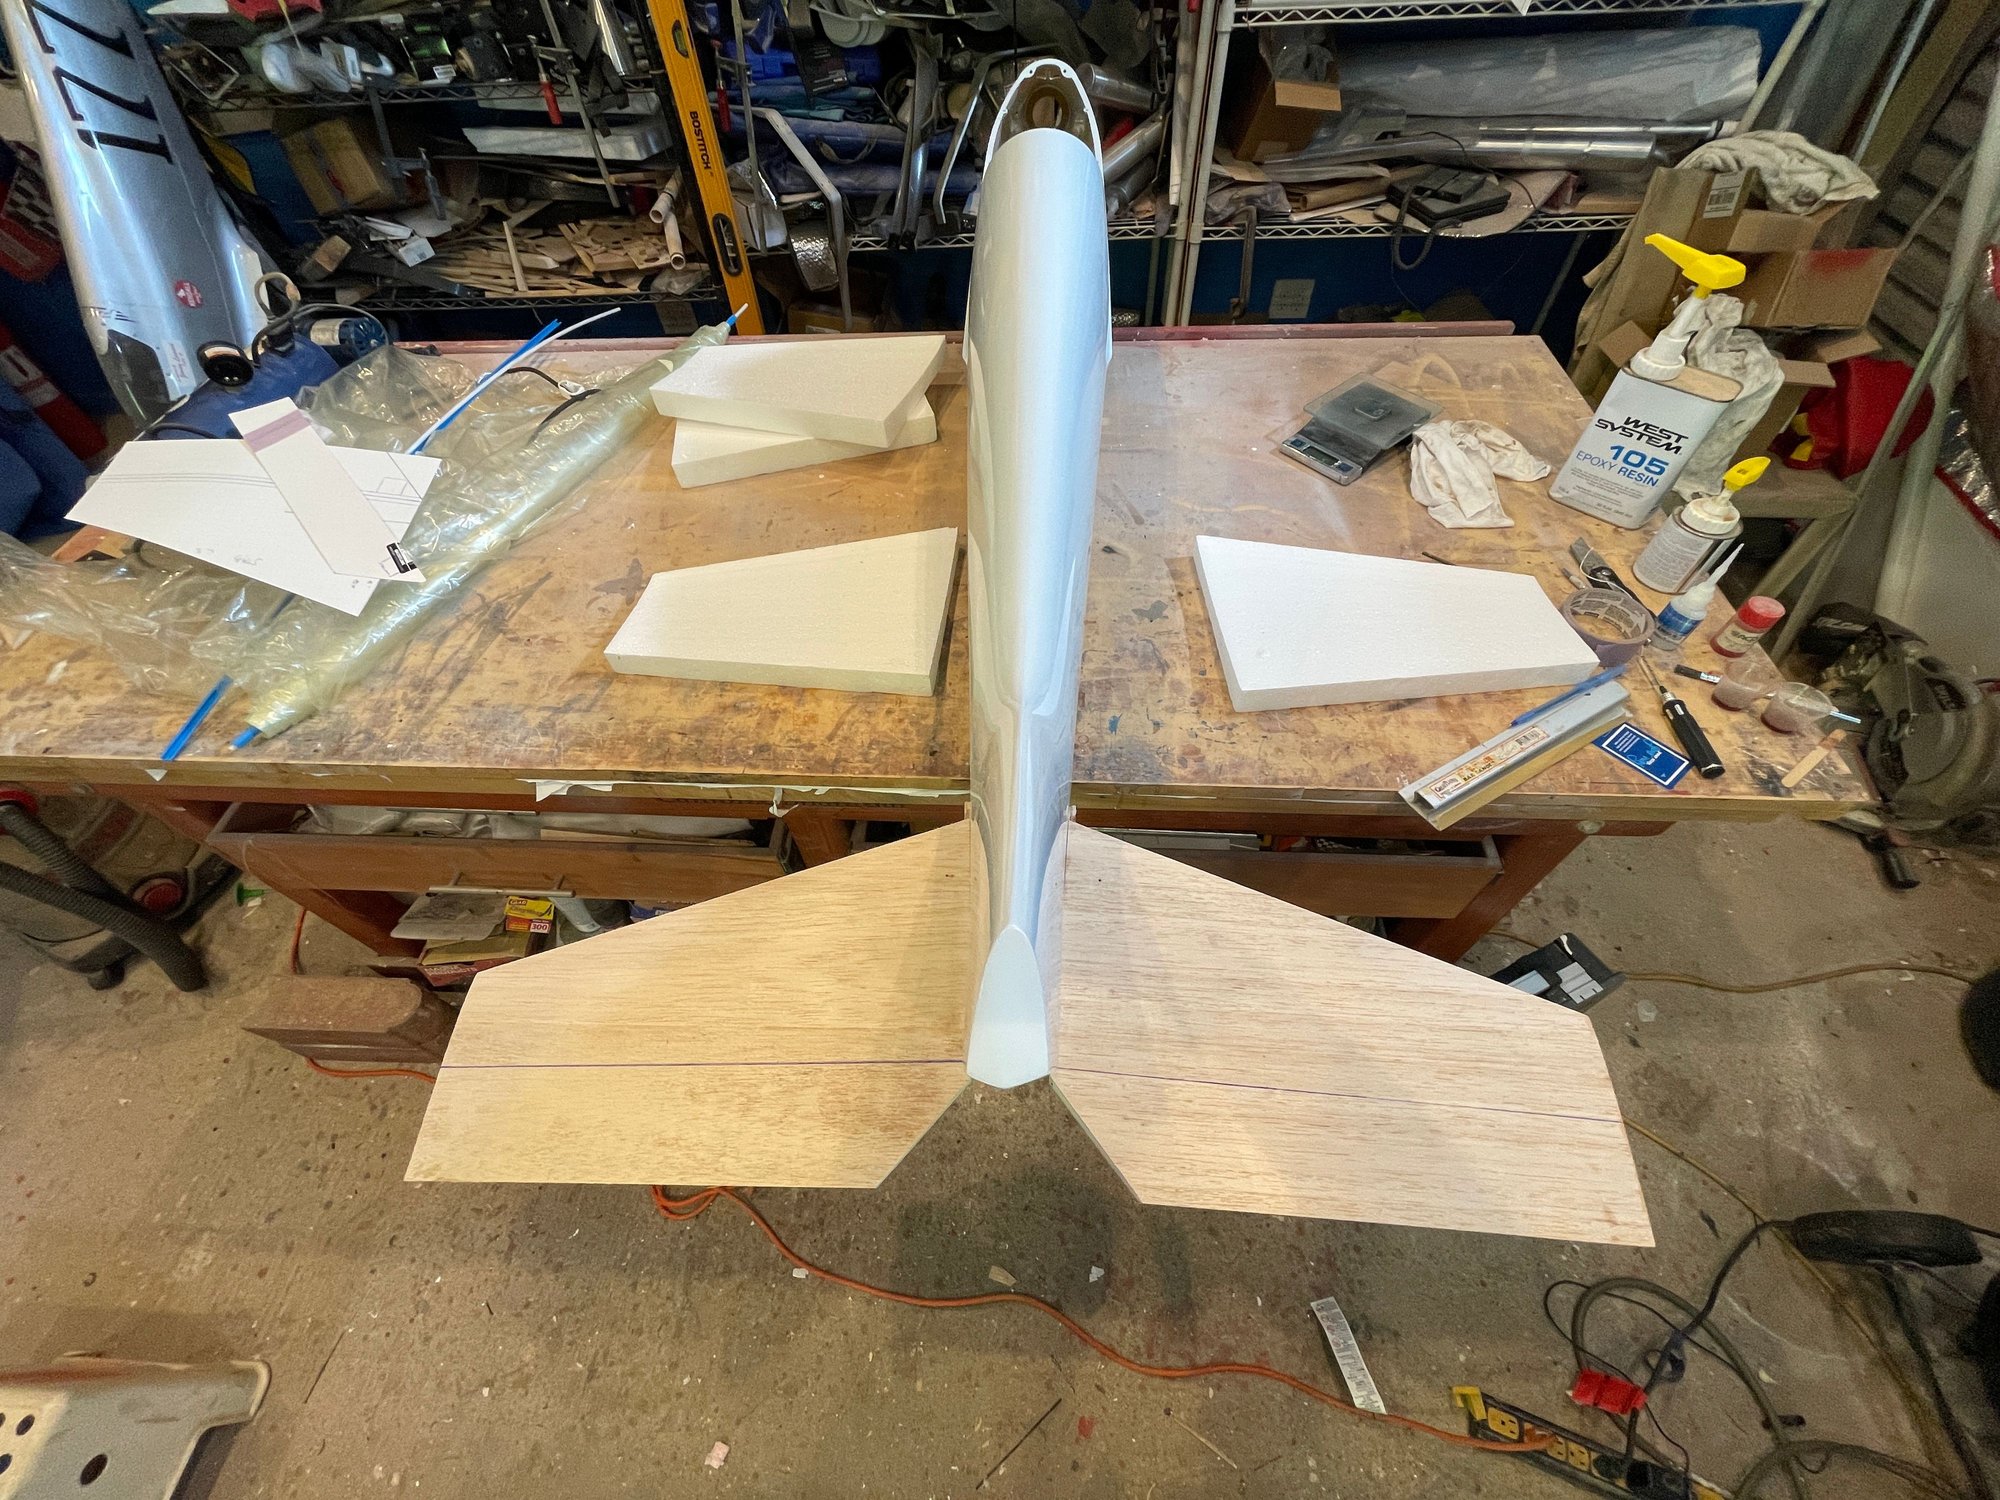
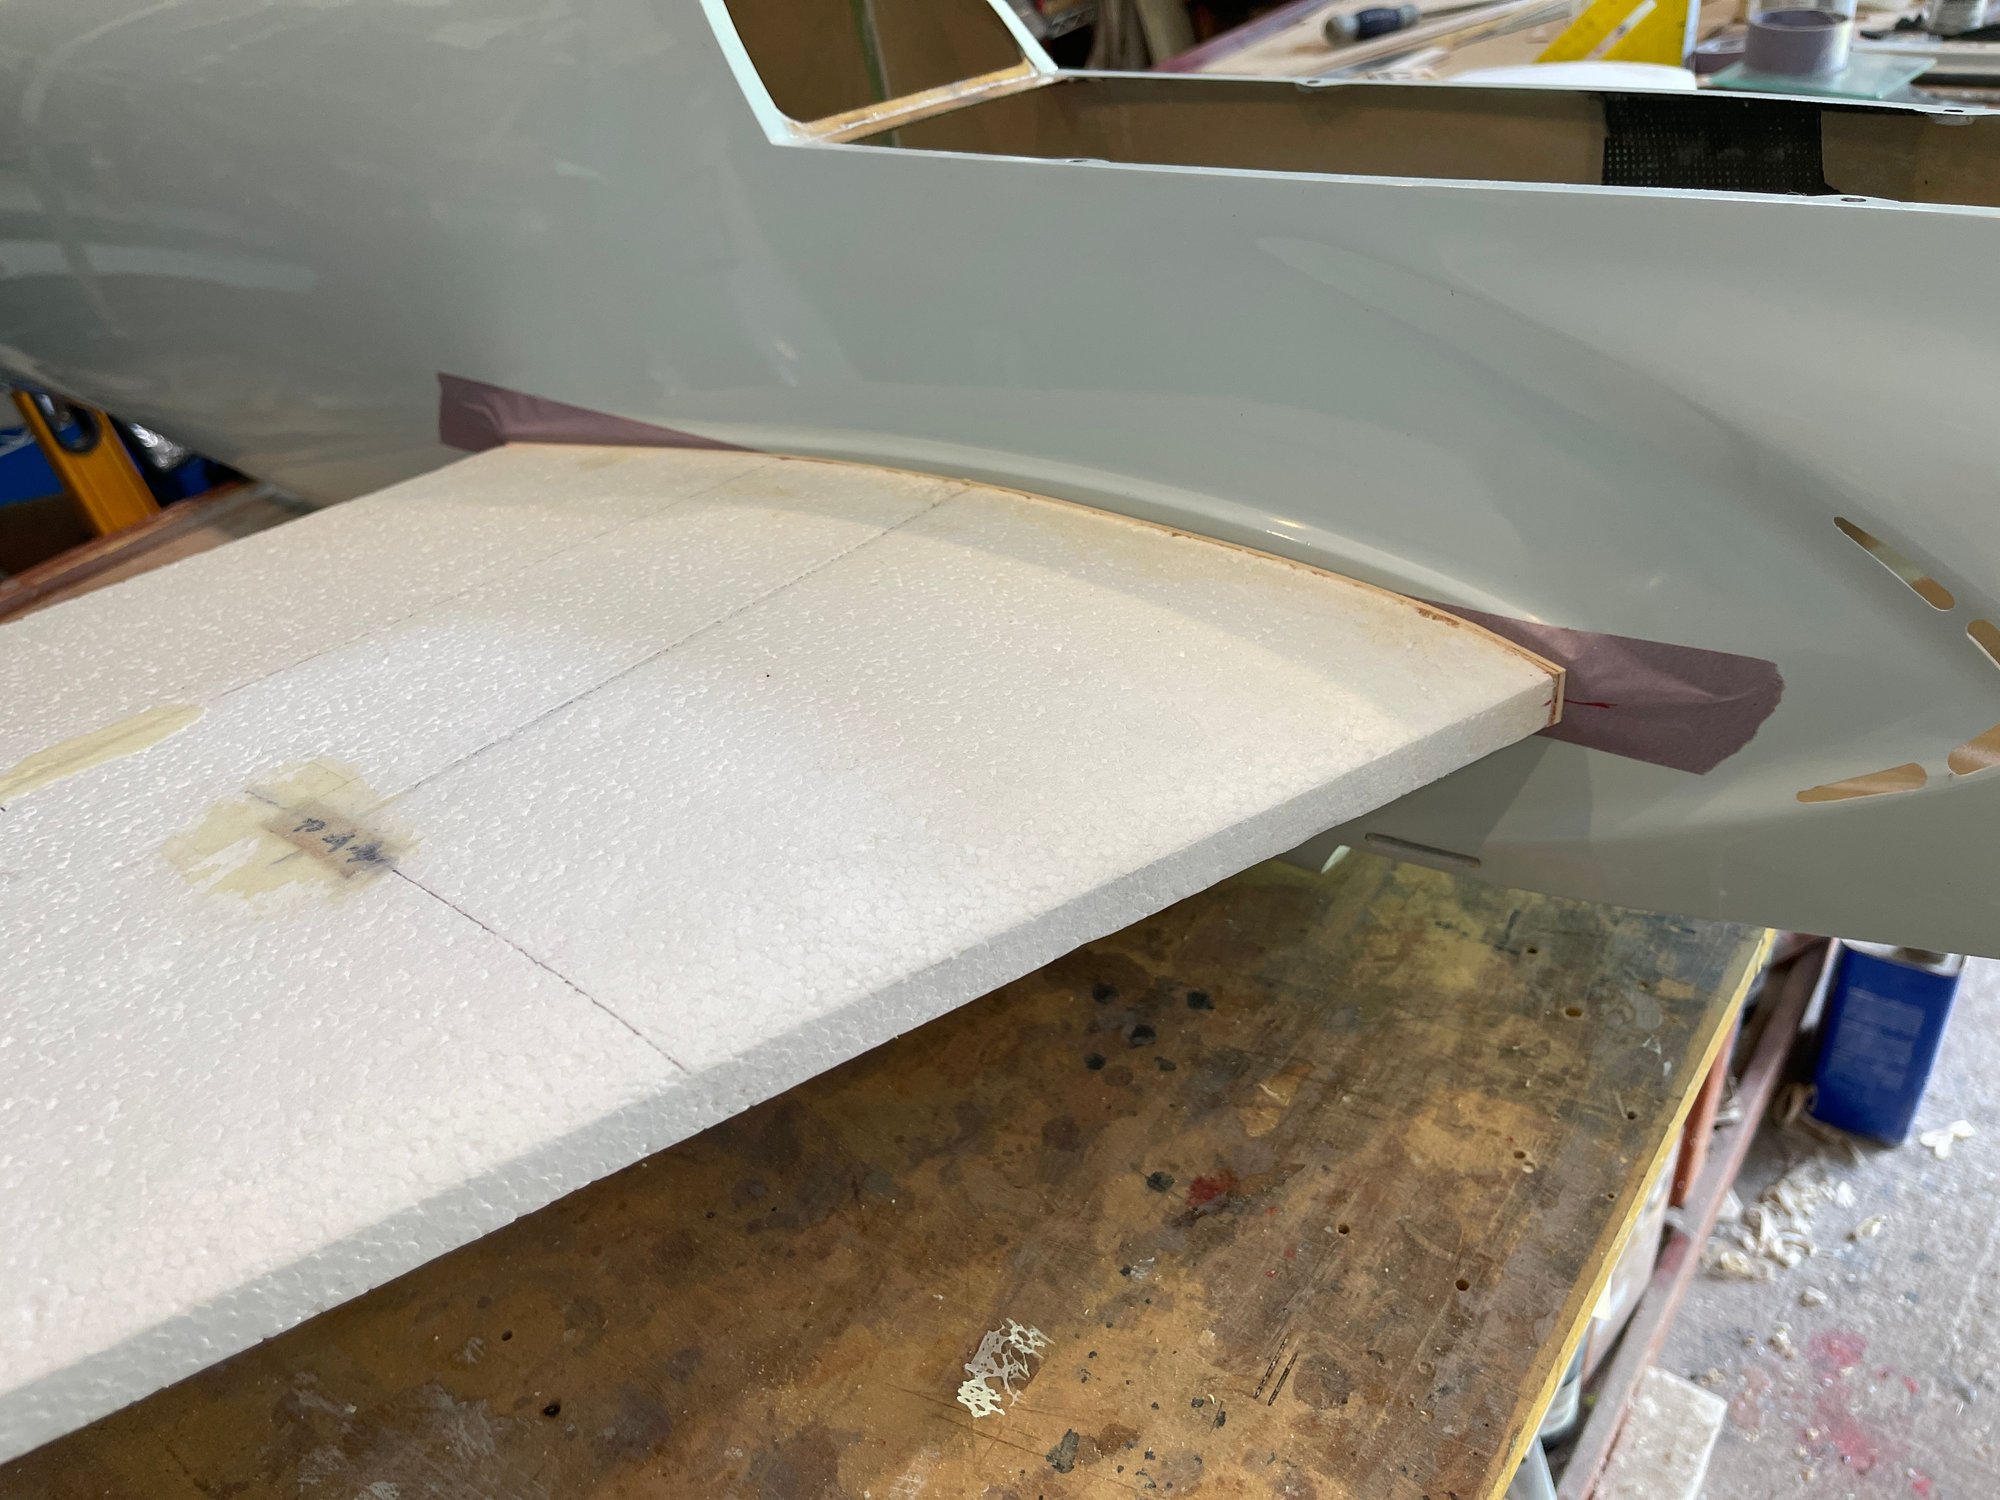
top view once installed

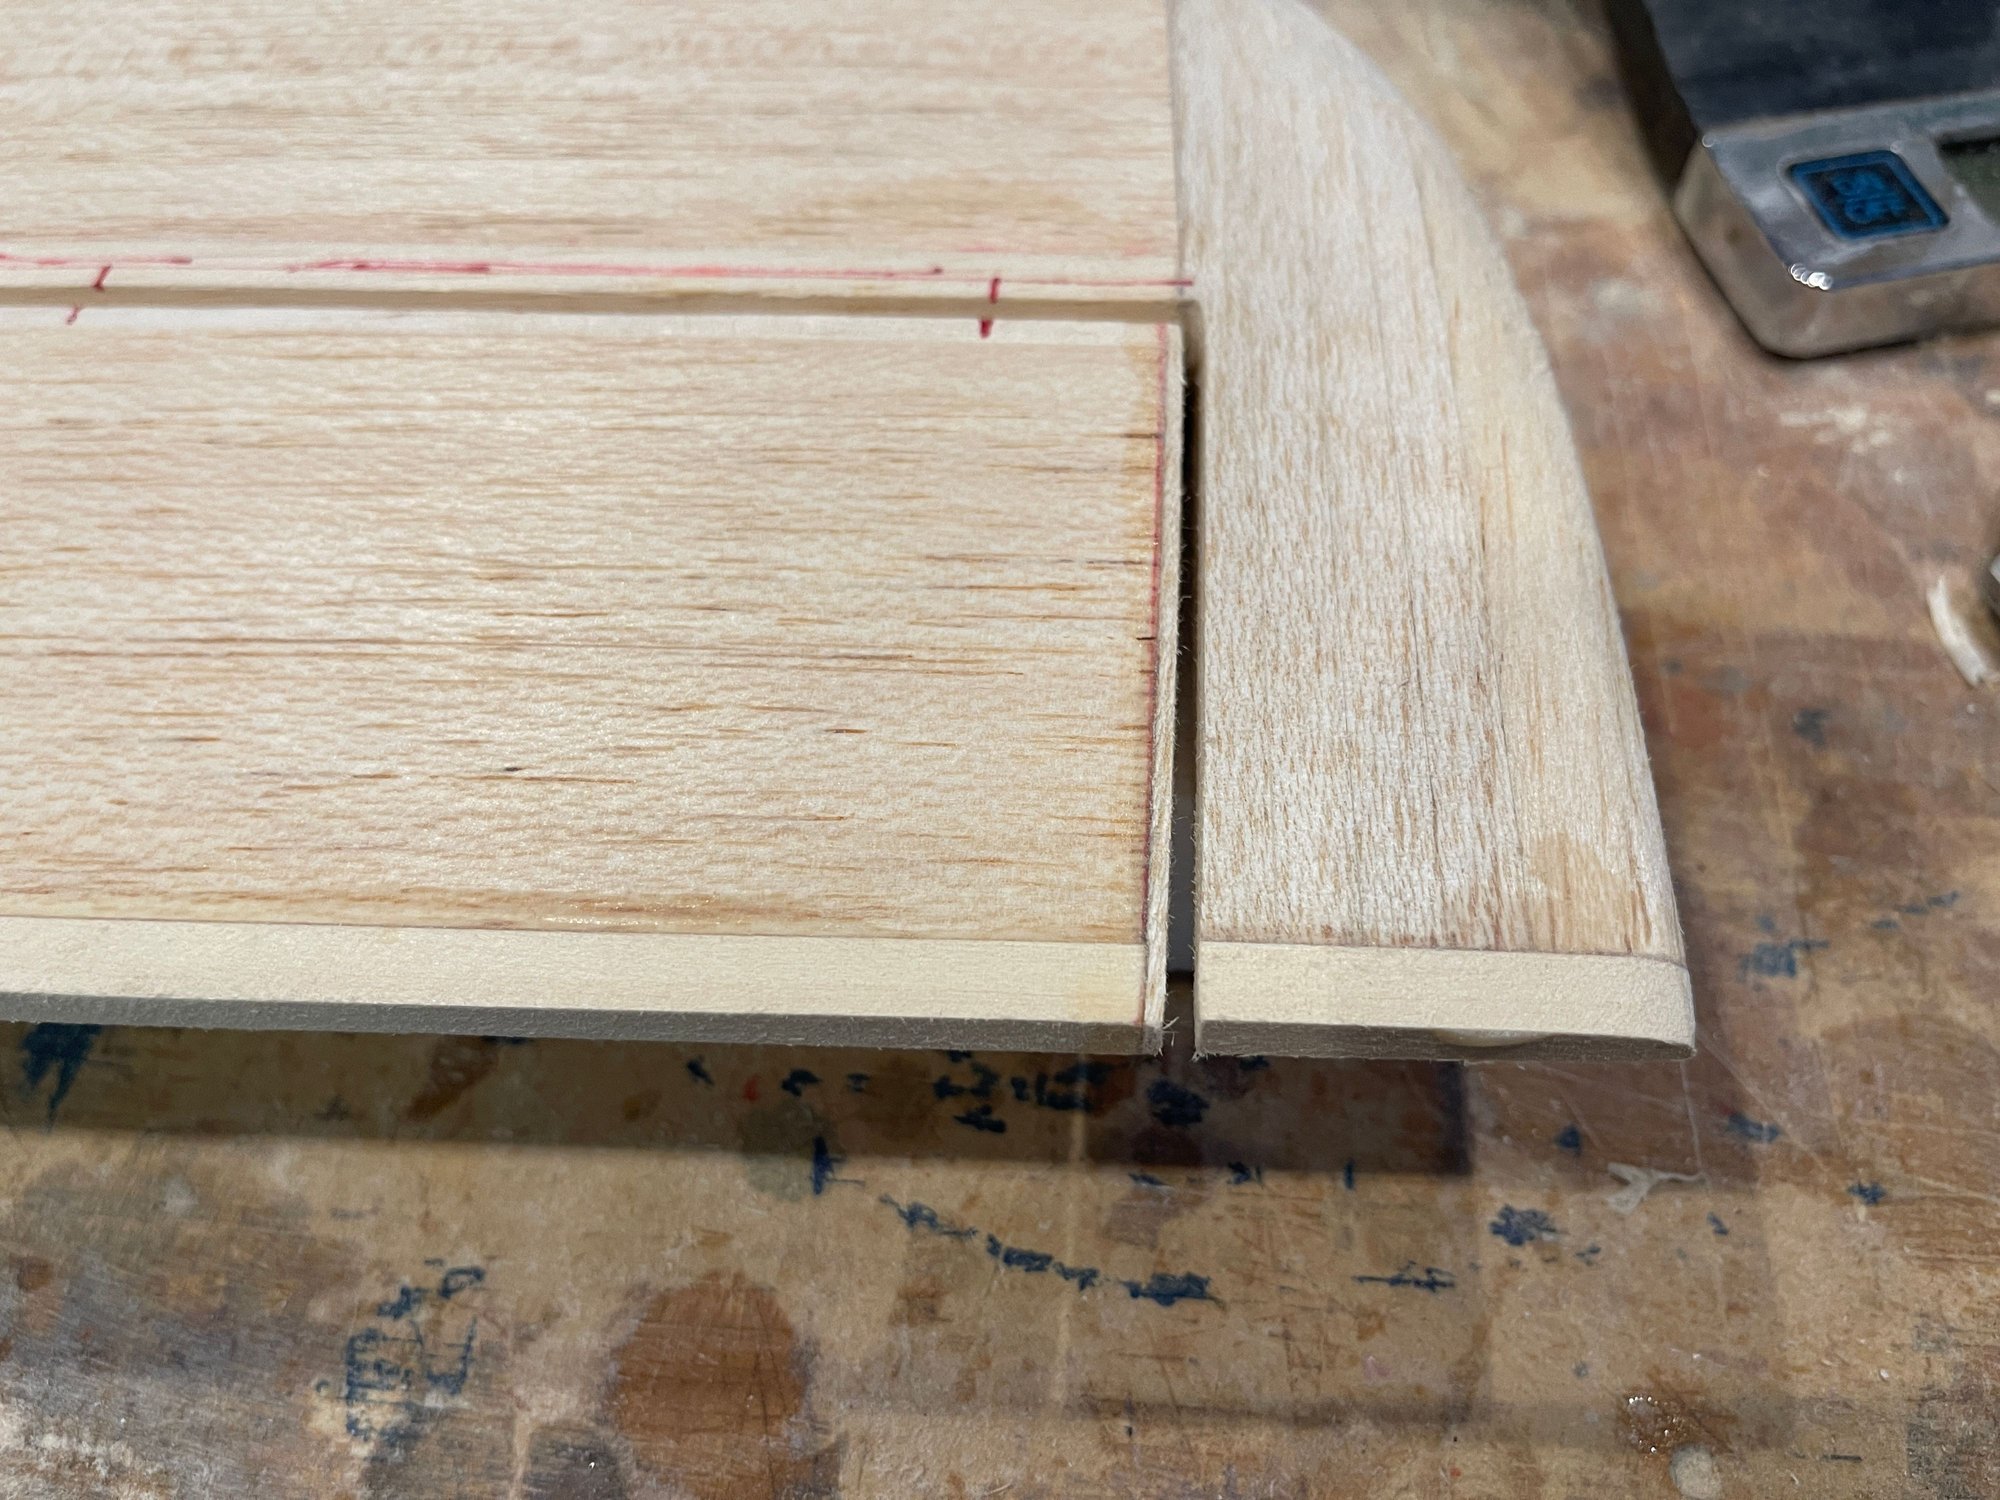
to demonstrate the joint between the right stab and fuselage side
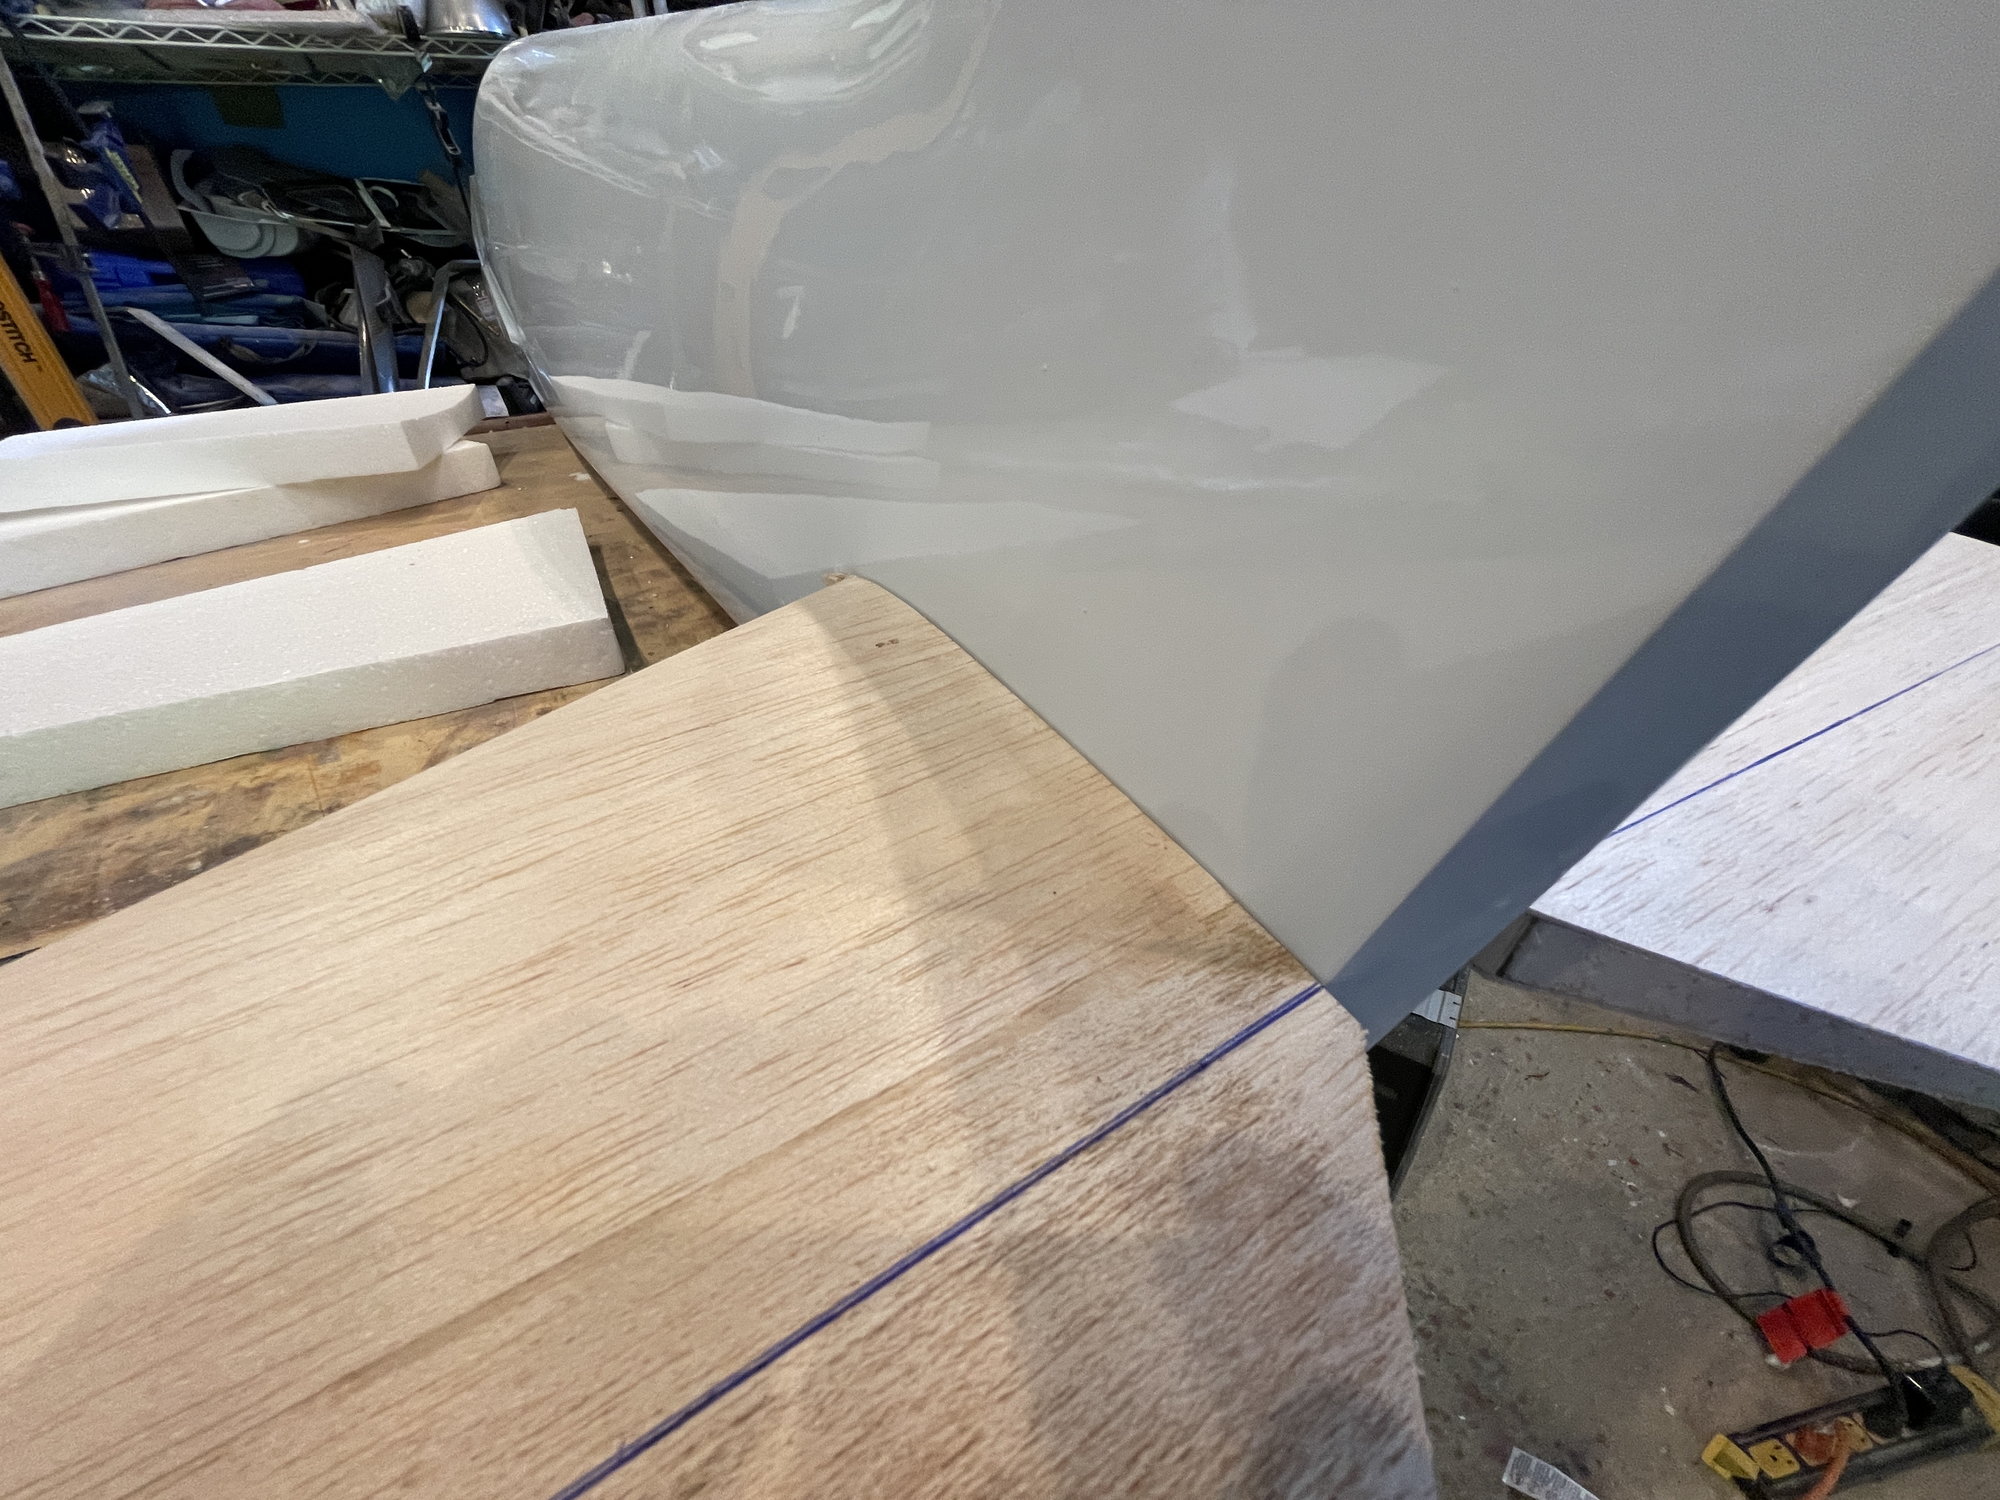
left stab onto the fuselage side.

top view of the stabs after being sheeted

bottom view. each stab weighs 100 grams at this stage.
top view once installed
to demonstrate the joint between the right stab and fuselage side
left stab onto the fuselage side.
top view of the stabs after being sheeted
bottom view. each stab weighs 100 grams at this stage.
05-25-2022, 05:13 PM
#29
THESE ARE THE RECOMMENDATIONS:
1. WING AND STAB LEADING EDGE: 1/2" BALSA STICKS
2. STAB TRAILING EDGE : 1/4" HARDWOOD STICK
3. WING TRAILING EDGE: 1/4" HARDWOOD STICK
4. HINGE LINE: LE AND TE USE 1/4" BALSA THAT IS 4 TO 6 POUNDS.
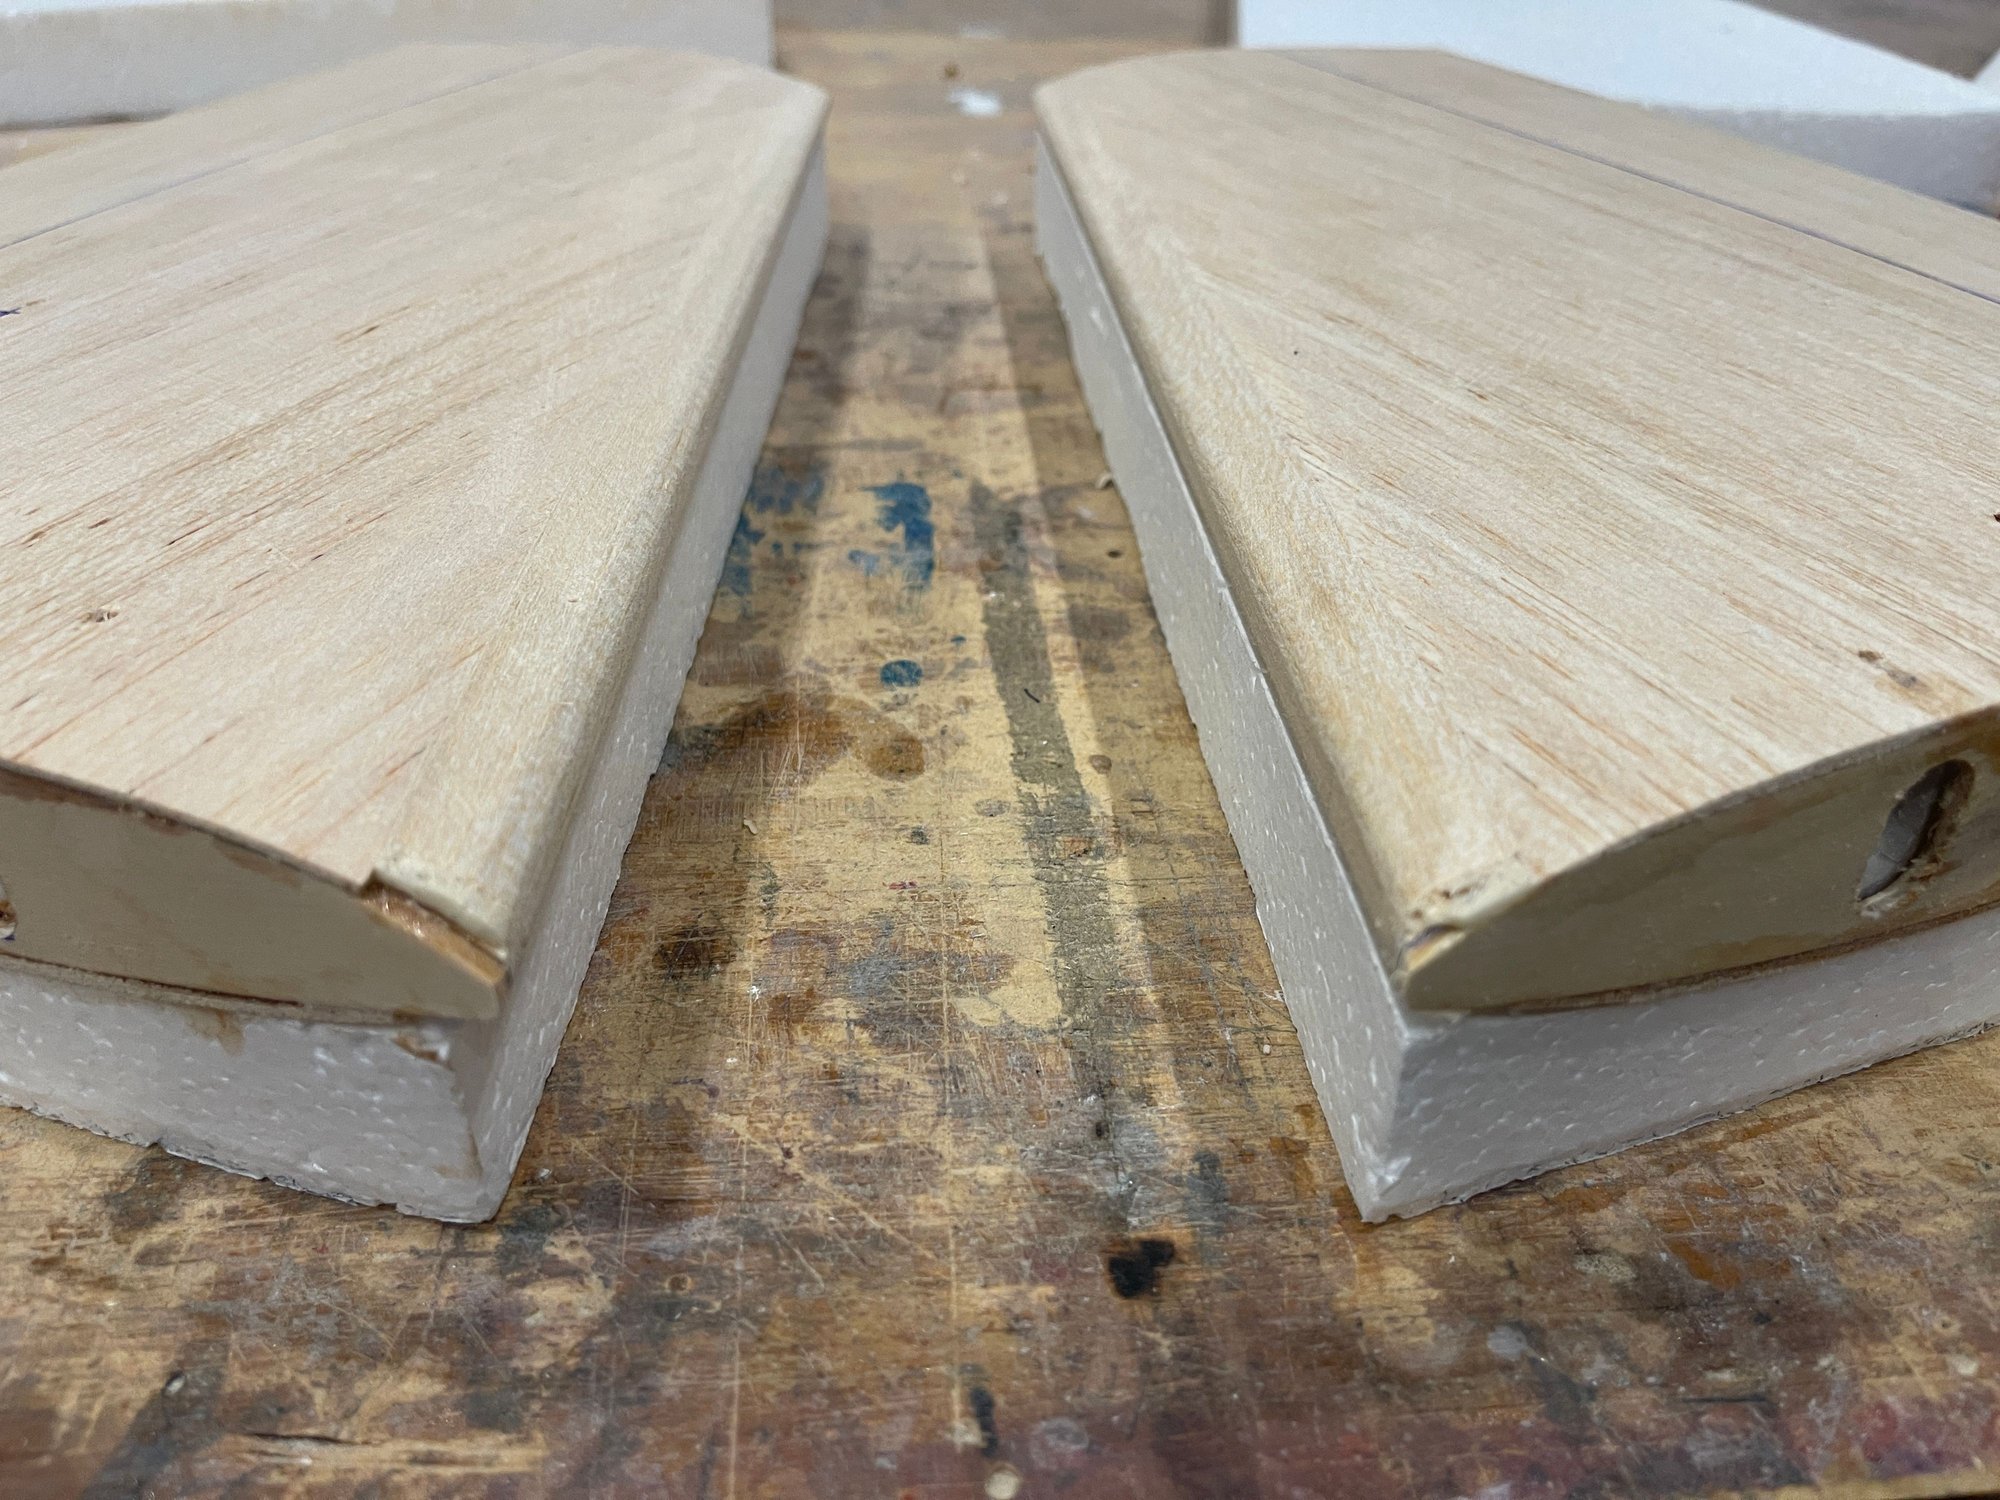
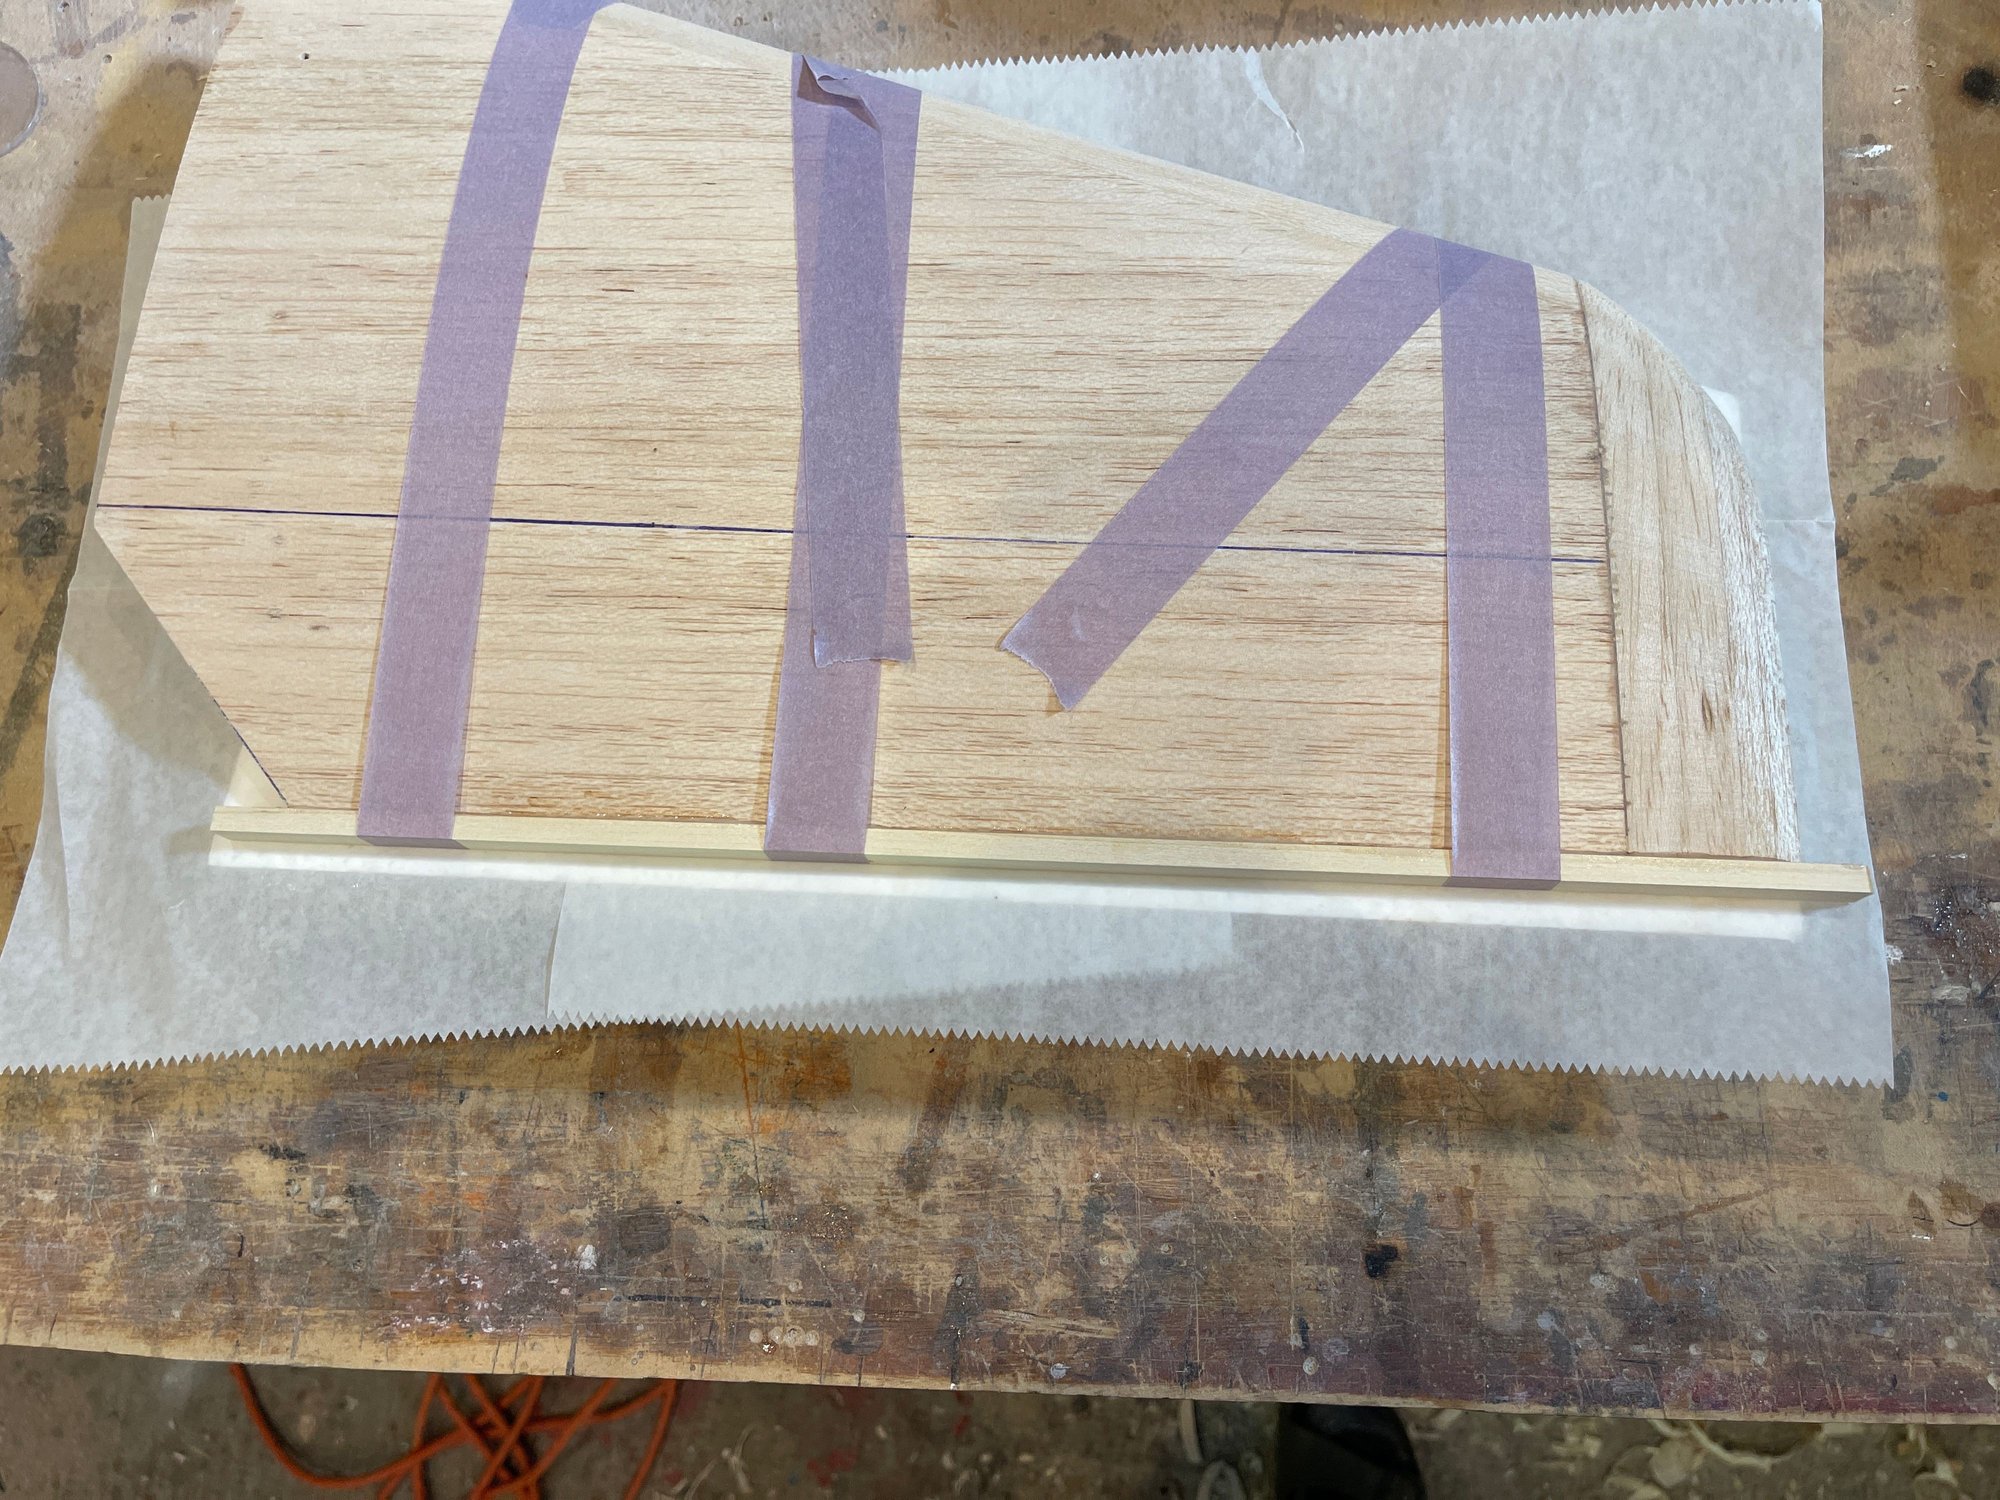
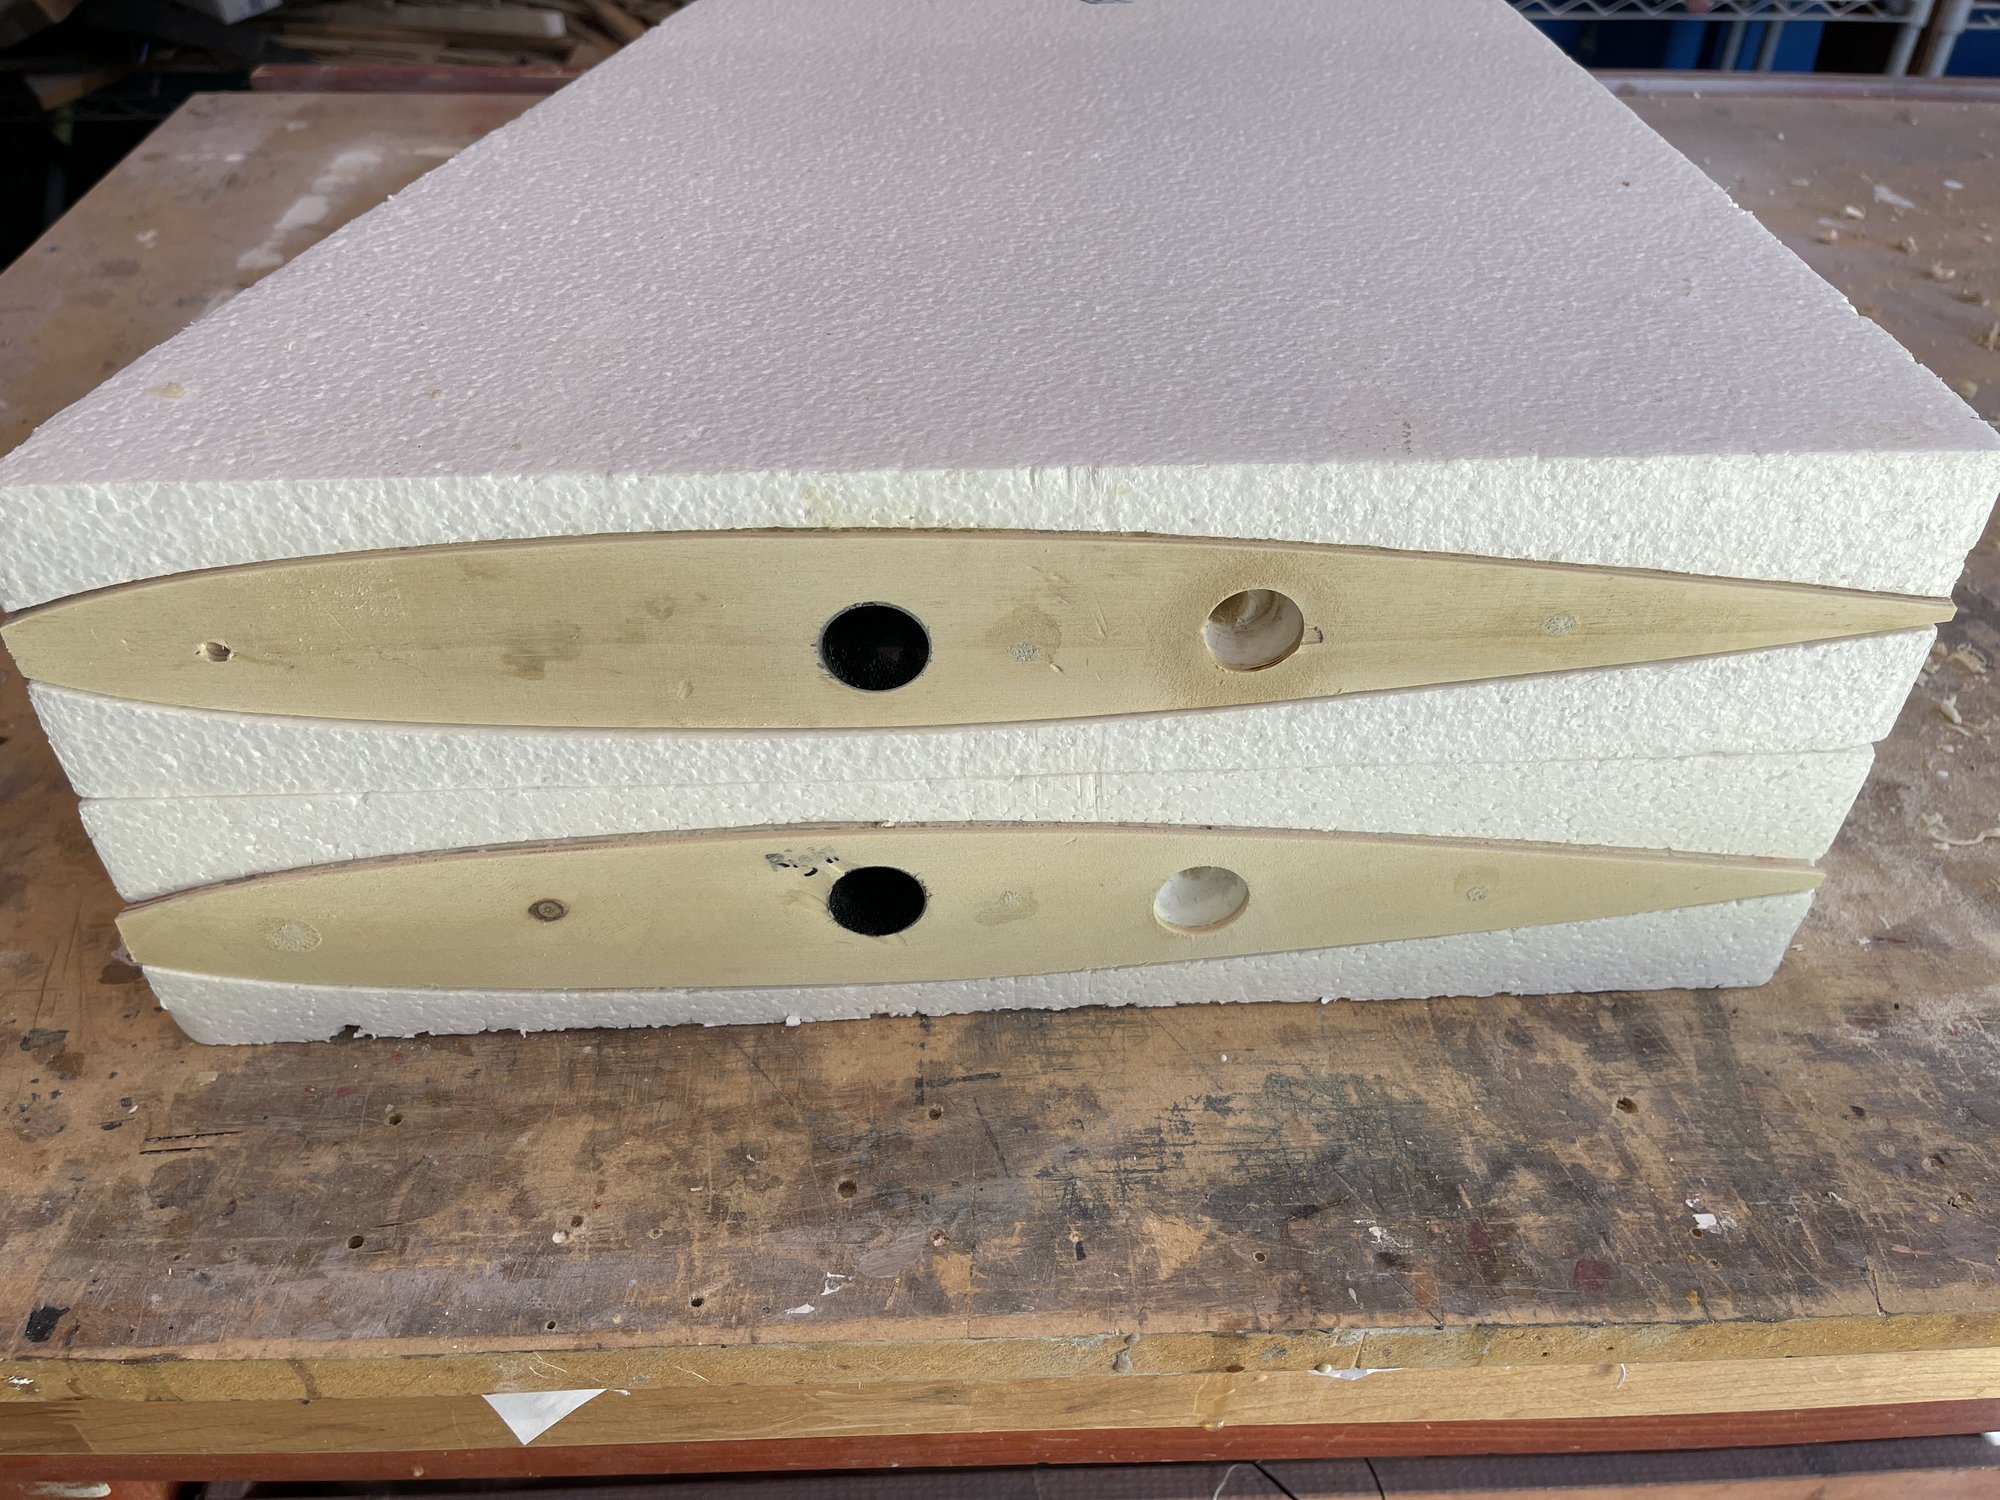
this is the leading edge of the stabs:

the stab tips need balsa block that is 1.5" wide at the TE and tapers to the front.
1. WING AND STAB LEADING EDGE: 1/2" BALSA STICKS
2. STAB TRAILING EDGE : 1/4" HARDWOOD STICK
3. WING TRAILING EDGE: 1/4" HARDWOOD STICK
4. HINGE LINE: LE AND TE USE 1/4" BALSA THAT IS 4 TO 6 POUNDS.
this is the leading edge of the stabs:
the stab tips need balsa block that is 1.5" wide at the TE and tapers to the front.
The following users liked this post:
orthobird (05-27-2022)
 05-26-2022, 03:33 AM
#32
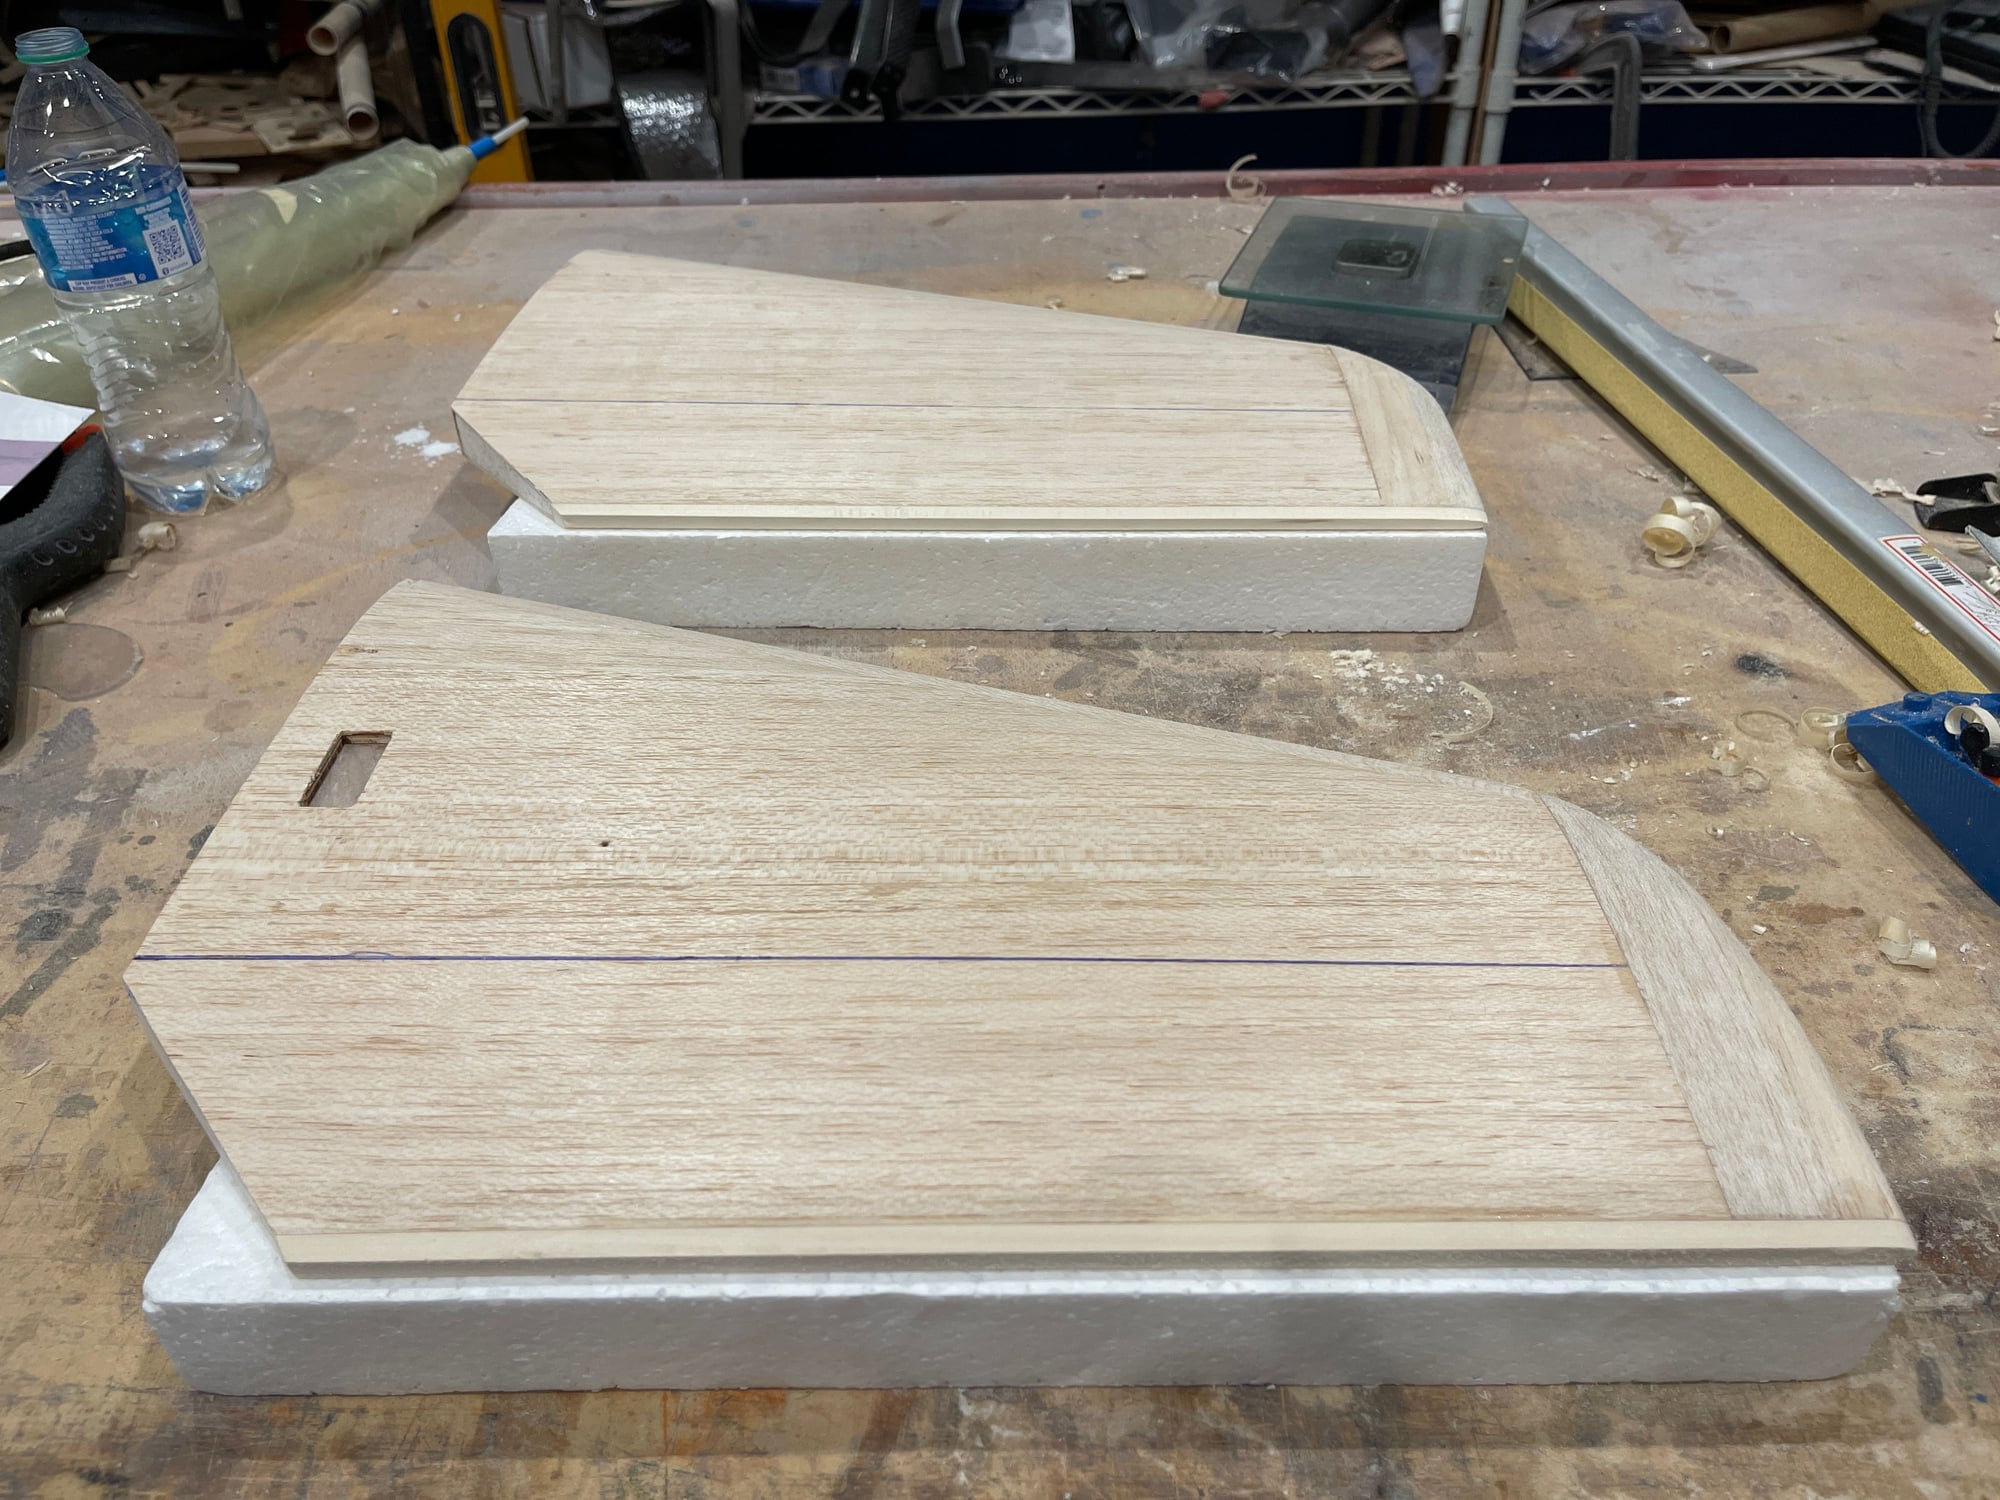
The next step is to glue on the tips.
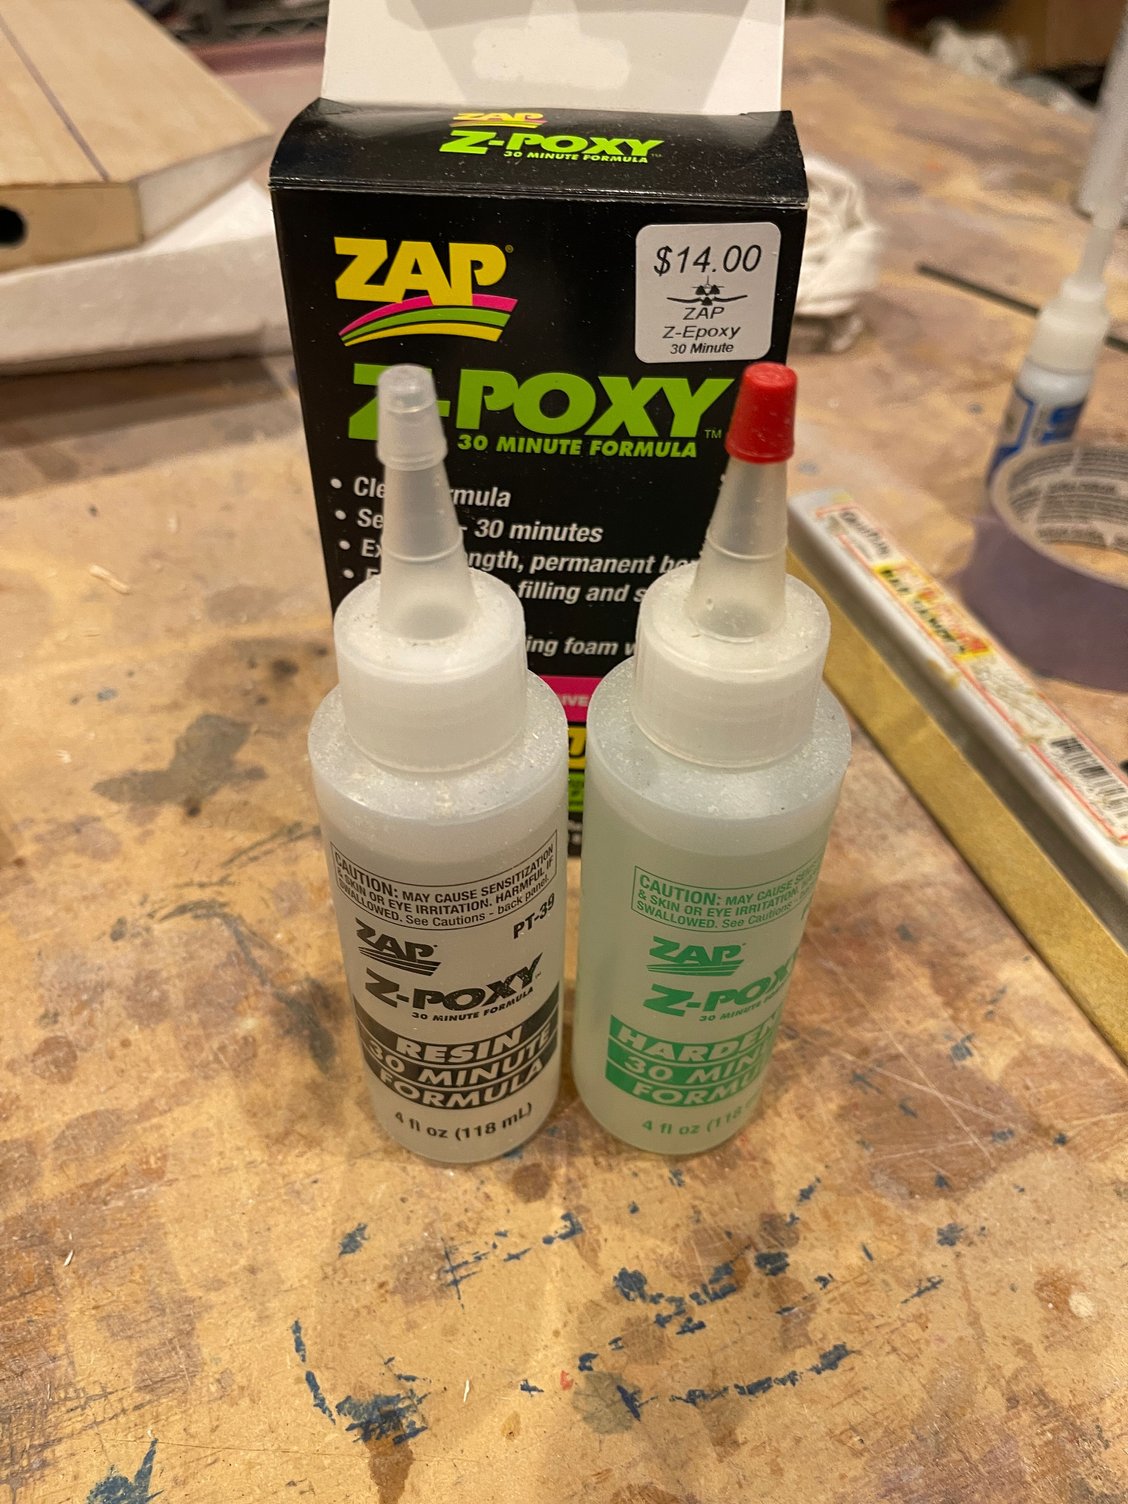
for this step, i will use 30 minute epoxy.
and, I will use the woodpecker on the balsa side.

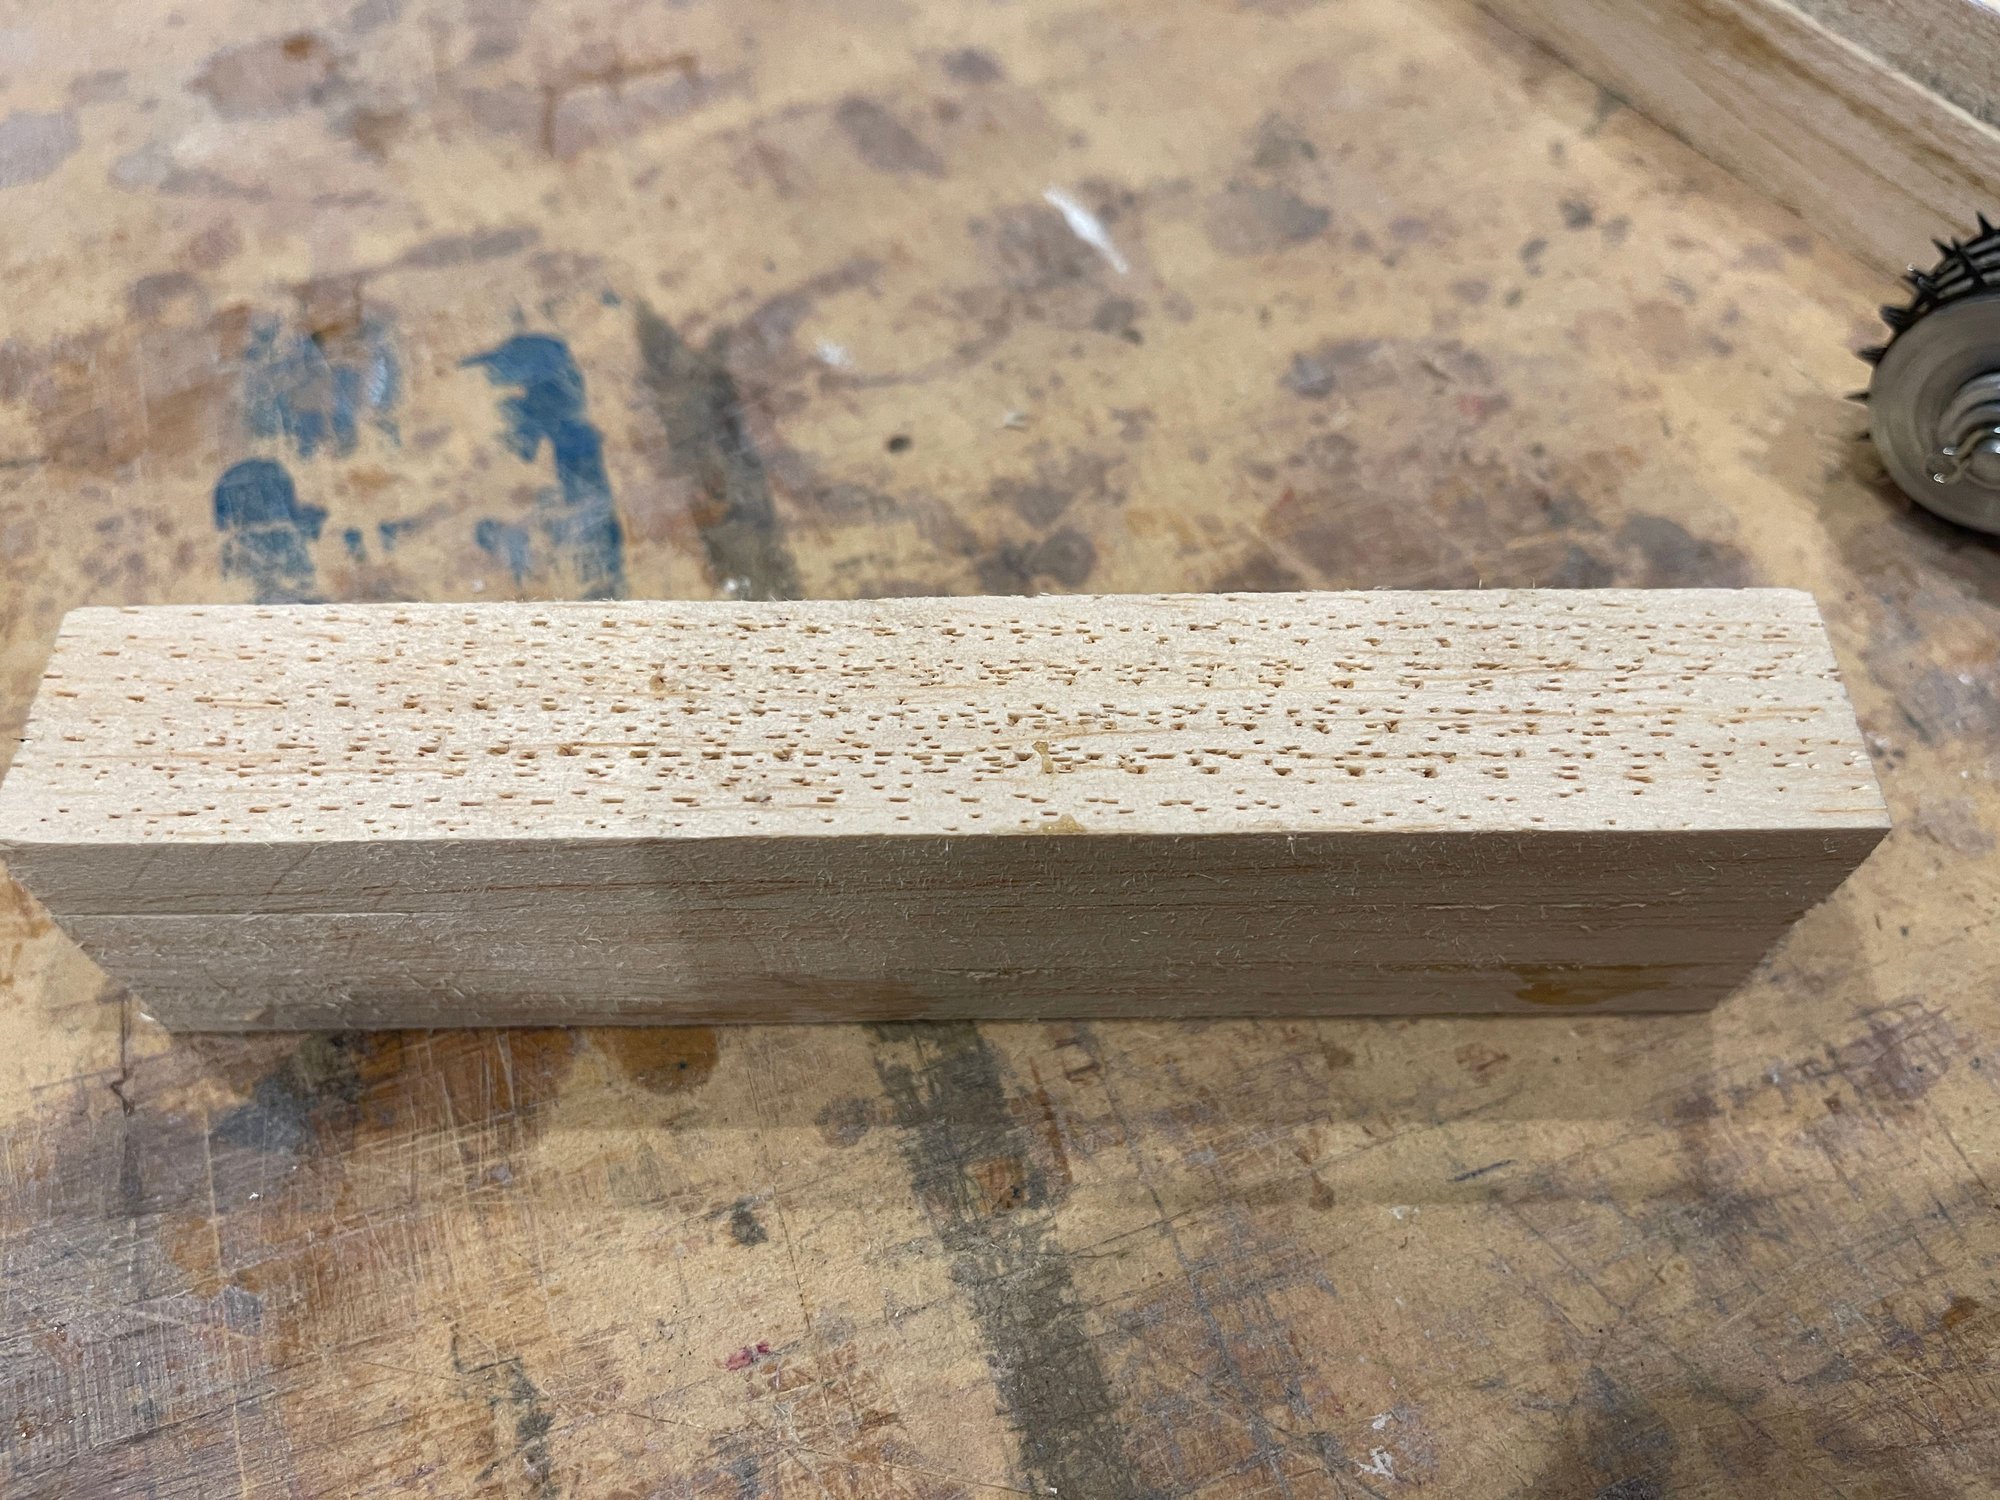
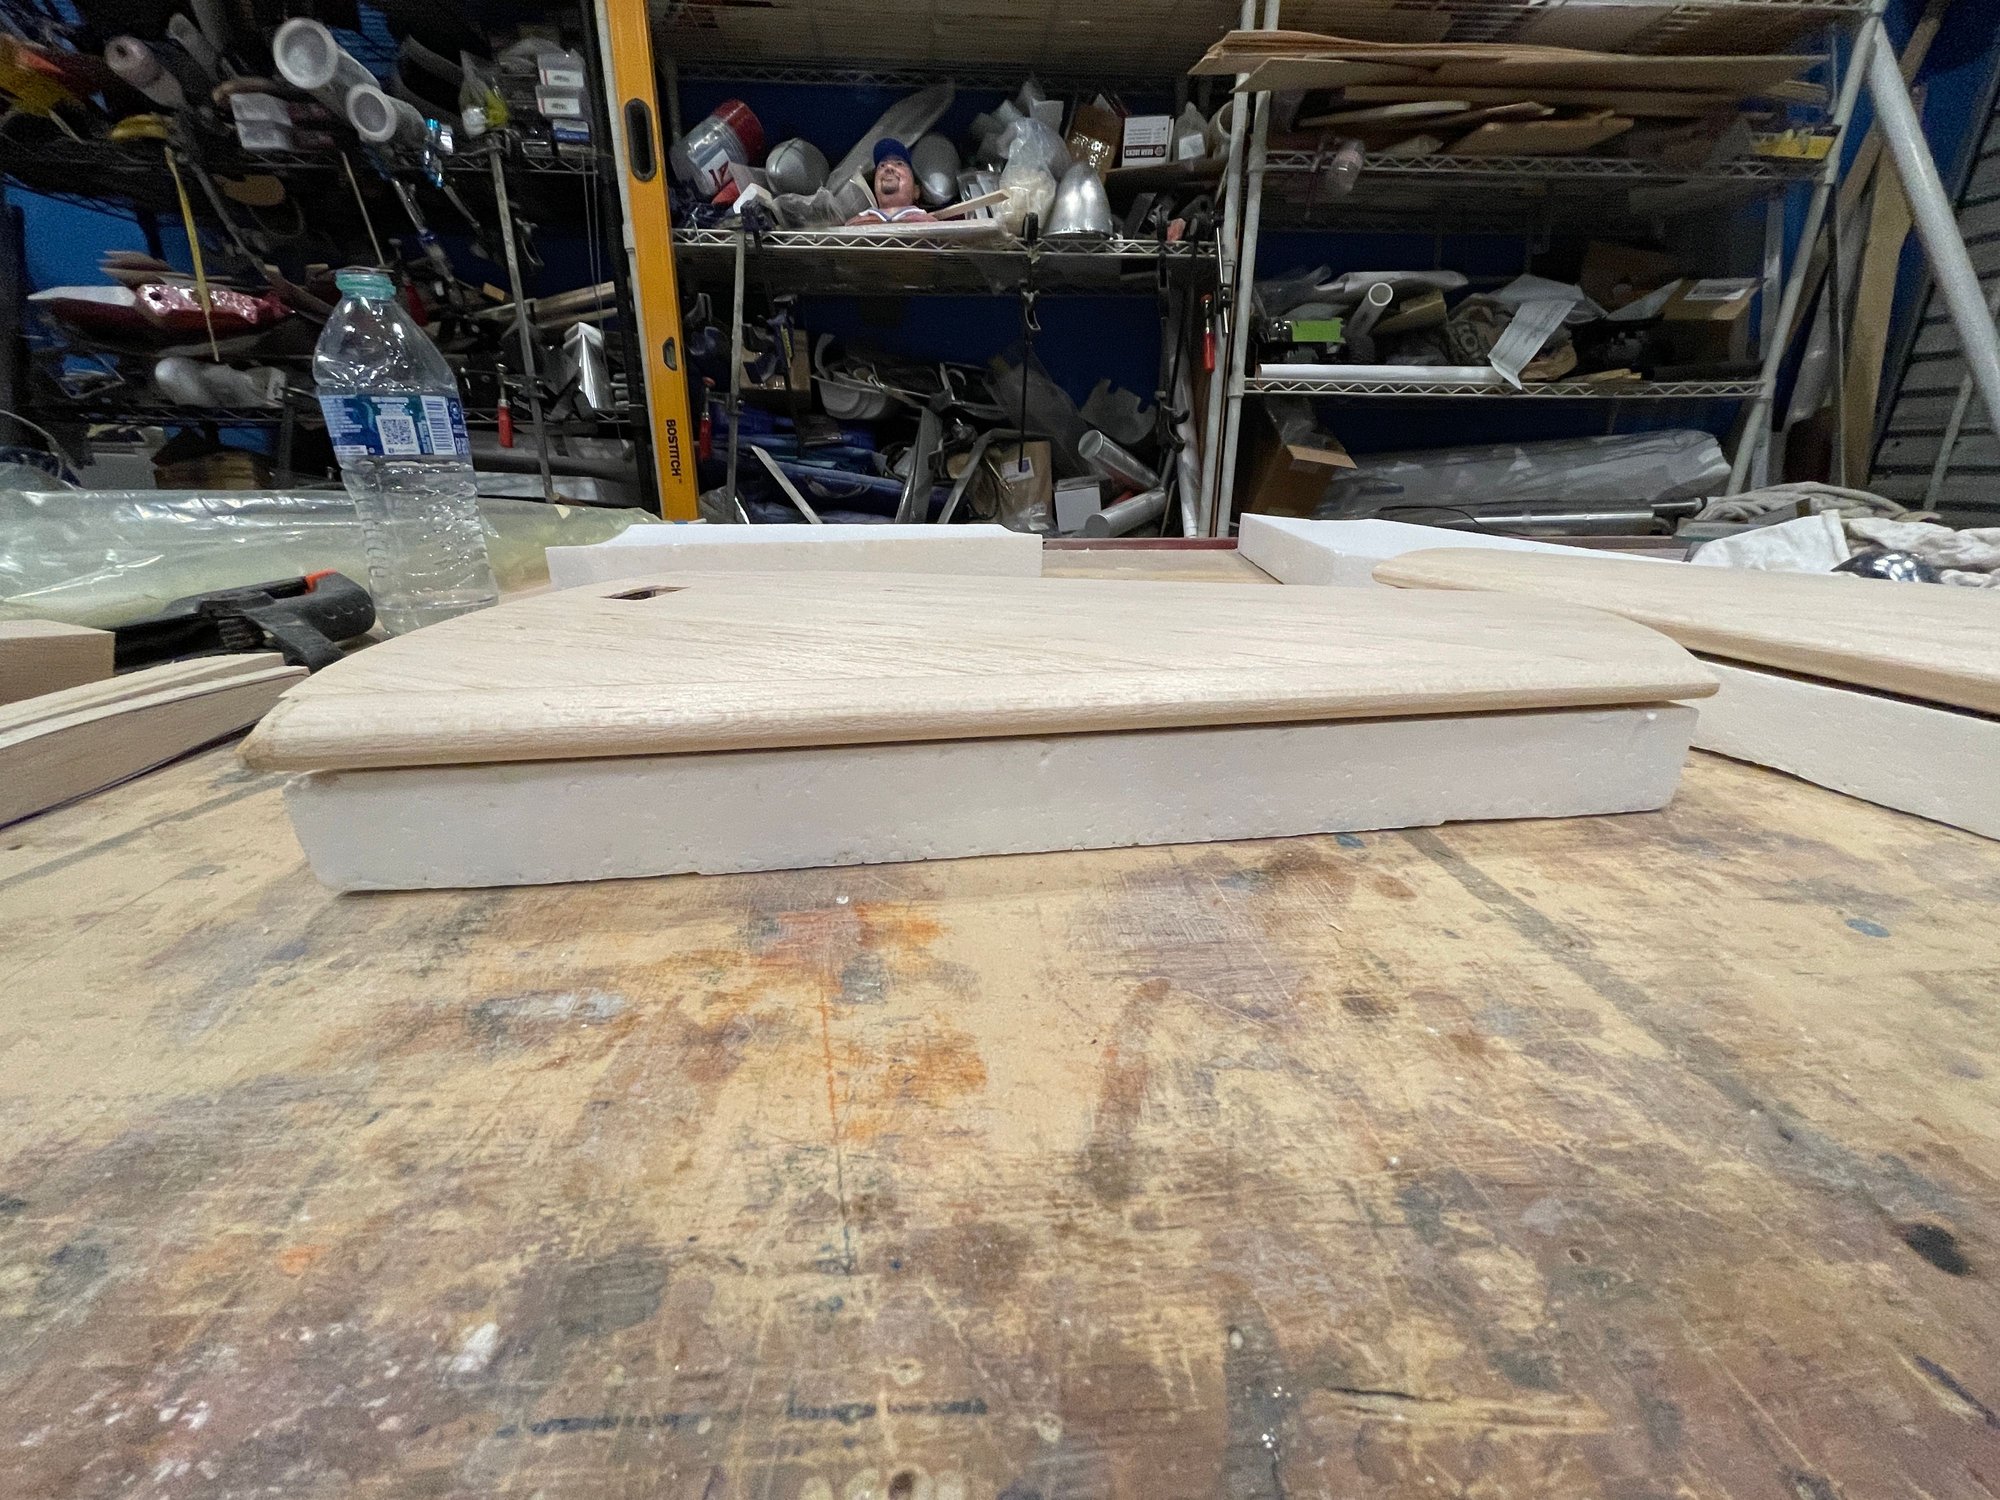
additionally, the tips have to be 1.5" wide at the trailing edge.
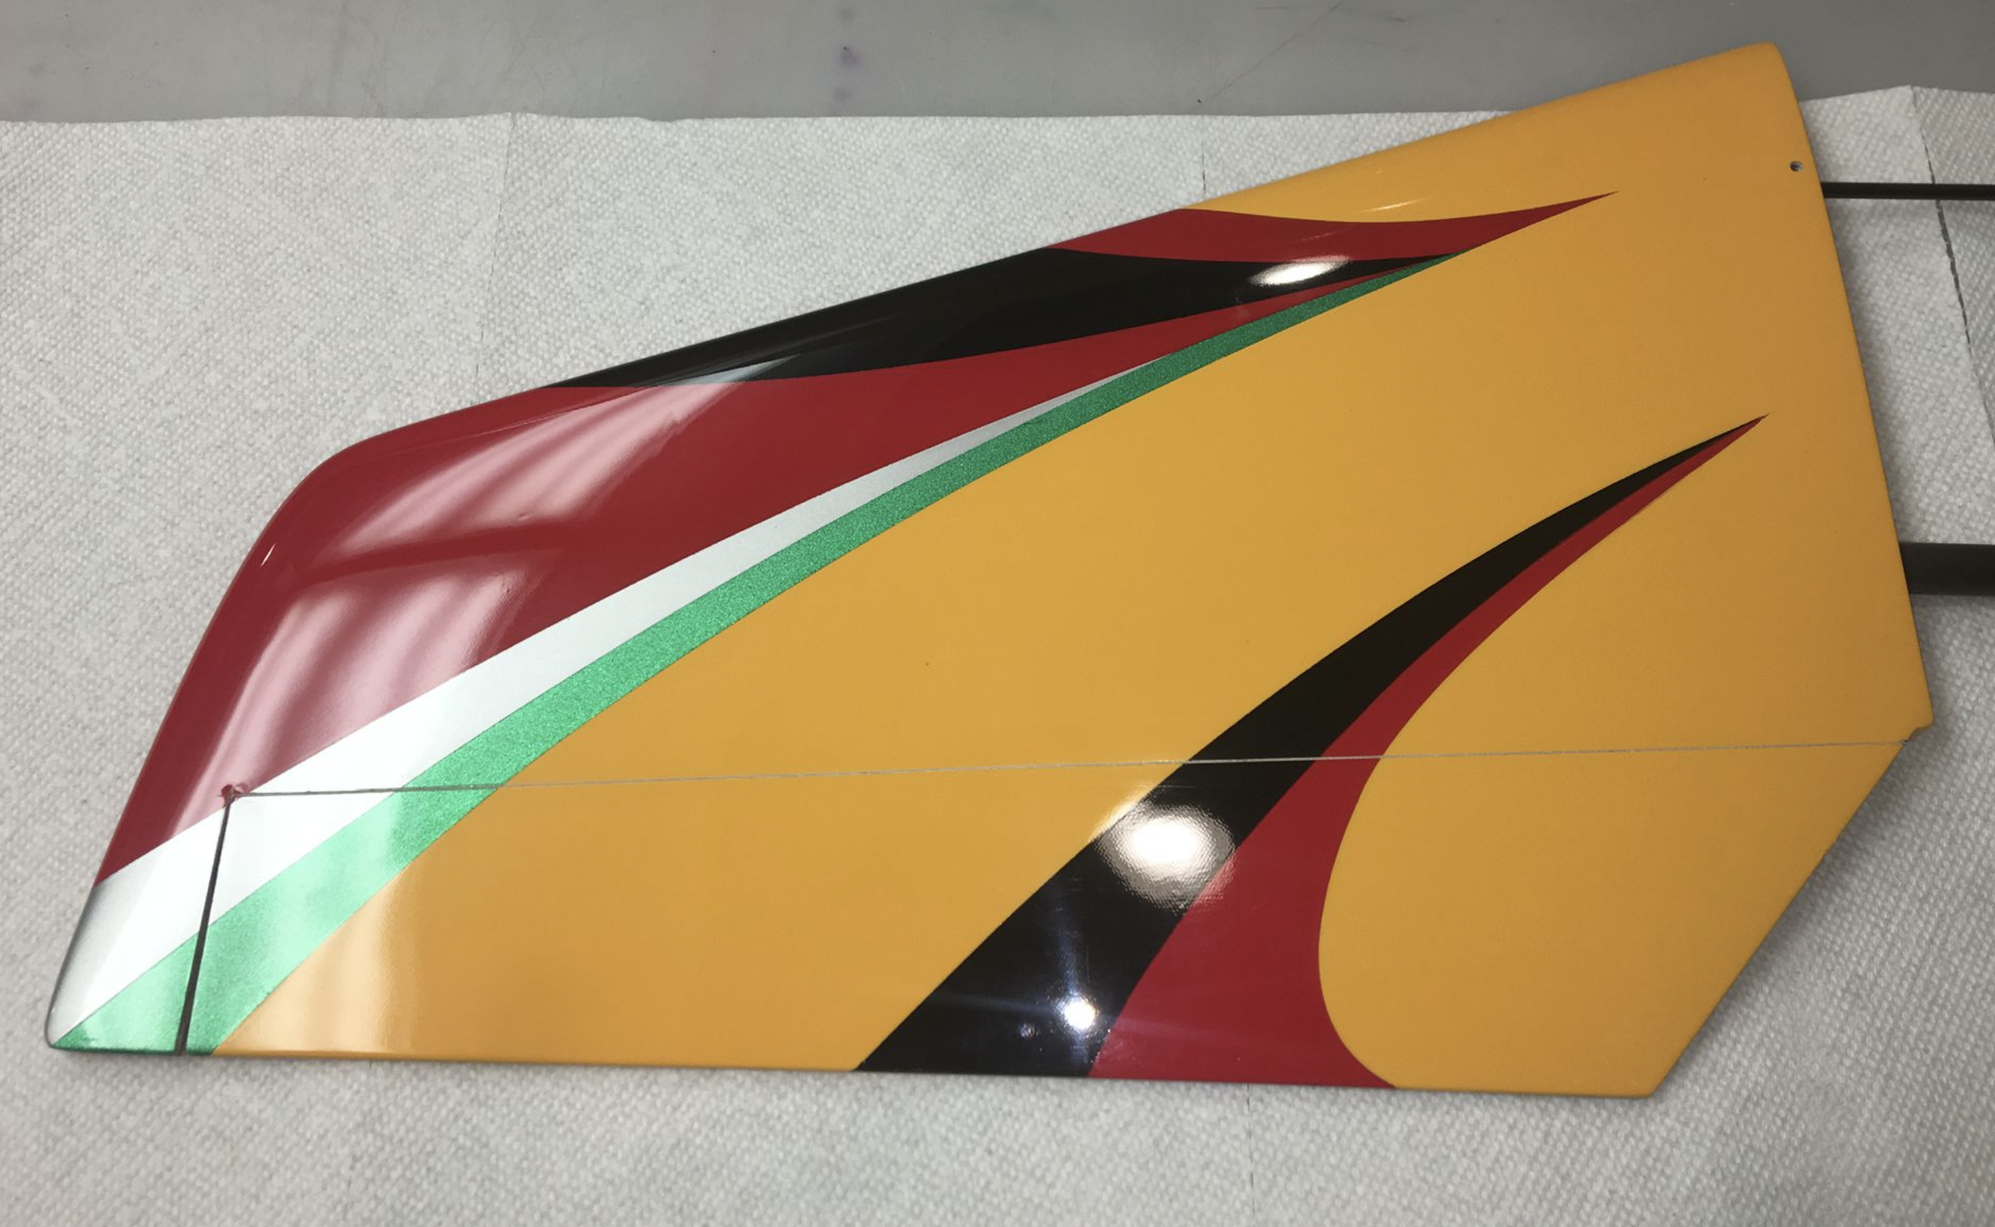
this is a picture of an Alchemy pro stab, so this will give you an idea of what I have to shape the blocks down to:
here it is:


for this step, i will use 30 minute epoxy.
and, I will use the woodpecker on the balsa side.
additionally, the tips have to be 1.5" wide at the trailing edge.
this is a picture of an Alchemy pro stab, so this will give you an idea of what I have to shape the blocks down to:
here it is:
The following users liked this post:
Ricardo M. (05-26-2022)
05-26-2022, 06:48 PM
#33
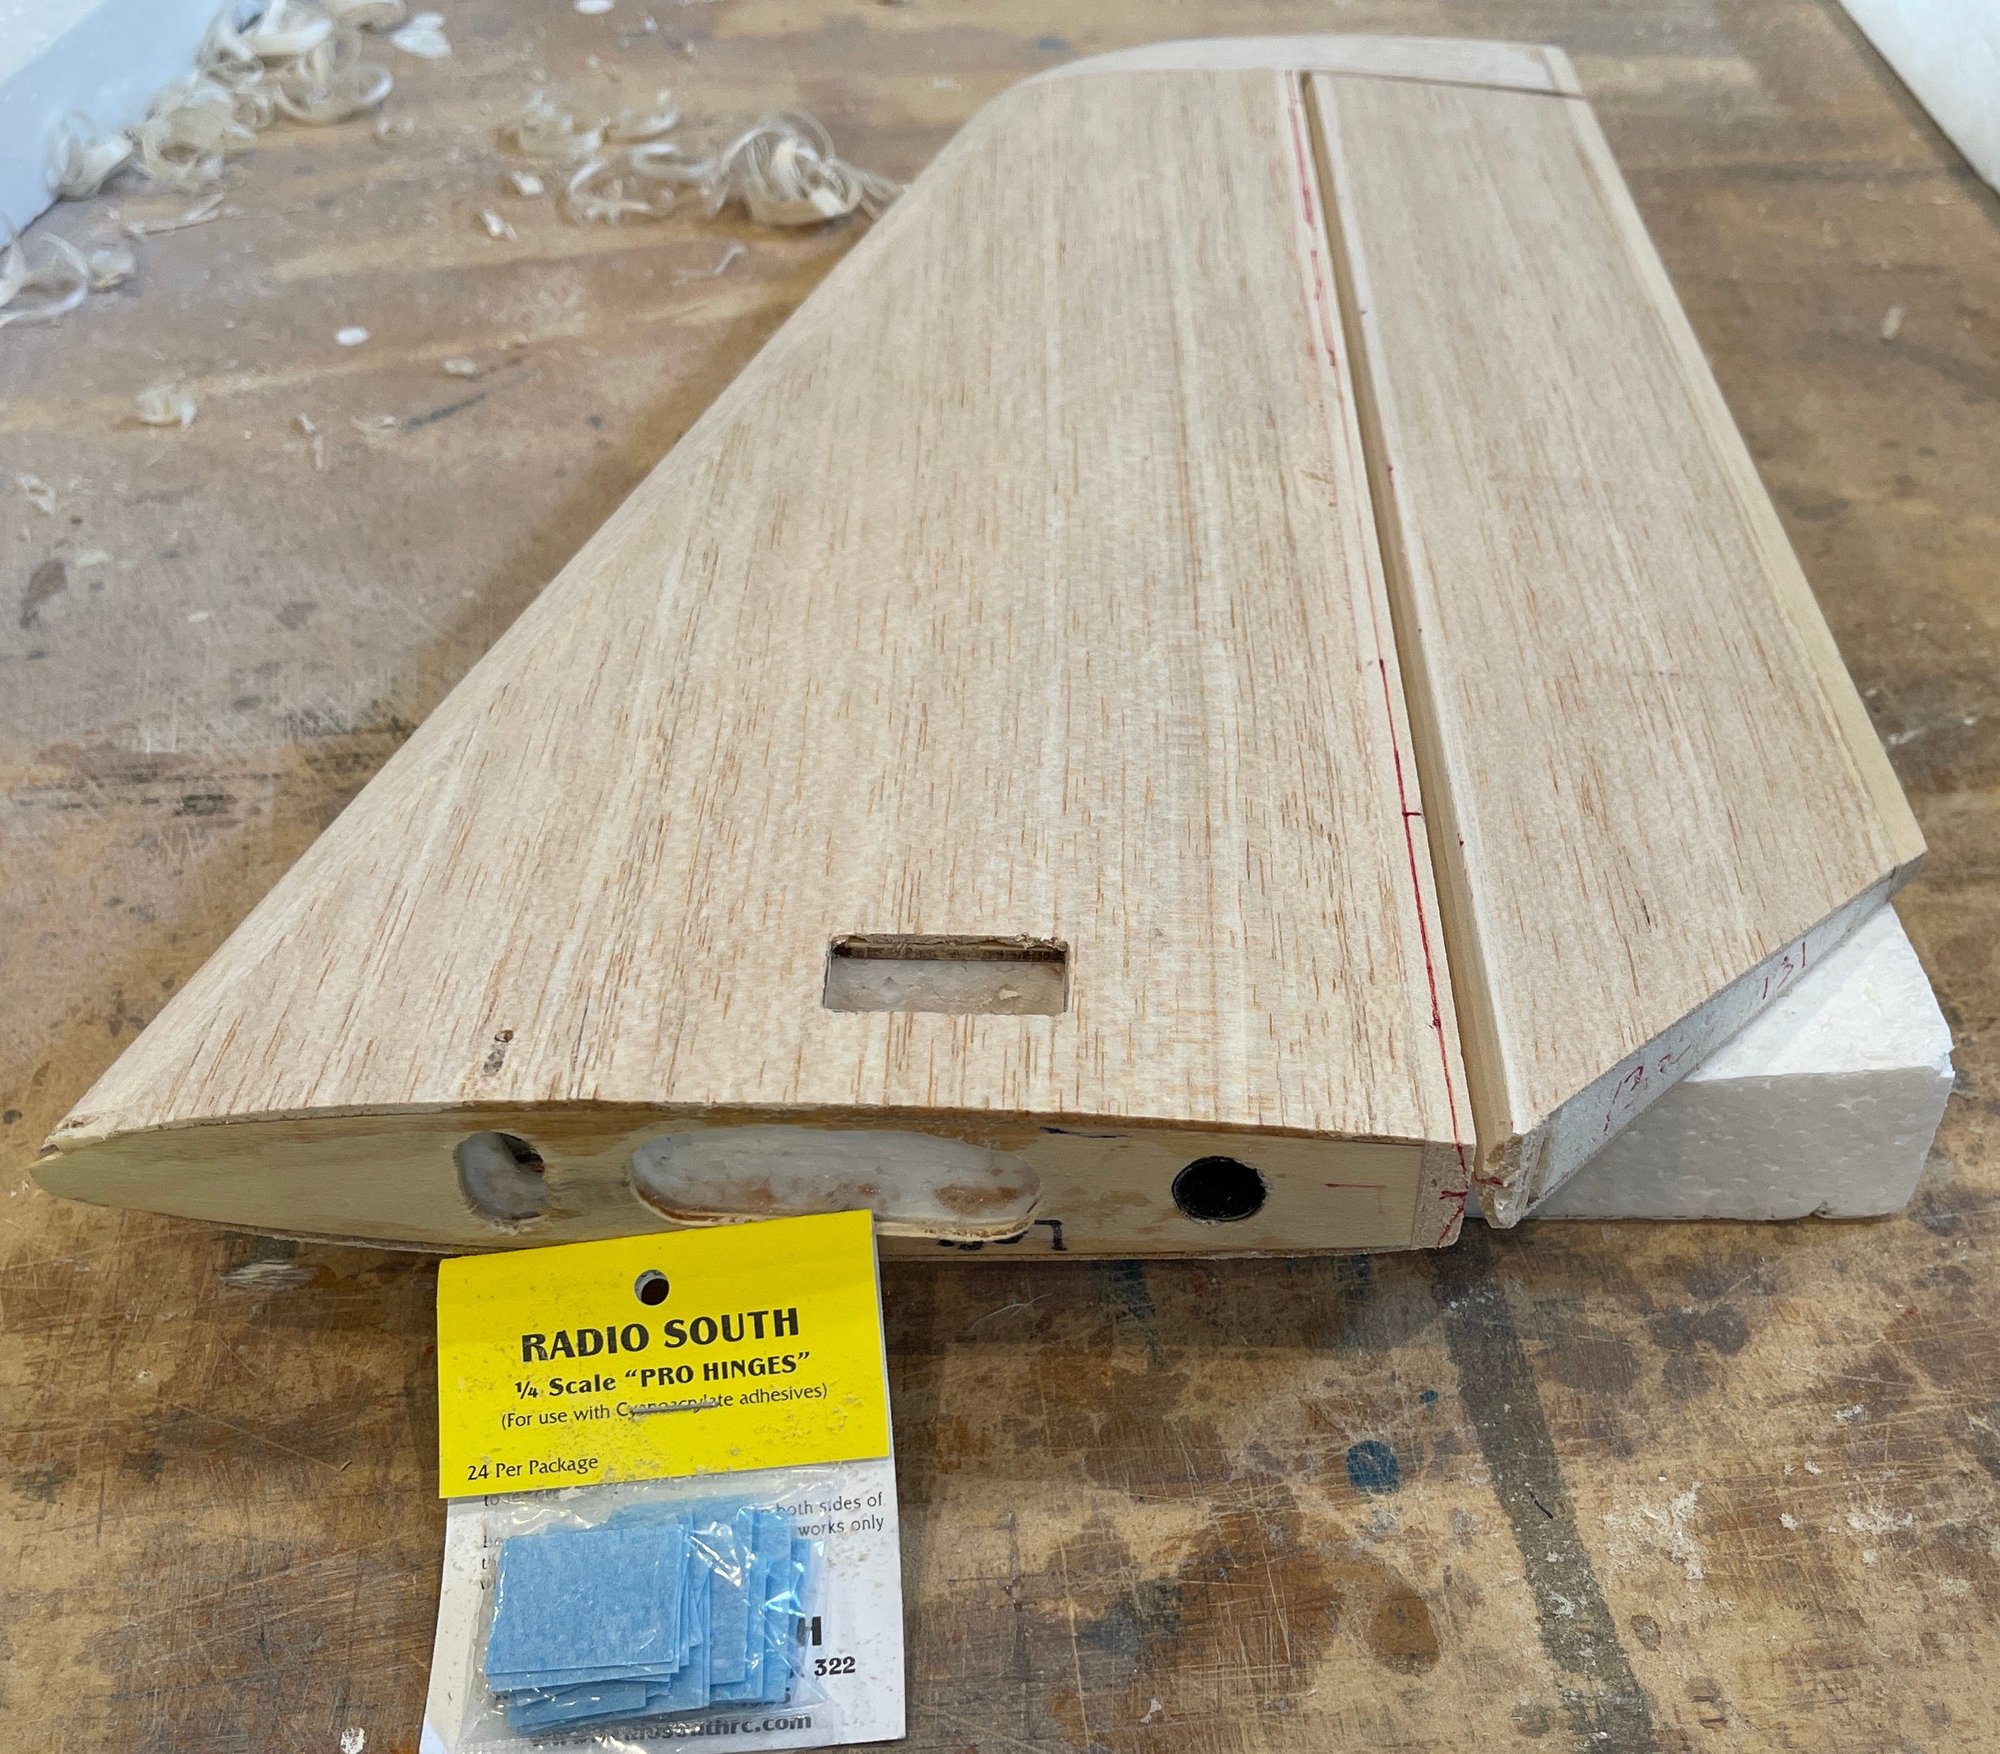
FINISHING OFF THE STAB TIPS
How I did it:
The trailing edge has to be 1.5" wide
so this is what I did:
but 1st, what I used to do it with:
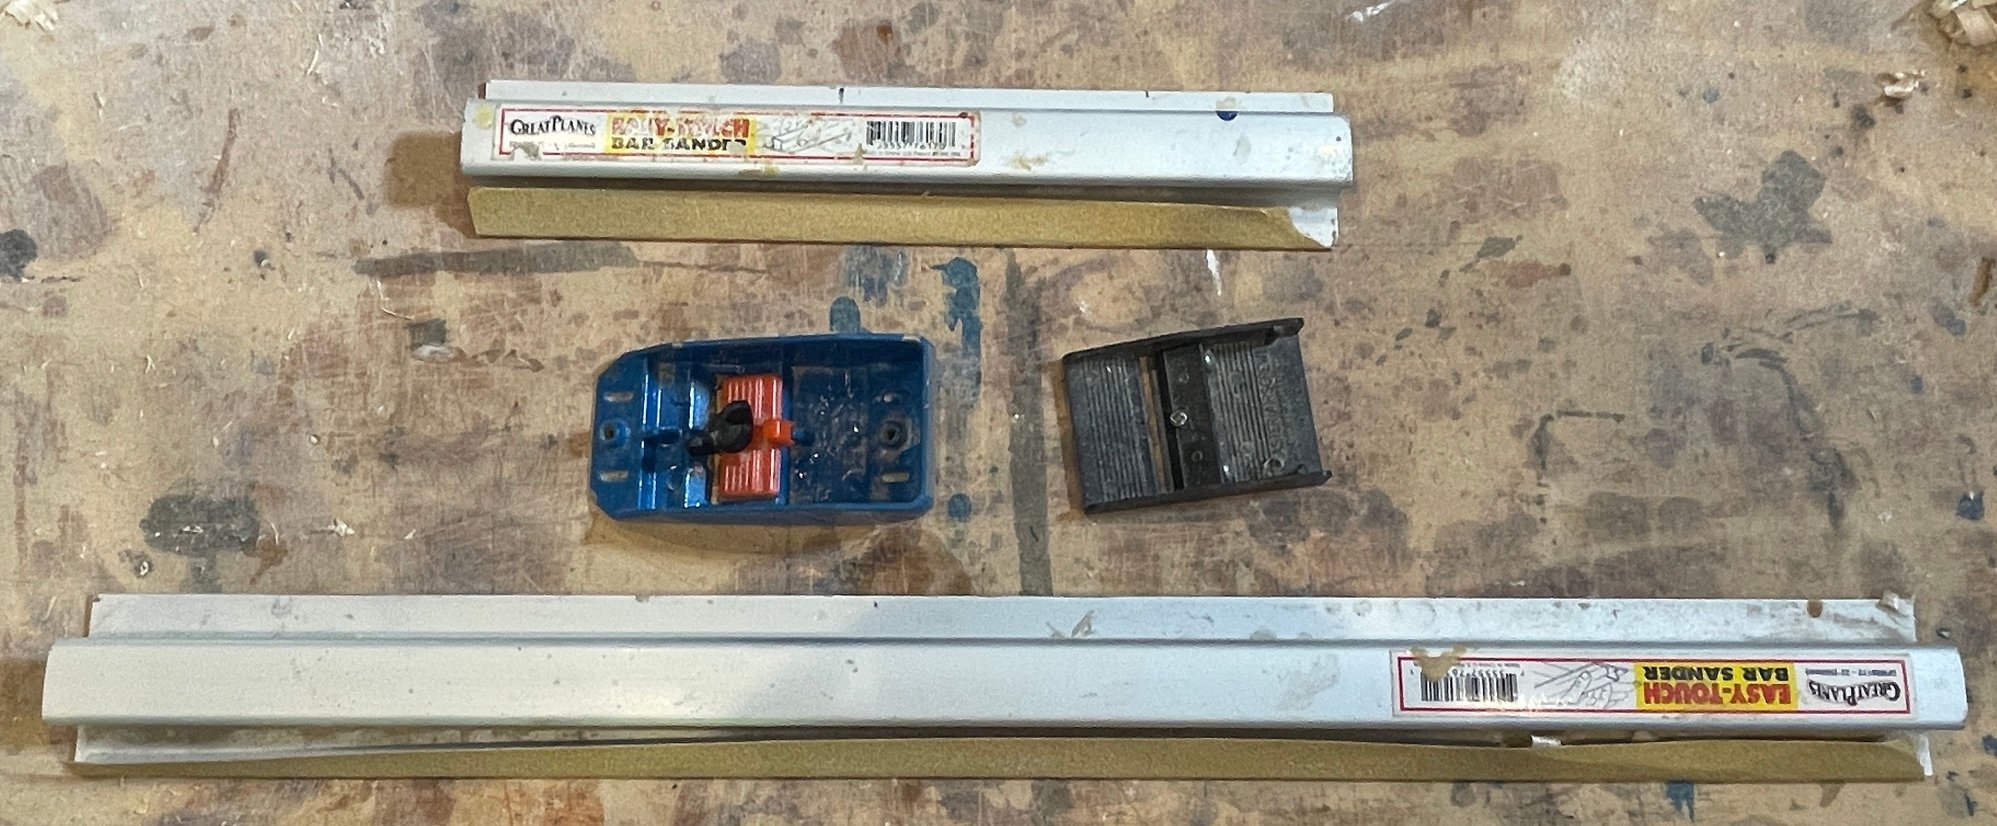
wanted to share the tools I used to shape the tips

tip to root view of stab

root to tip view of the stab
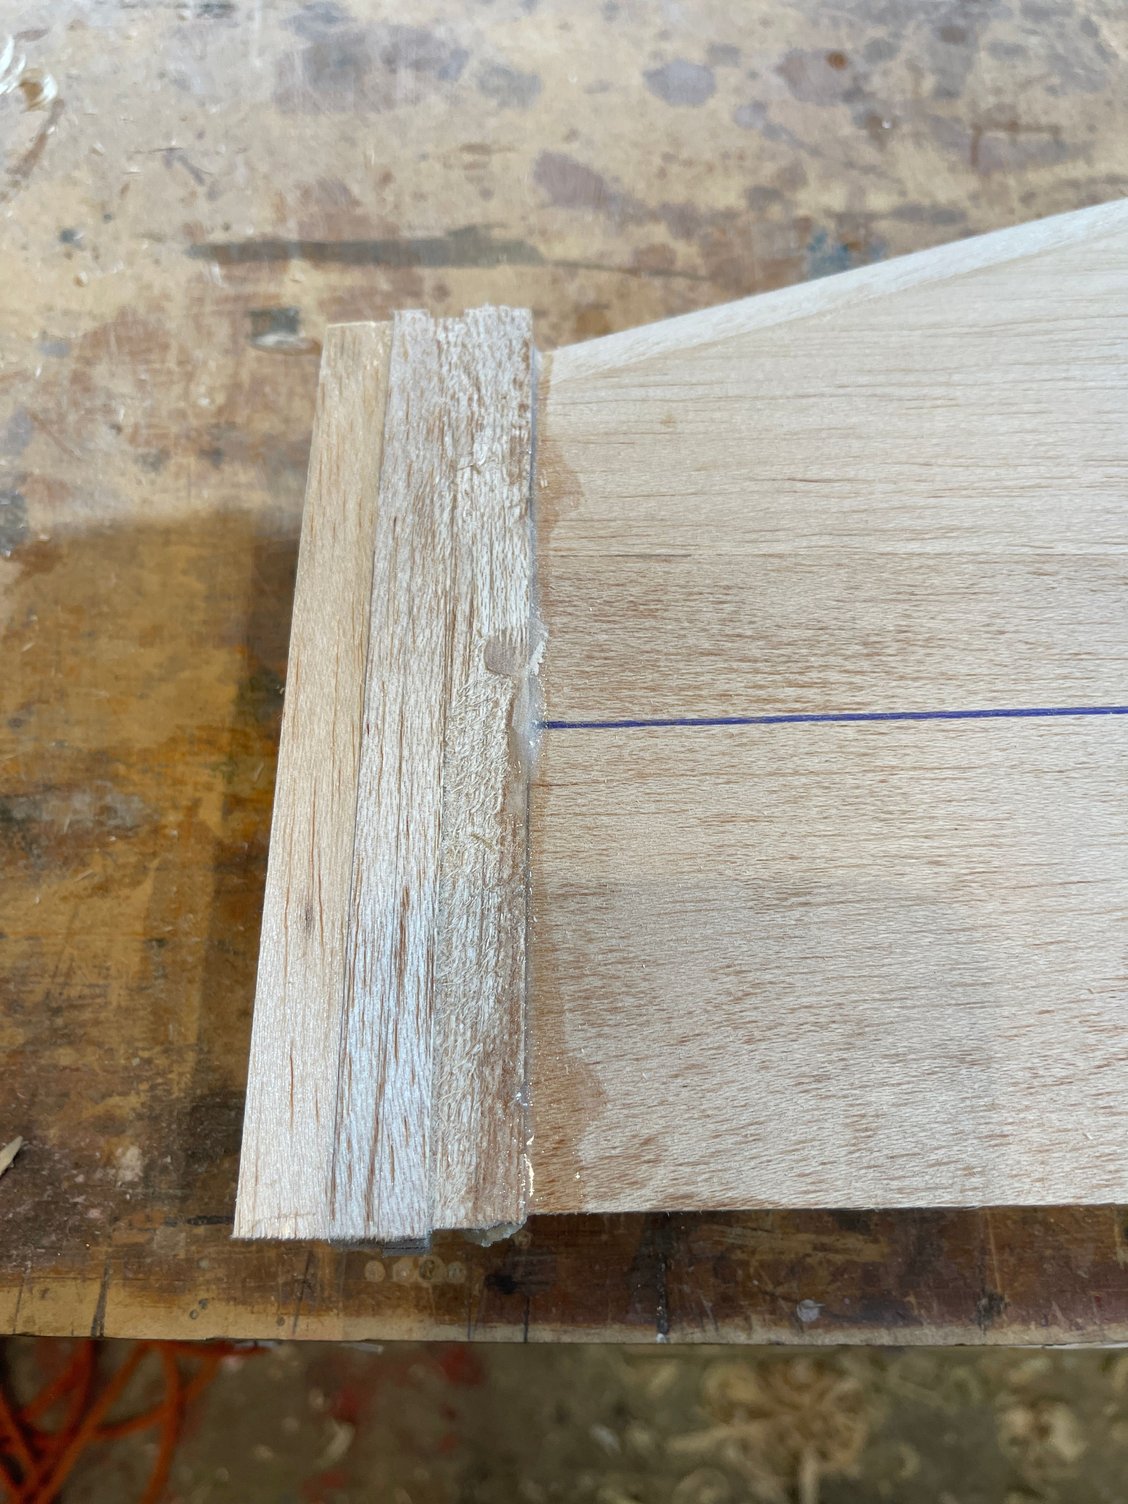
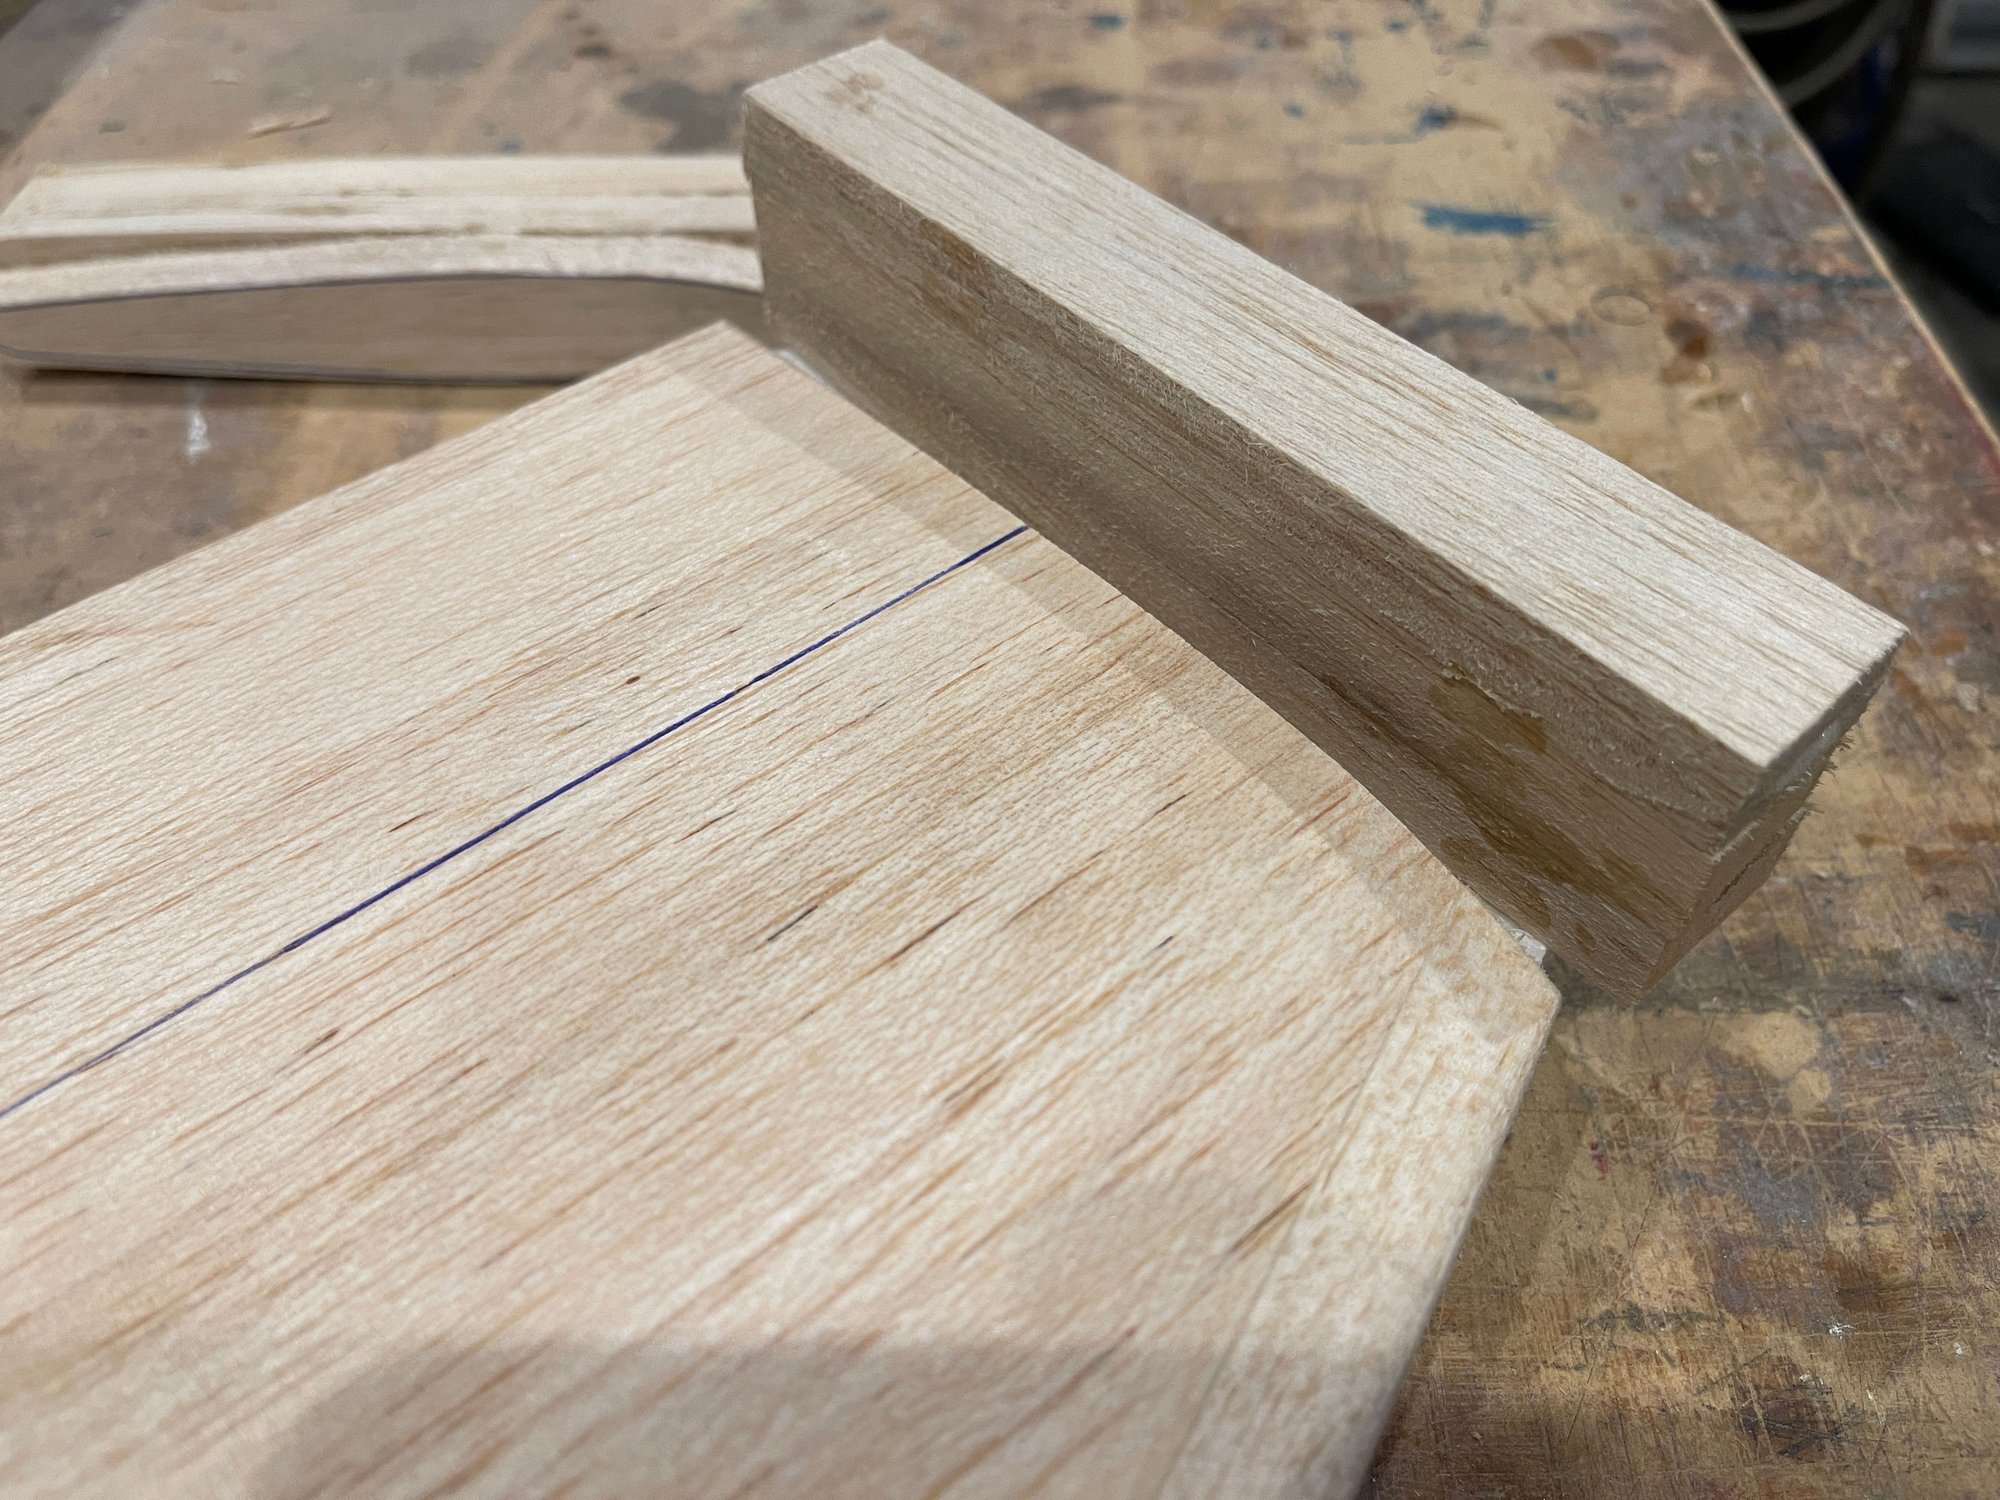
these balsa strips combined are 1.5" wide

I used this curve to give me an idea of what material to cut out:

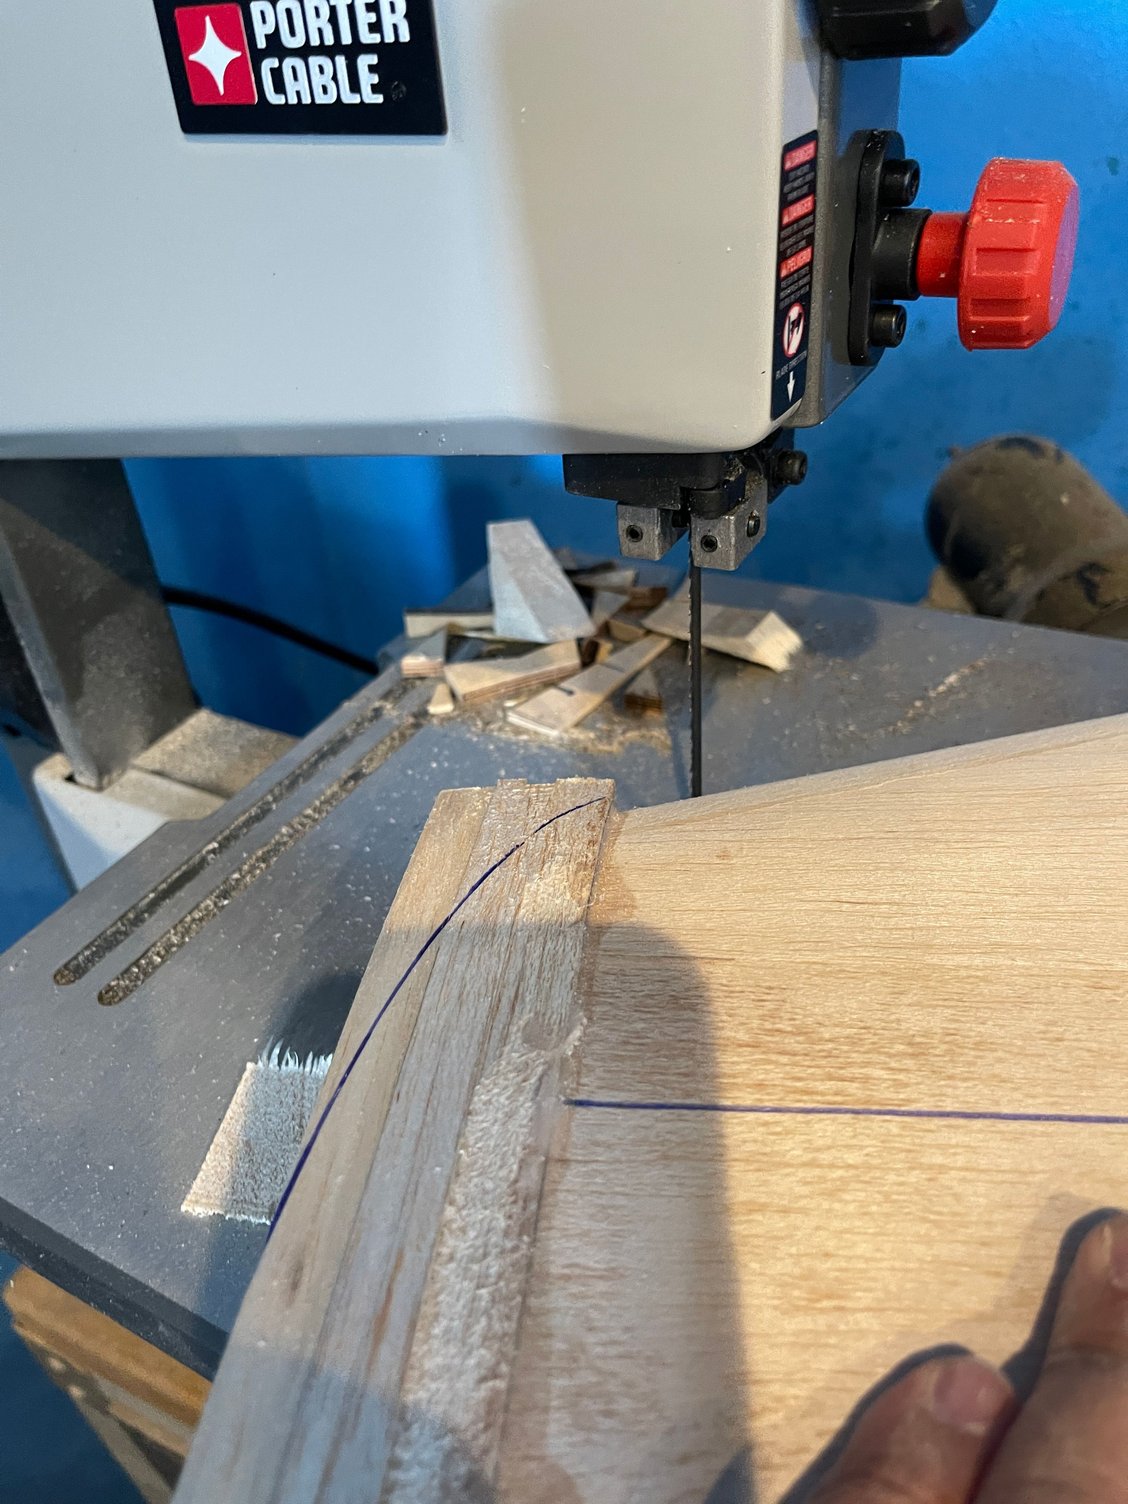
using the saw to cut out big pieces. Much easier than sanding it down.
then, I used the planers and the hard block sanders to do the rest
the trailing edge of the stab has to align with the tip, this is critical, as it is used as a reference during the trimming process and when setting the stabs with the adjusters, as a clip can be placed to hold the elevator level with the tip.
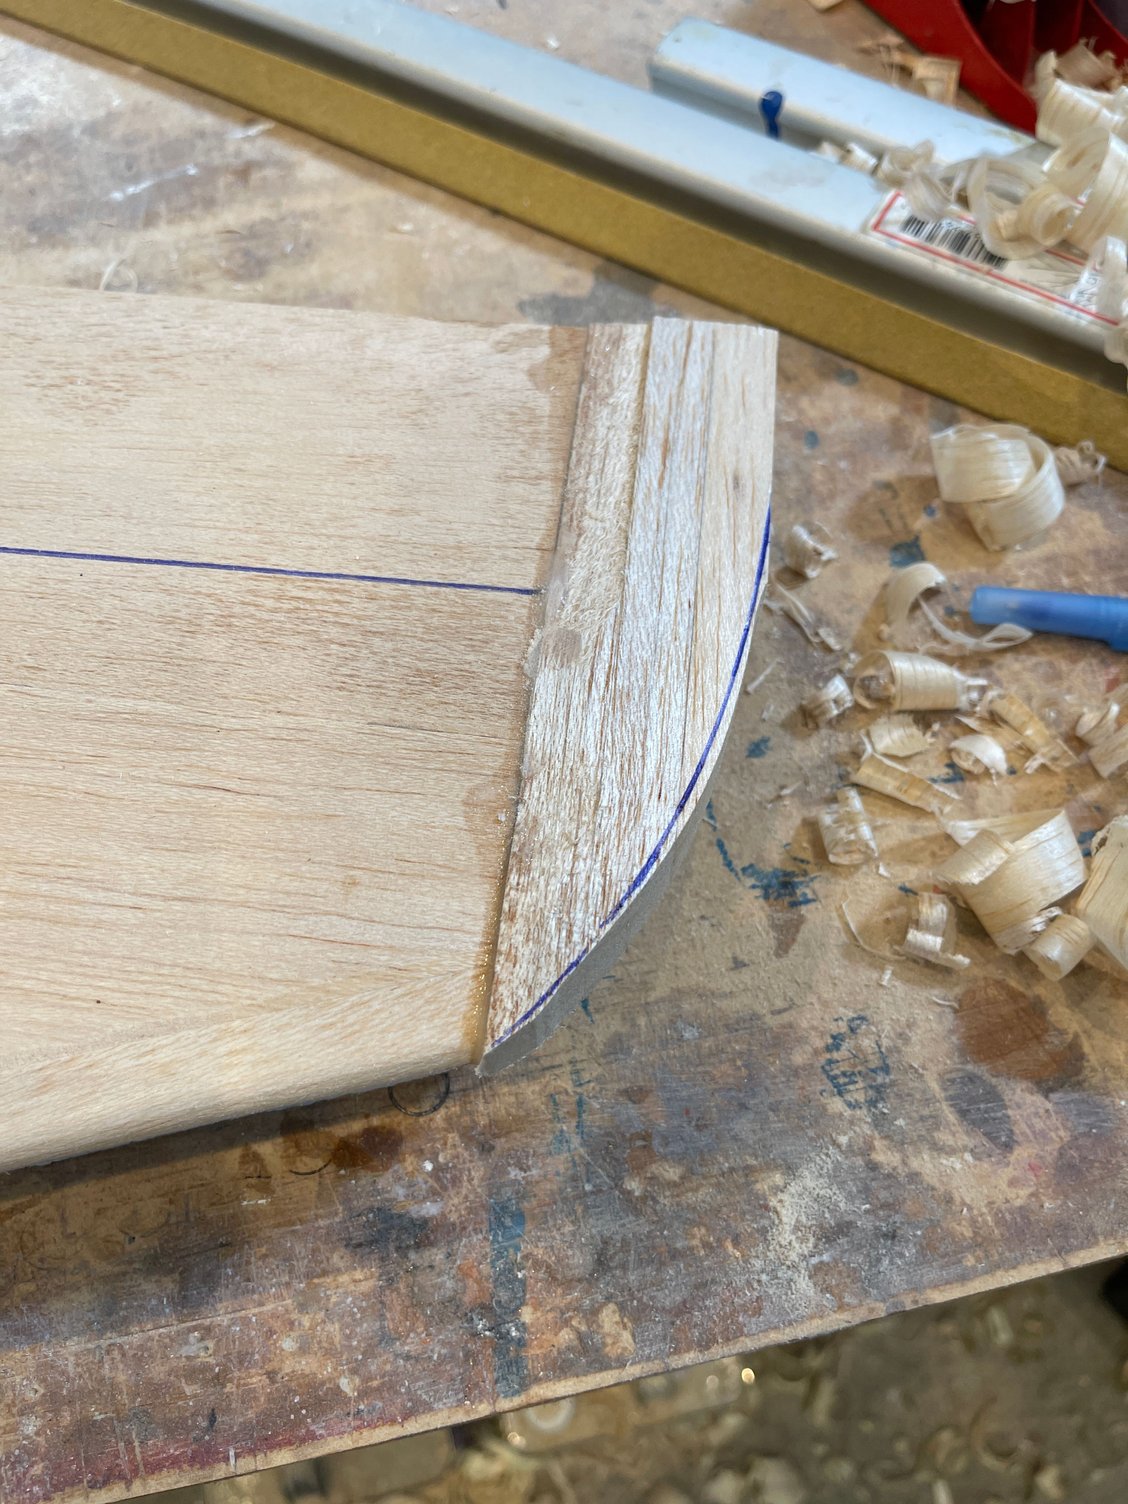
slowly taking my time and doing this

end result
How I did it:
The trailing edge has to be 1.5" wide
so this is what I did:
but 1st, what I used to do it with:
wanted to share the tools I used to shape the tips
tip to root view of stab
root to tip view of the stab
these balsa strips combined are 1.5" wide
I used this curve to give me an idea of what material to cut out:
using the saw to cut out big pieces. Much easier than sanding it down.
then, I used the planers and the hard block sanders to do the rest
the trailing edge of the stab has to align with the tip, this is critical, as it is used as a reference during the trimming process and when setting the stabs with the adjusters, as a clip can be placed to hold the elevator level with the tip.
slowly taking my time and doing this
end result
The following users liked this post:
wattsup (05-27-2022)


The following users liked this post:
wattsup (05-27-2022)
The following users liked this post:
orthobird (05-27-2022)
05-27-2022, 11:37 AM
#37
as promised, CK AERO ALCHEMY PRO WEIGHTS:
Battery = 1000 grams
Contra Drive V4 = 600 grams
Mike Gaishin Motor 12 s = 245 grams
Falcon Propeller X2=
Chin cowl= 104 grams
Hatch= 105 grams
Right stab sheeted 130 grams
Left stab sheeted 128 grams
Fuselage/WT/ST/ARP 875 grams
Rudder 94 grams
Left wing not sheeted 121 grams
Right wing not sheeted 128 grams
Left wing skin 165 grams
Right wing skin 184 grams
Left W root cap 27 grams
Right W root cap 26 grams
Gear legs 40 grams 80 grams
Wheel pants 12 grams 24 grams
BLS 173SV X2 28 g 56 grams
BLS 171SV X 3 48 g 144 grams
05-27-2022, 03:27 PM
#38
I just did one stab, and beveled only the elevator LE
and with that, i can deflect 20 degrees each way.
Which is more than enough.
the LE and TE of the hinge line, are each, 1/4"
so i removed 1/8" from top and 1/8" from bottom beveled towards center of the hinge line. Only on the elevator
and by doing this, i got a good 20 degrees deflection each way.
I like to have a tight hinge gap
and for precision, I am not looking for a great deal of travel on the elevator.
Last edited by orthobird; 05-27-2022 at 07:19 PM.
05-27-2022, 05:11 PM
#39
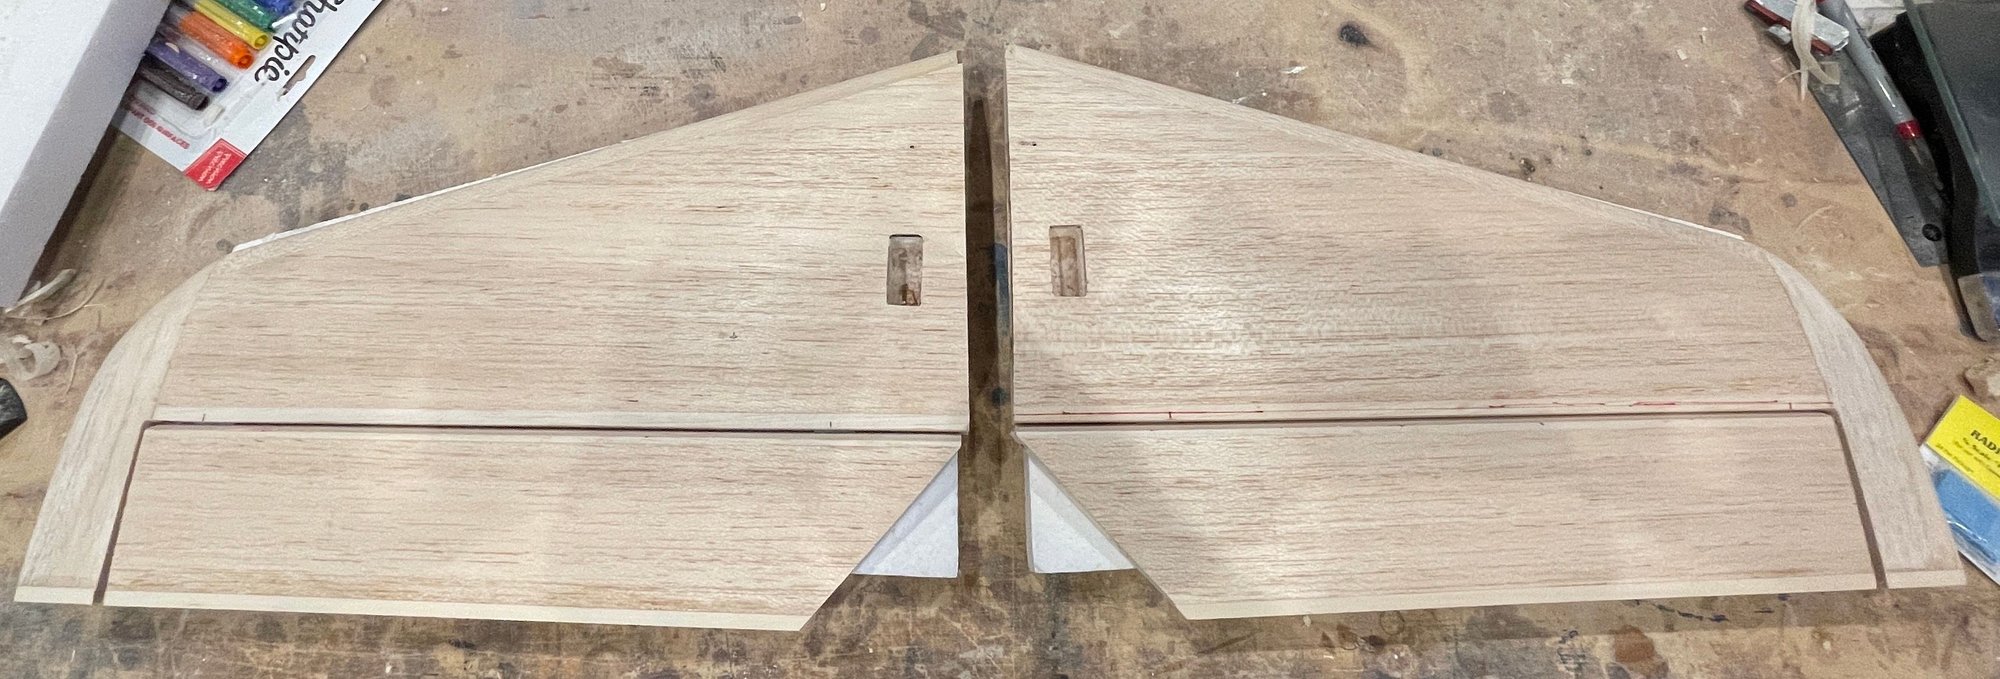
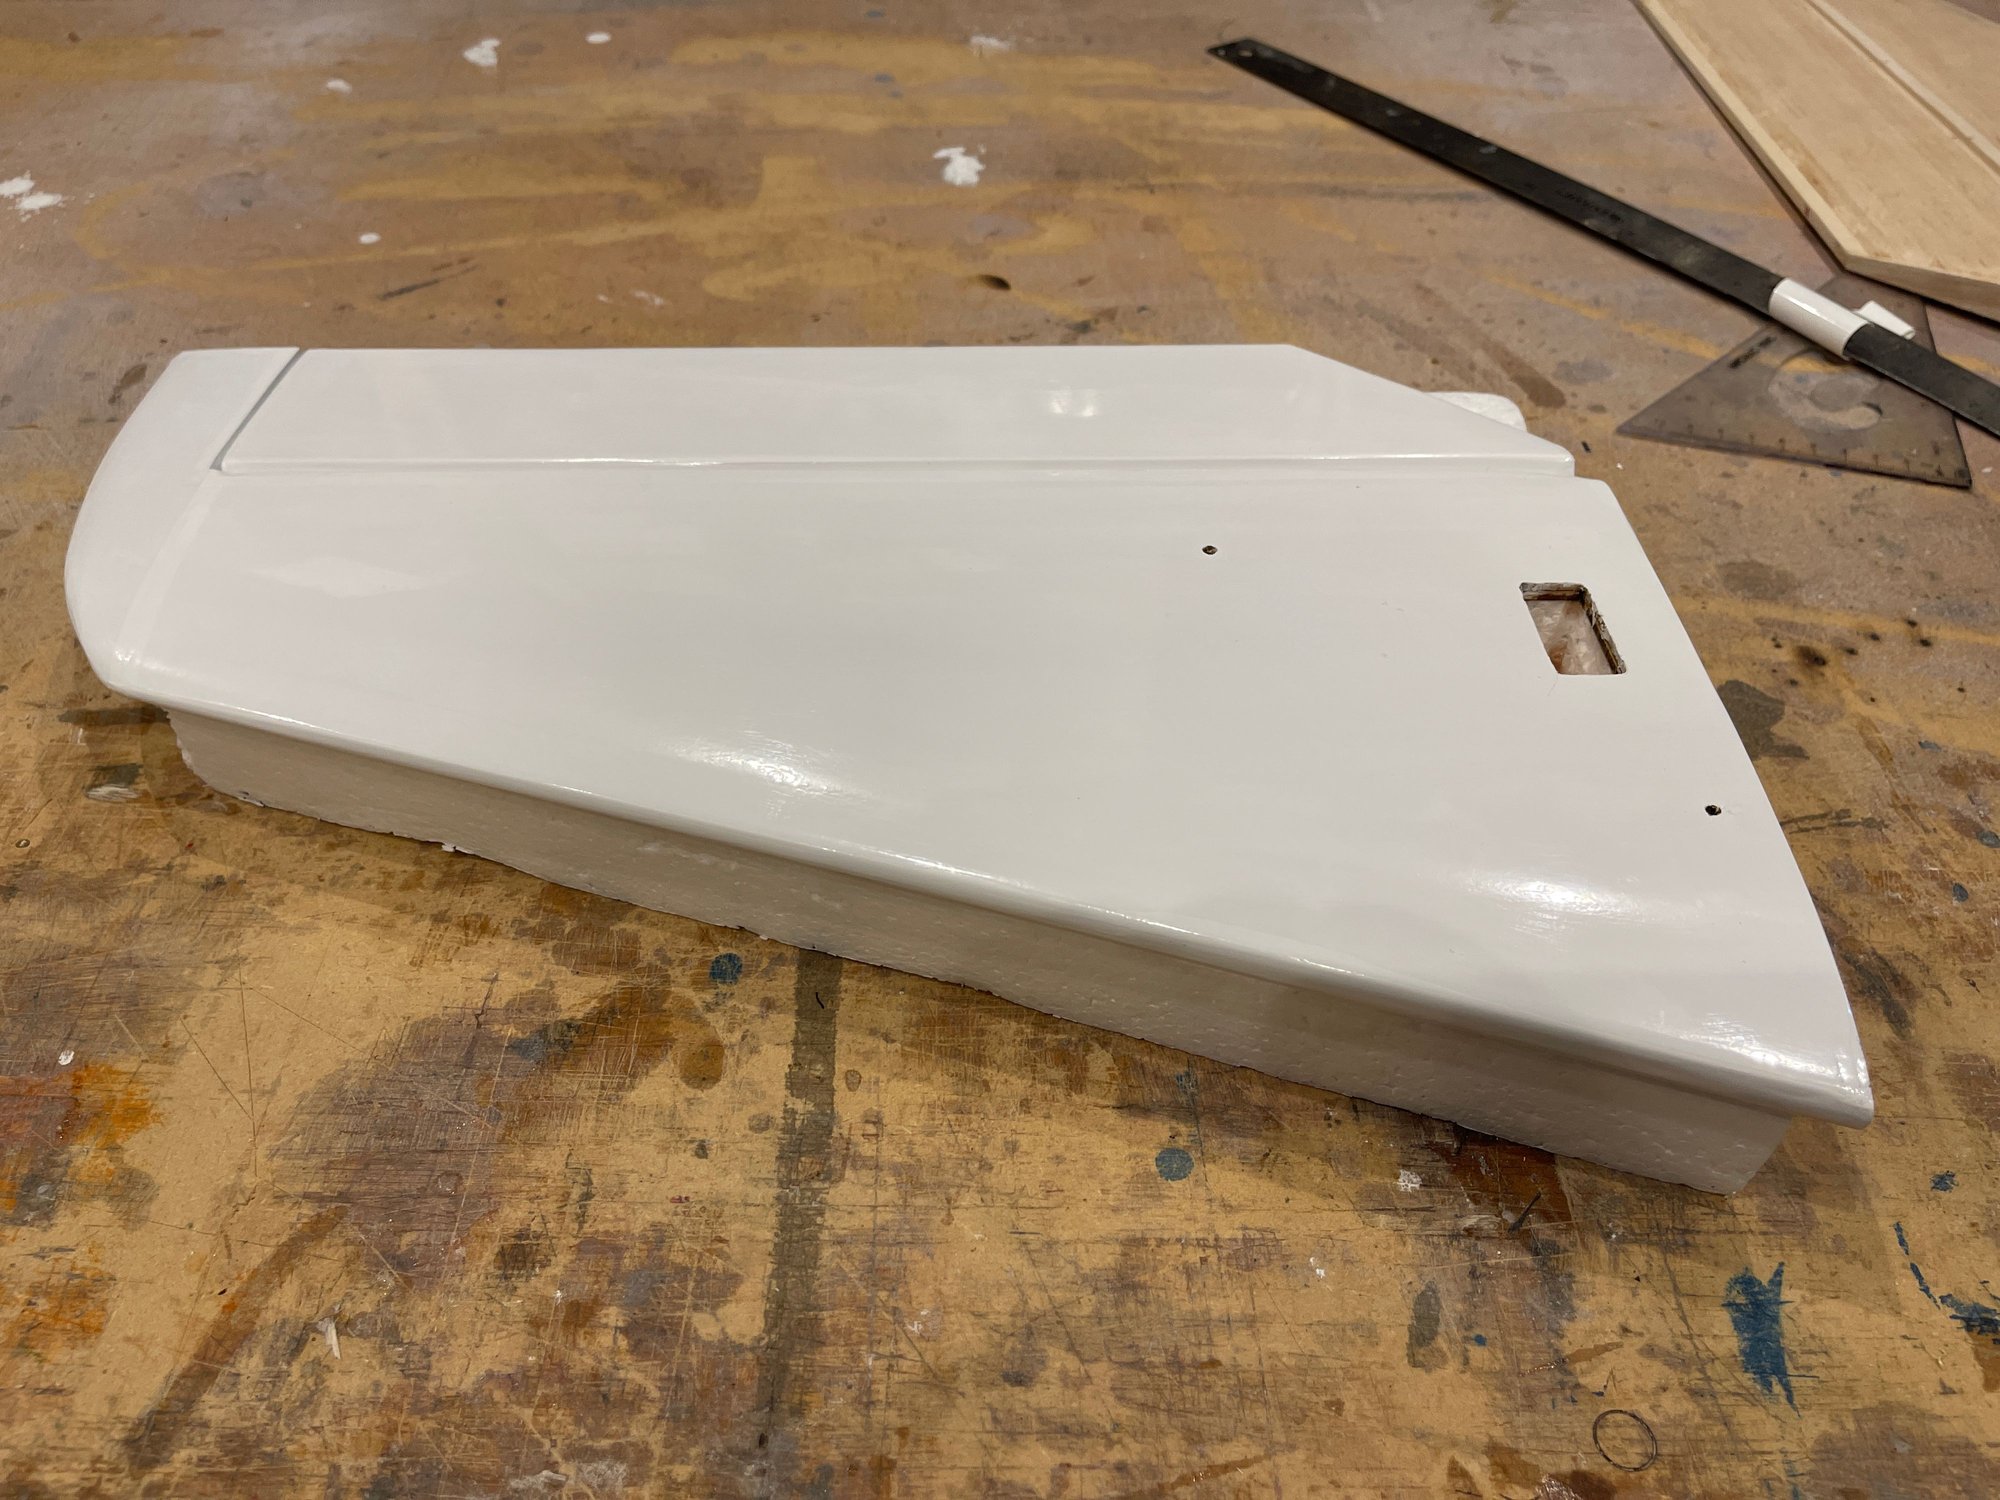
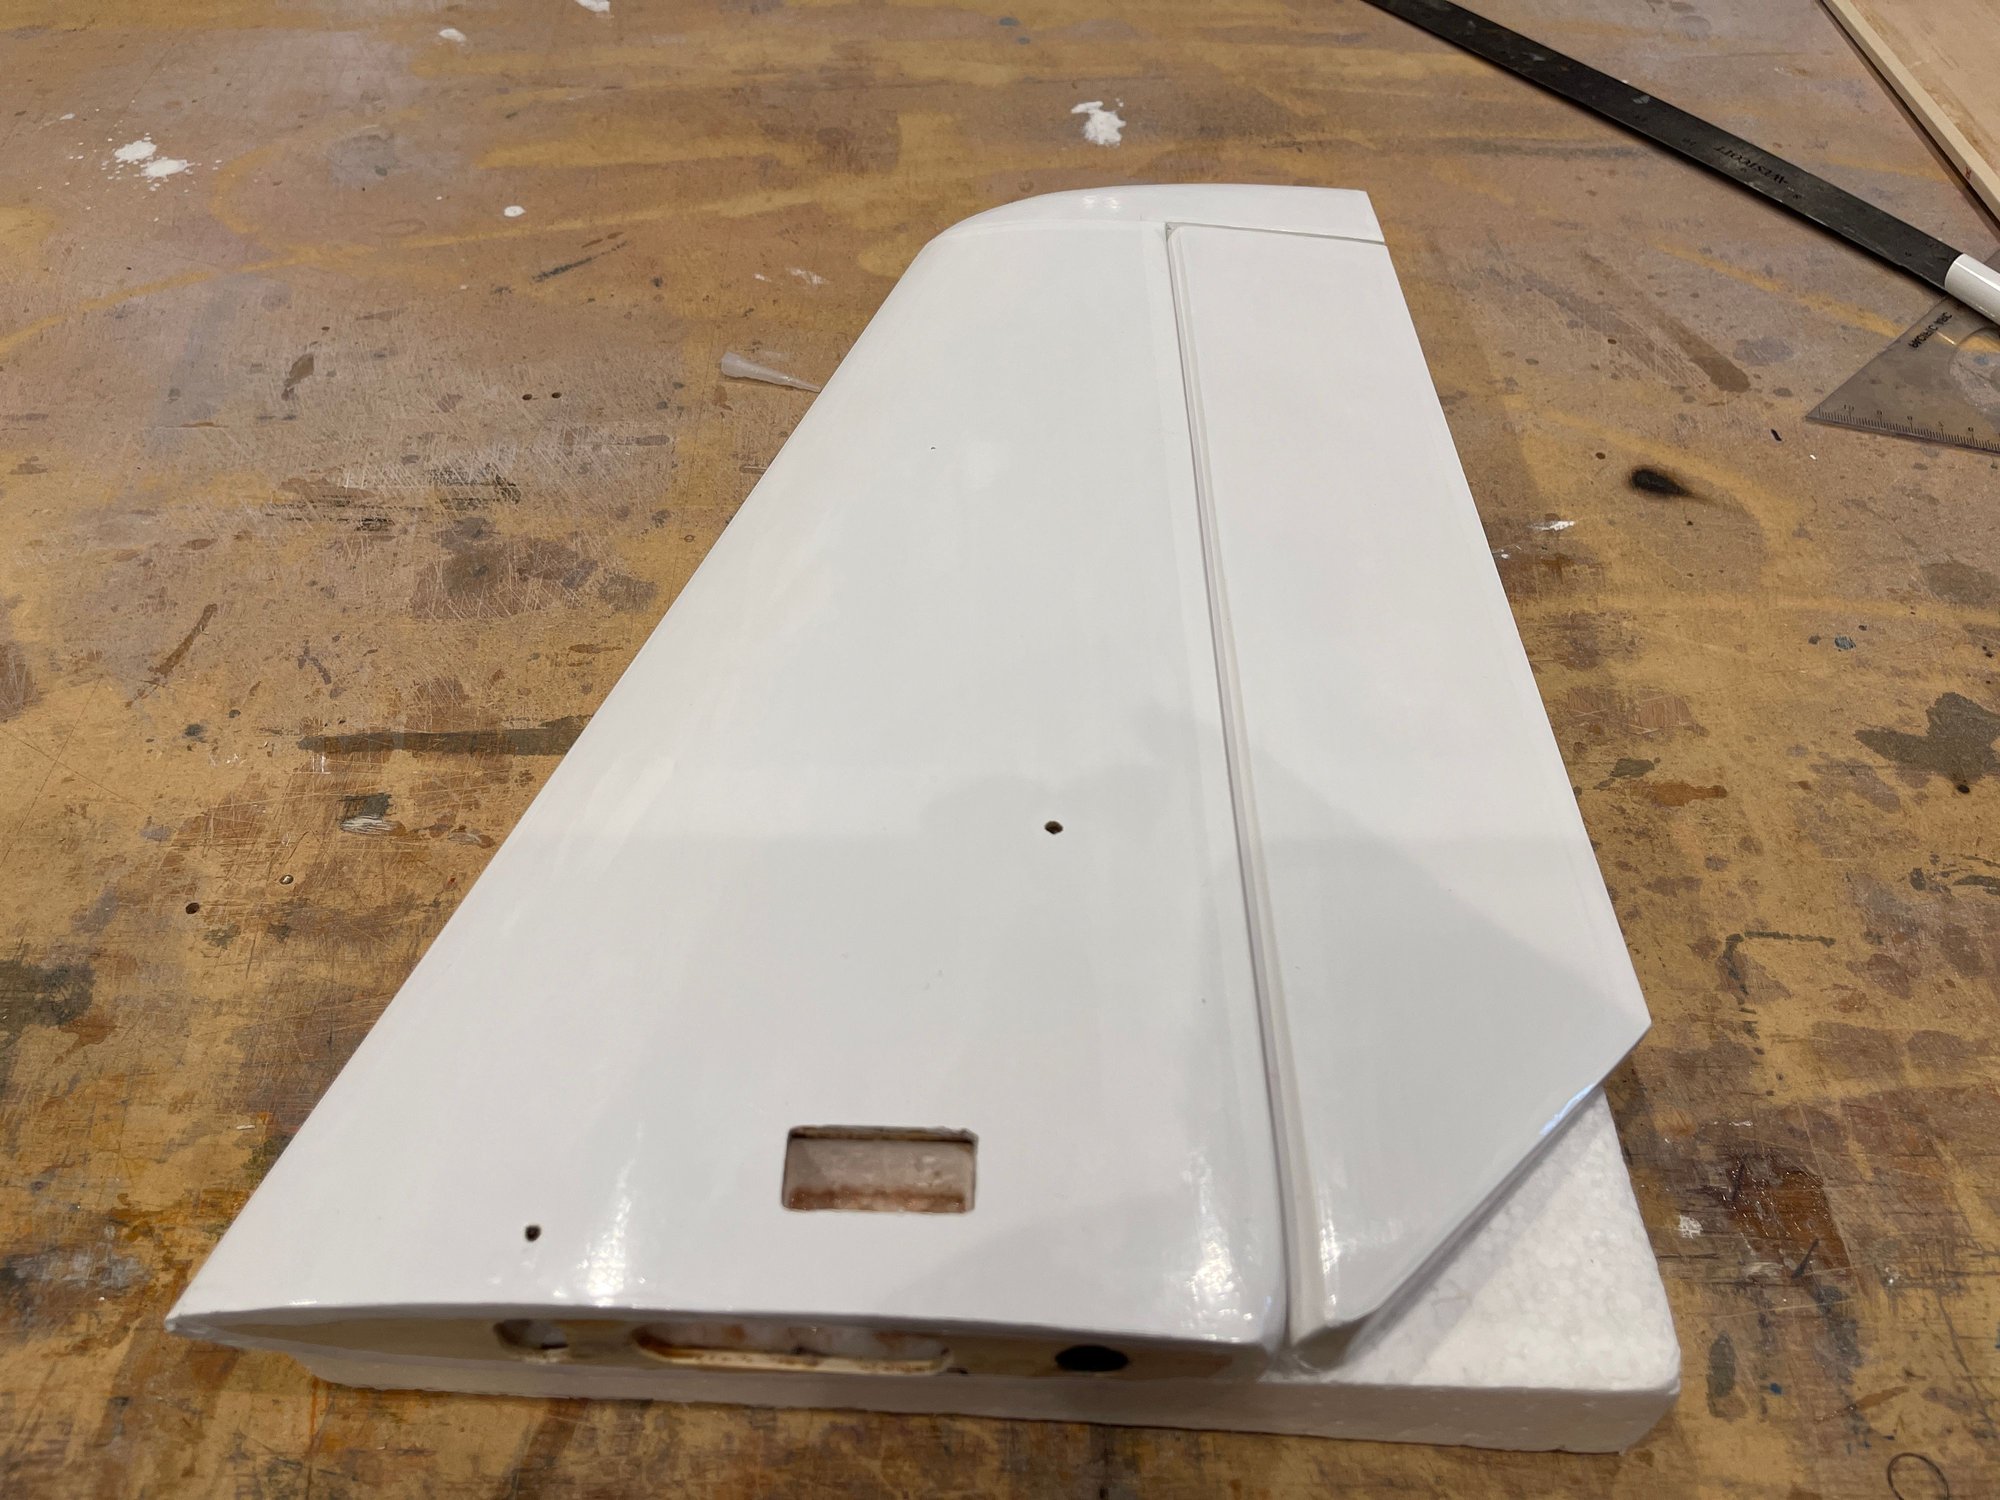
here they are.
I am amazed, each stab, as seen, meaning, the right one and the left one, each one, weighs exactly 130 grams!!
How did they end up even???
probably next up is to do the wings
once wings are done
then I will glass both at same time and do the primer then the paint.
But, I was wondering, should I paint versus cover?
What would weigh less?
the stabs / elevators are probably 20 grams heavier each, and I know why. it is from the balsa that I used to skin them with. They were probably a bit more dense than what is customary for these smaller airplanes.
05-28-2022, 06:55 AM
#40
here they are.
I am amazed, each stab, as seen, meaning, the right one and the left one, each one, weighs exactly 130 grams!!
How did they end up even???
probably next up is to do the wings
once wings are done
then I will glass both at same time and do the primer then the paint.
But, I was wondering, should I paint versus cover?
What would weigh less?
the stabs / elevators are probably 20 grams heavier each, and I know why. it is from the balsa that I used to skin them with. They were probably a bit more dense than what is customary for these smaller airplanes.
I am amazed, each stab, as seen, meaning, the right one and the left one, each one, weighs exactly 130 grams!!
How did they end up even???
probably next up is to do the wings
once wings are done
then I will glass both at same time and do the primer then the paint.
But, I was wondering, should I paint versus cover?
What would weigh less?
the stabs / elevators are probably 20 grams heavier each, and I know why. it is from the balsa that I used to skin them with. They were probably a bit more dense than what is customary for these smaller airplanes.
The following users liked this post:
orthobird (05-28-2022)
05-28-2022, 07:11 AM
#41
oh yes! me too big G.
SO I will cover the tail, but probably glass the wings
what I like about the trailing edge of the elevators is, that with that hardwood, it is straight as can be. SO hopefully, they do not warp over time.
just finished capping the elevator roots and tips.

boot elevator roots

right elevator tip
left elevator tip
i just ordered this:
Contra Drive, Counter Rotating Propeller System (V4) contrav4
Contra Prop, 22x22 Rear (Falcon) C2CR2222R
Contra Prop, 22x20 Front (Falcon) C2CR2220F
New Mike Gaishin 10 Pole Contra Motor, V4 Contra Drive MGV4940KV
Gator RC Wheels 60mm (2.36 inch), plastic hub, foam GHFW60P
Tail Wheel Set, Super Lightweight (F3A)
I decided to go electric with a contra drive and 12 S system
SO I will cover the tail, but probably glass the wings
what I like about the trailing edge of the elevators is, that with that hardwood, it is straight as can be. SO hopefully, they do not warp over time.
just finished capping the elevator roots and tips.
boot elevator roots
right elevator tip
left elevator tip
i just ordered this:
Contra Drive, Counter Rotating Propeller System (V4) contrav4
Contra Prop, 22x22 Rear (Falcon) C2CR2222R
Contra Prop, 22x20 Front (Falcon) C2CR2220F
New Mike Gaishin 10 Pole Contra Motor, V4 Contra Drive MGV4940KV
Gator RC Wheels 60mm (2.36 inch), plastic hub, foam GHFW60P
Tail Wheel Set, Super Lightweight (F3A)
I decided to go electric with a contra drive and 12 S system
The following users liked this post:
big_G (05-28-2022)
05-28-2022, 02:18 PM
#42
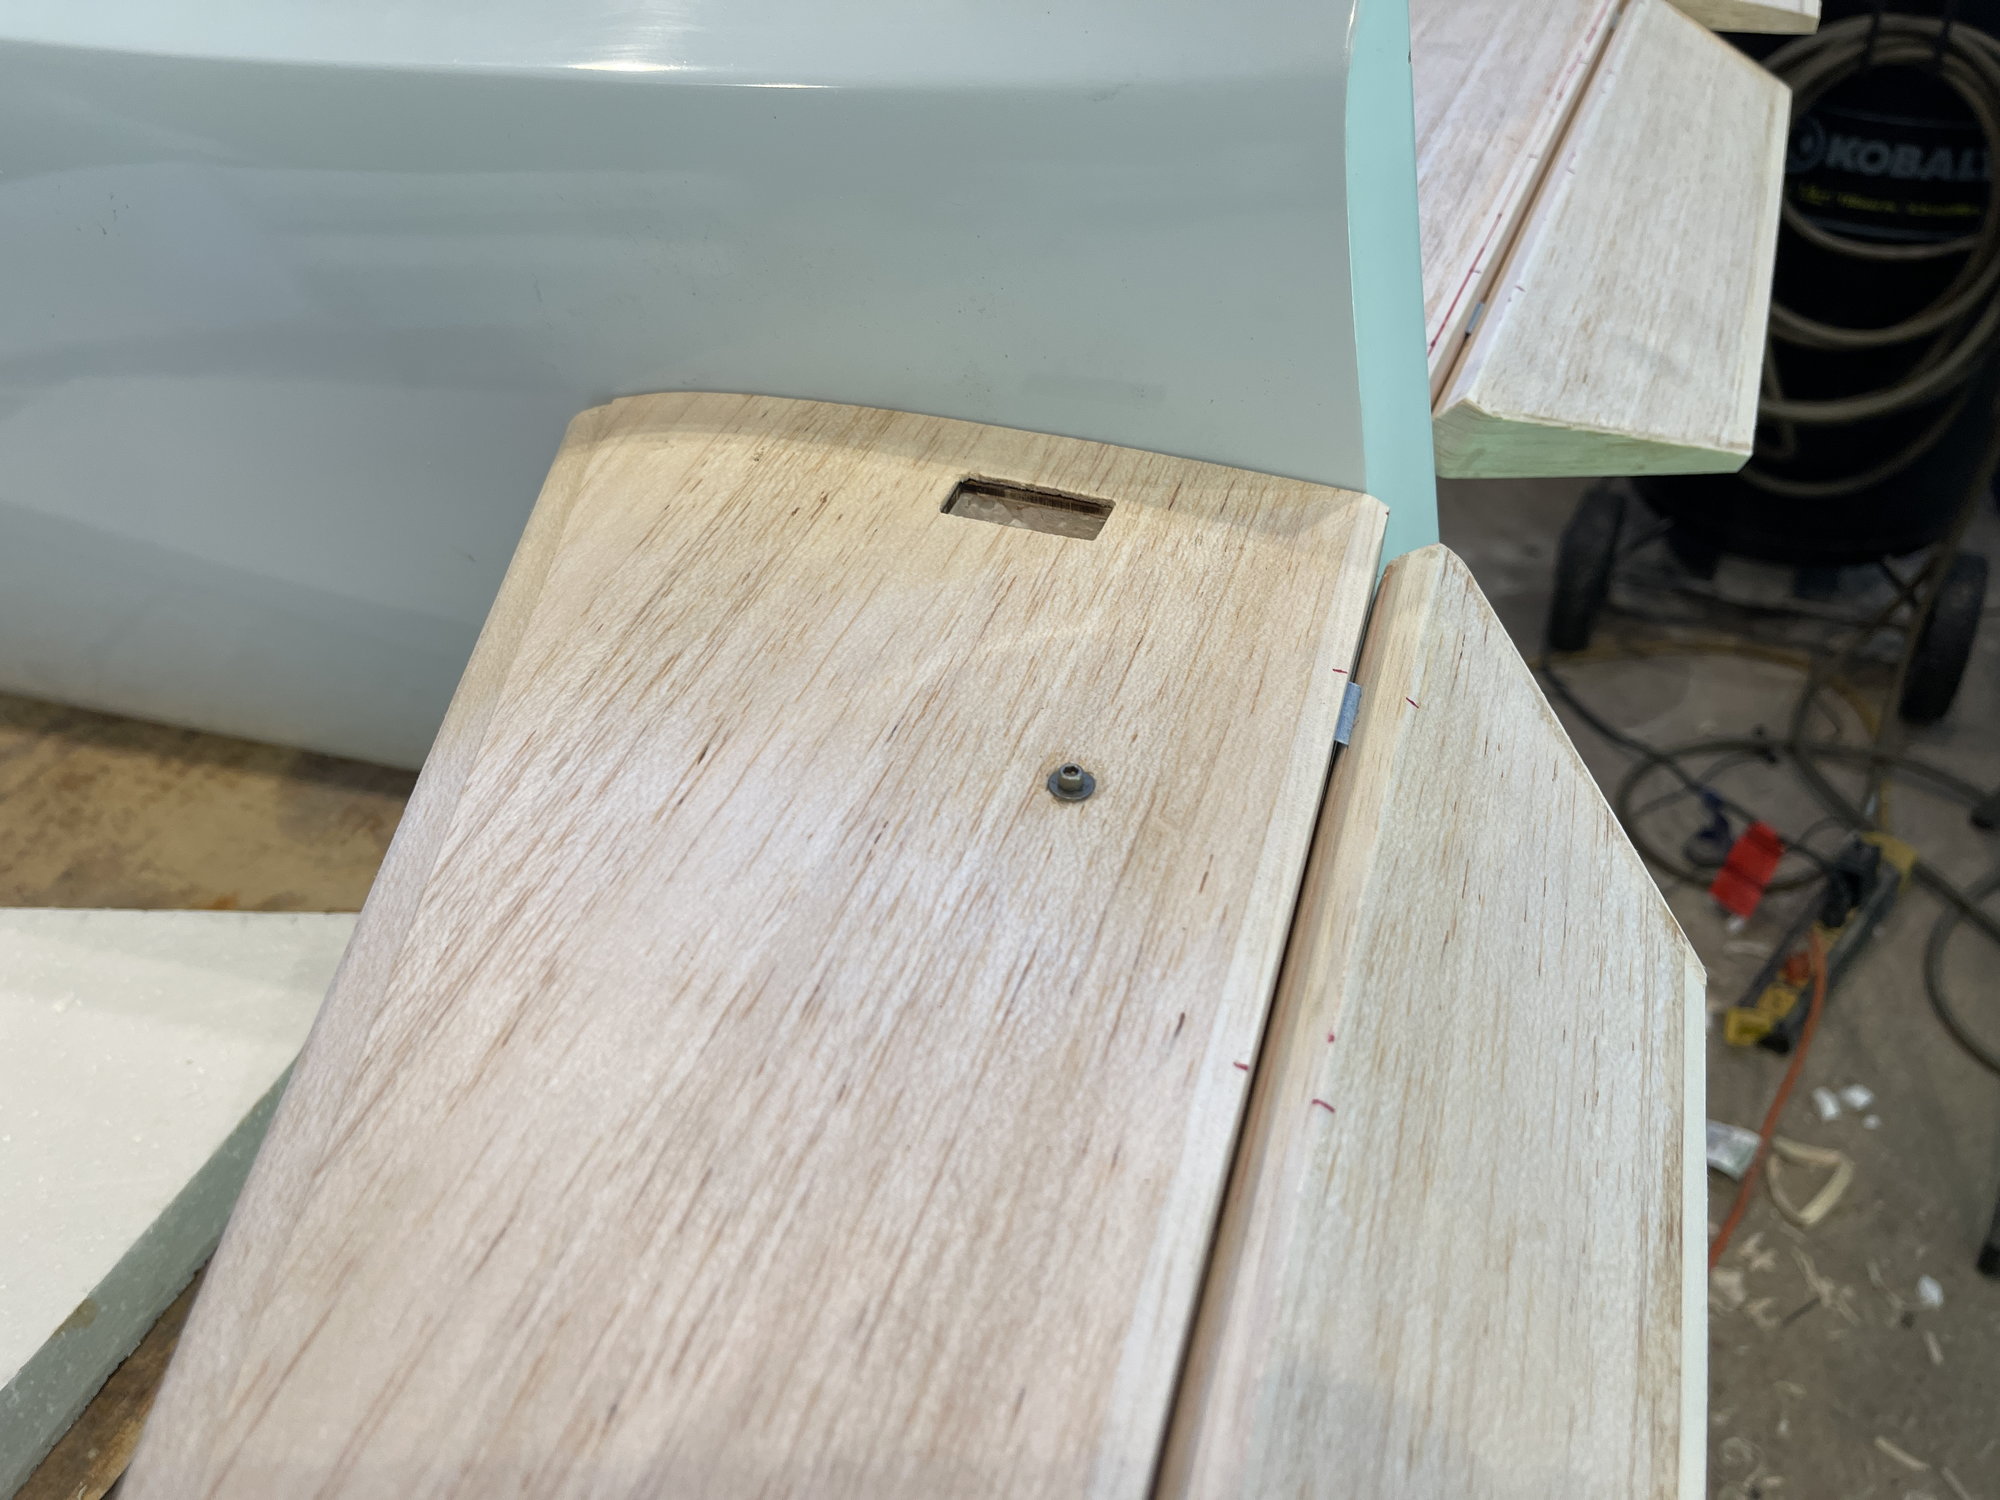
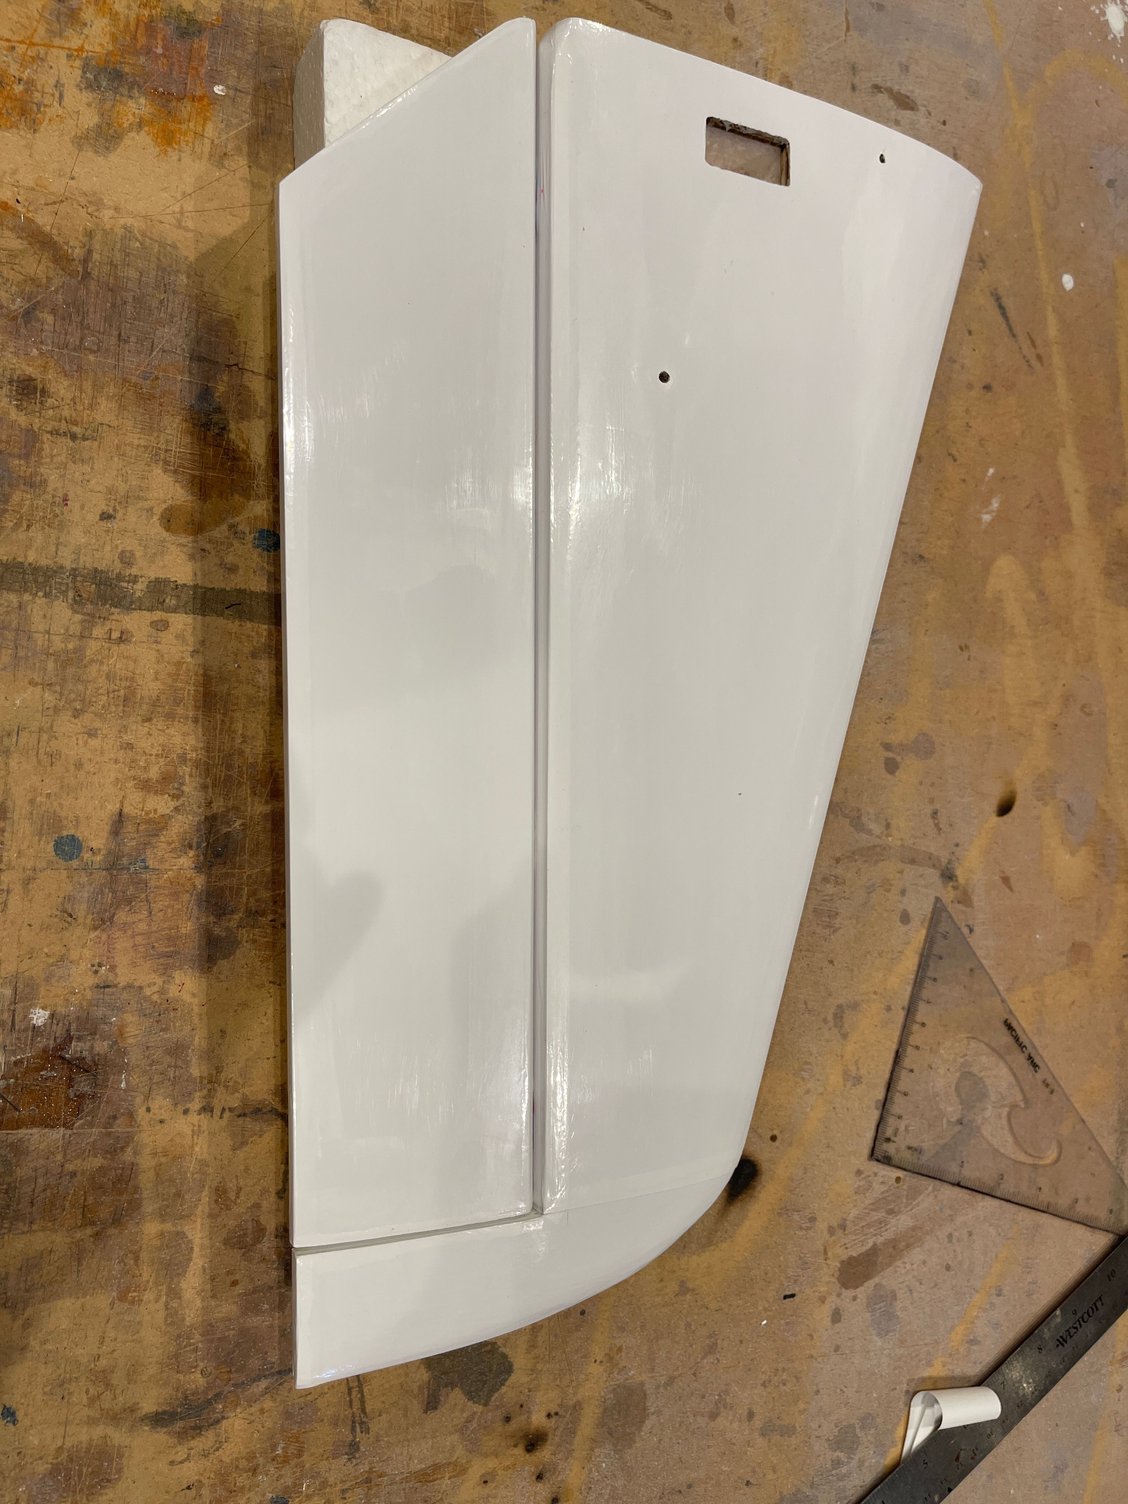
Stabs are ready for covering.
Just white, at 1st.
i was able to do the final touches.
I put 3/8" of hardwood dowel at the tip of the right and left stab tube.
then tapped the holes

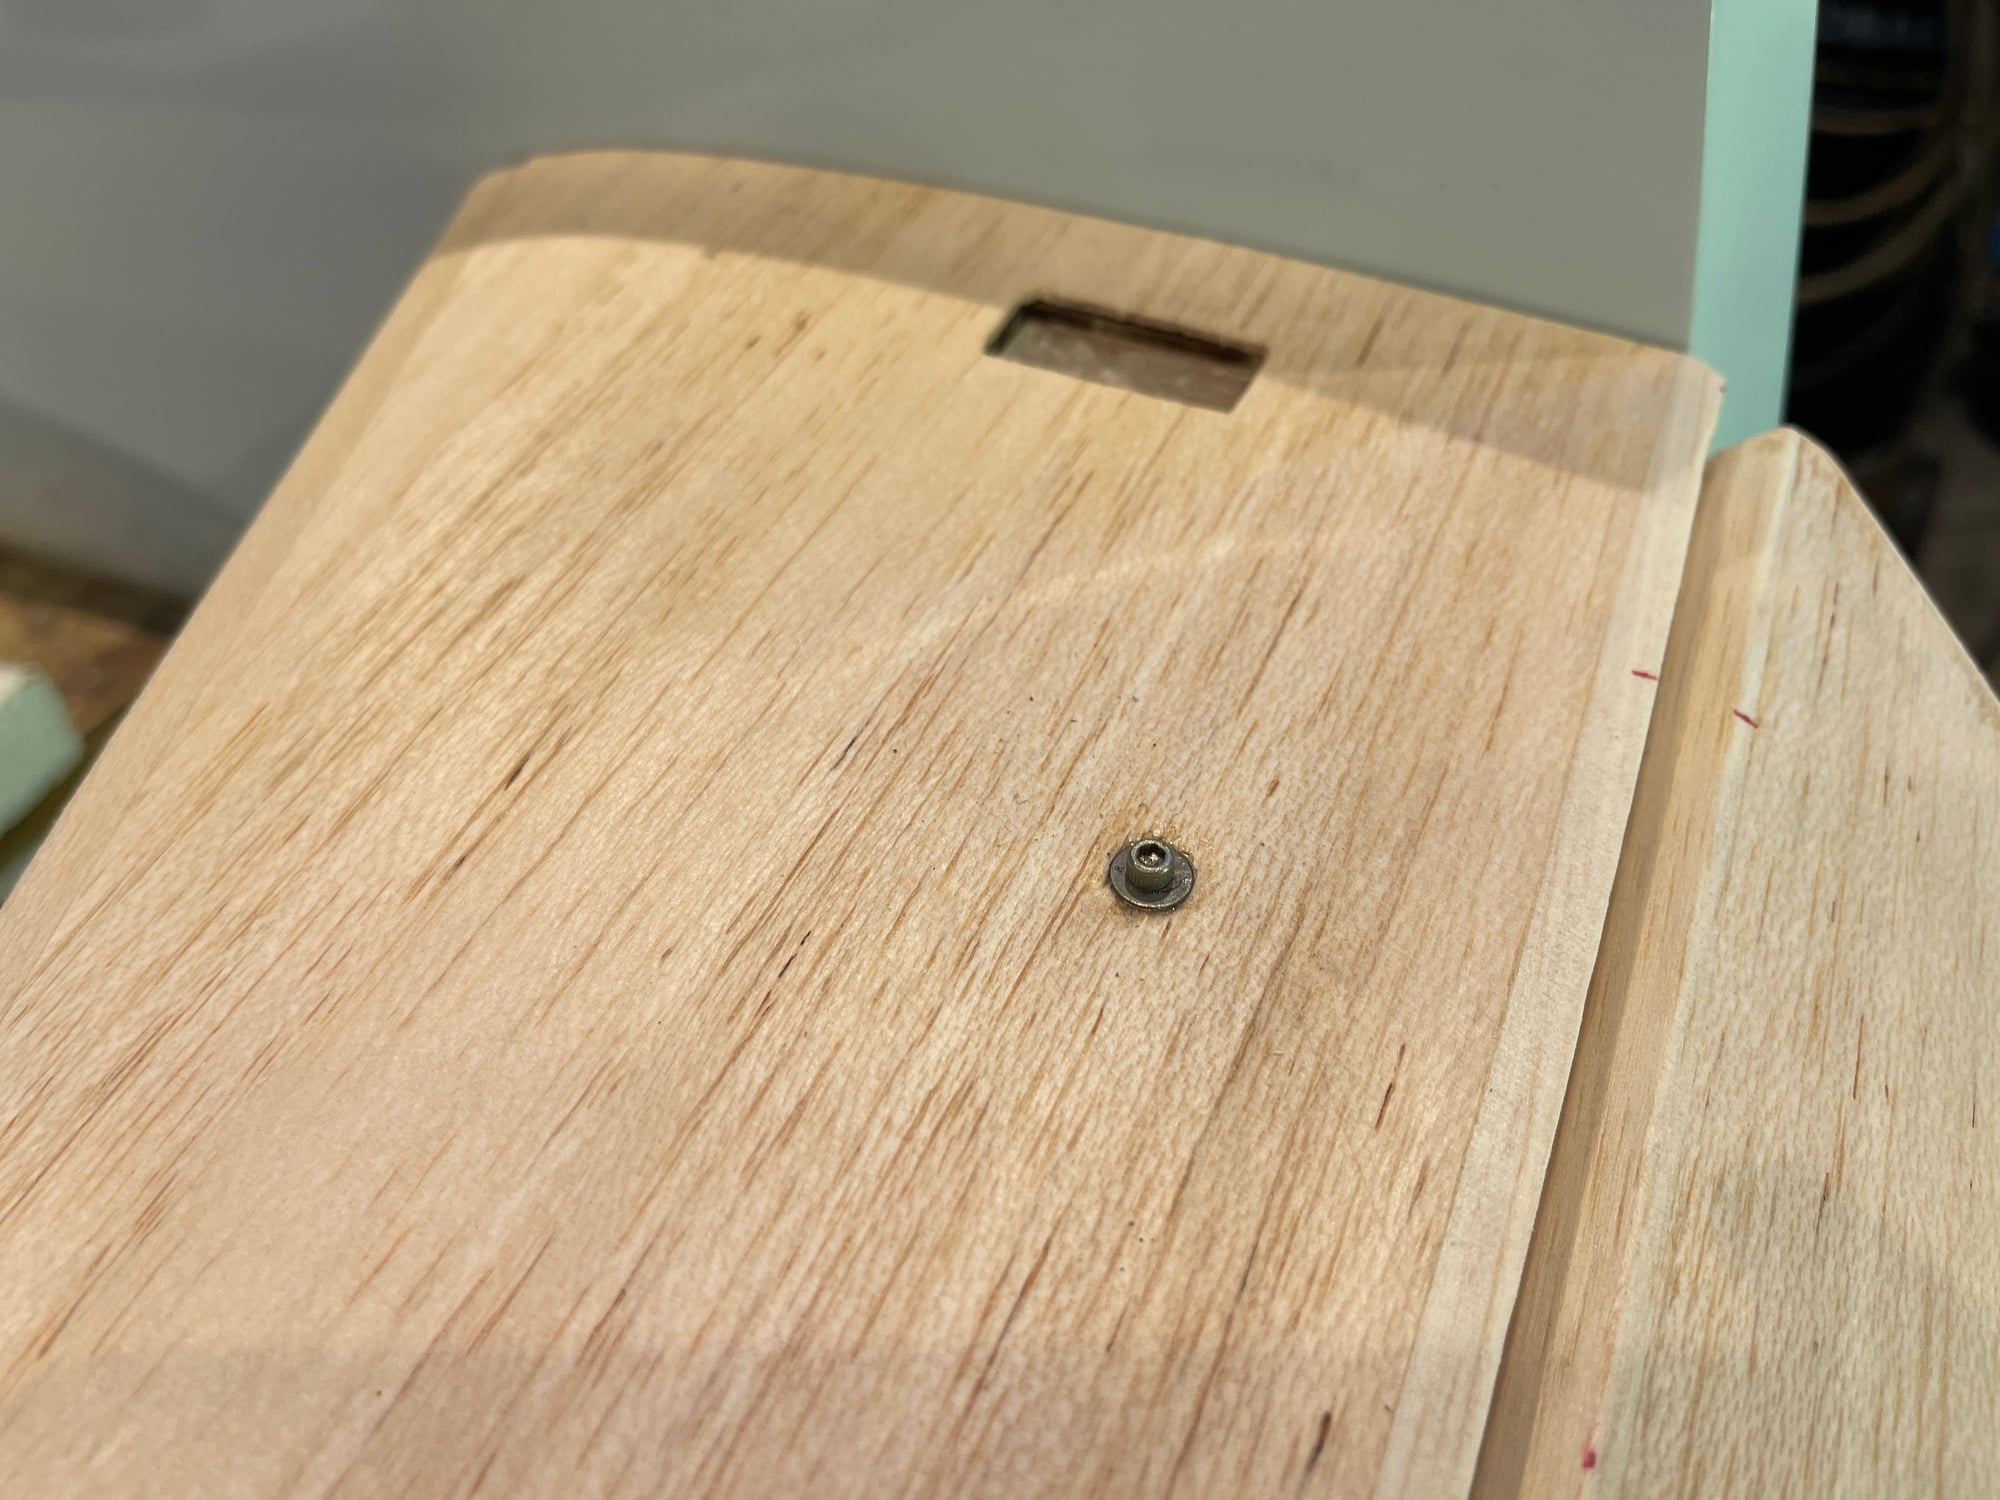
the left stab tube has a slot on the tube, which allows me to twist the stabs, but, it will not pull out.
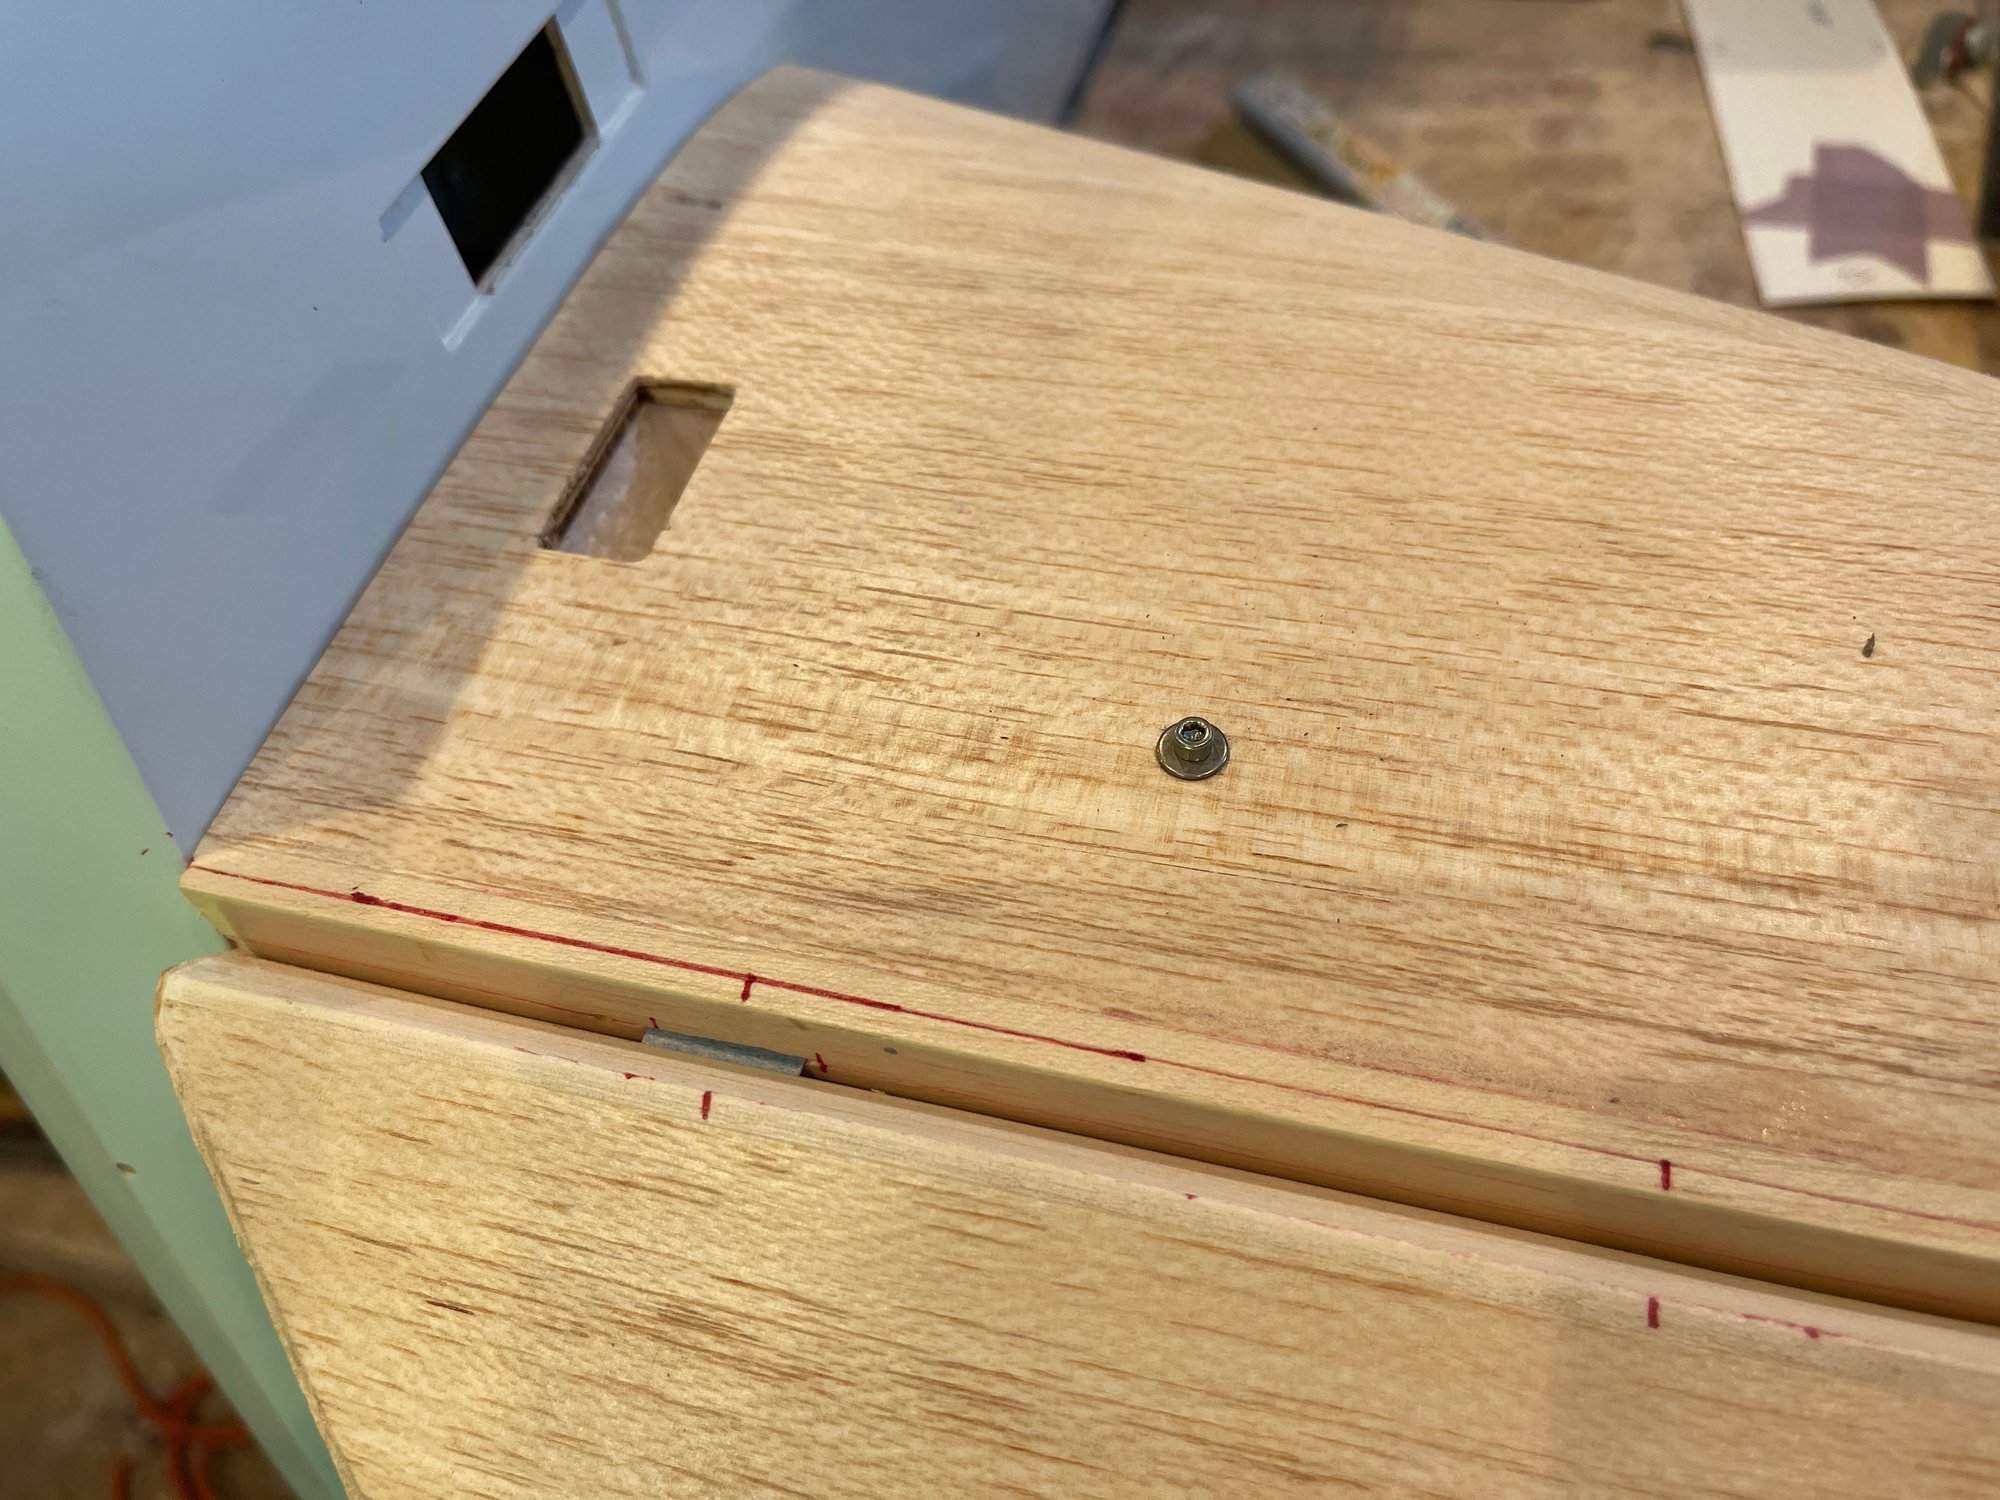
the right stab tube tip has a thru hole that is tapped. this will be rigid and fixed with a screw. will not be able to rotate. (or pull out)
Just white, at 1st.
i was able to do the final touches.
I put 3/8" of hardwood dowel at the tip of the right and left stab tube.
then tapped the holes
the left stab tube has a slot on the tube, which allows me to twist the stabs, but, it will not pull out.
the right stab tube tip has a thru hole that is tapped. this will be rigid and fixed with a screw. will not be able to rotate. (or pull out)
05-29-2022, 02:08 AM
#43

i just ordered this:
.....New Mike Gaishin 10 Pole Contra Motor, V4 Contra Drive MGV4940KV.....
....I decided to go electric with a contra drive and 12 S system....
Orthobird,
That Motor is 940kV which is for 10S - needs to be a lower kV for 12S
I see that on the F3A UL site there is the following comment "Note. You can request a different winding for a 12S setup if you desire."
Perhaps you have already done this ??
Steve
Last edited by SAB; 05-29-2022 at 02:18 AM. Reason: updated
05-29-2022, 03:42 AM
#44
i just ordered this:
.....New Mike Gaishin 10 Pole Contra Motor, V4 Contra Drive MGV4940KV.....
....I decided to go electric with a contra drive and 12 S system....
Orthobird,
That Motor is 940kV which is for 10S - needs to be a lower kV for 12S
I see that on the F3A UL site there is the following comment "Note. You can request a different winding for a 12S setup if you desire."
Perhaps you have already done this ??
Steve
.....New Mike Gaishin 10 Pole Contra Motor, V4 Contra Drive MGV4940KV.....
....I decided to go electric with a contra drive and 12 S system....
Orthobird,
That Motor is 940kV which is for 10S - needs to be a lower kV for 12S
I see that on the F3A UL site there is the following comment "Note. You can request a different winding for a 12S setup if you desire."
Perhaps you have already done this ??
Steve
thank you Steve for pointing that out. IF you go to the F3A website, there is no option to click to purchase the 12S version.
What I did, Is I communicated with Mike and he sent me an invoice. But he knows it is the 12S version
I believe it shows that 10s version, as this is the online Point of sale "button", but I should receive the 12S version.
I must have emailed him 2 more times after the invoice asking him the same thing.
But thank you for pointing that out.
I am certain, he will probably have the website updated soon.
Best regards
Cam
 05-30-2022, 03:39 PM
#46
Started to work on the wings. I also had an assistant today! Thank you David.
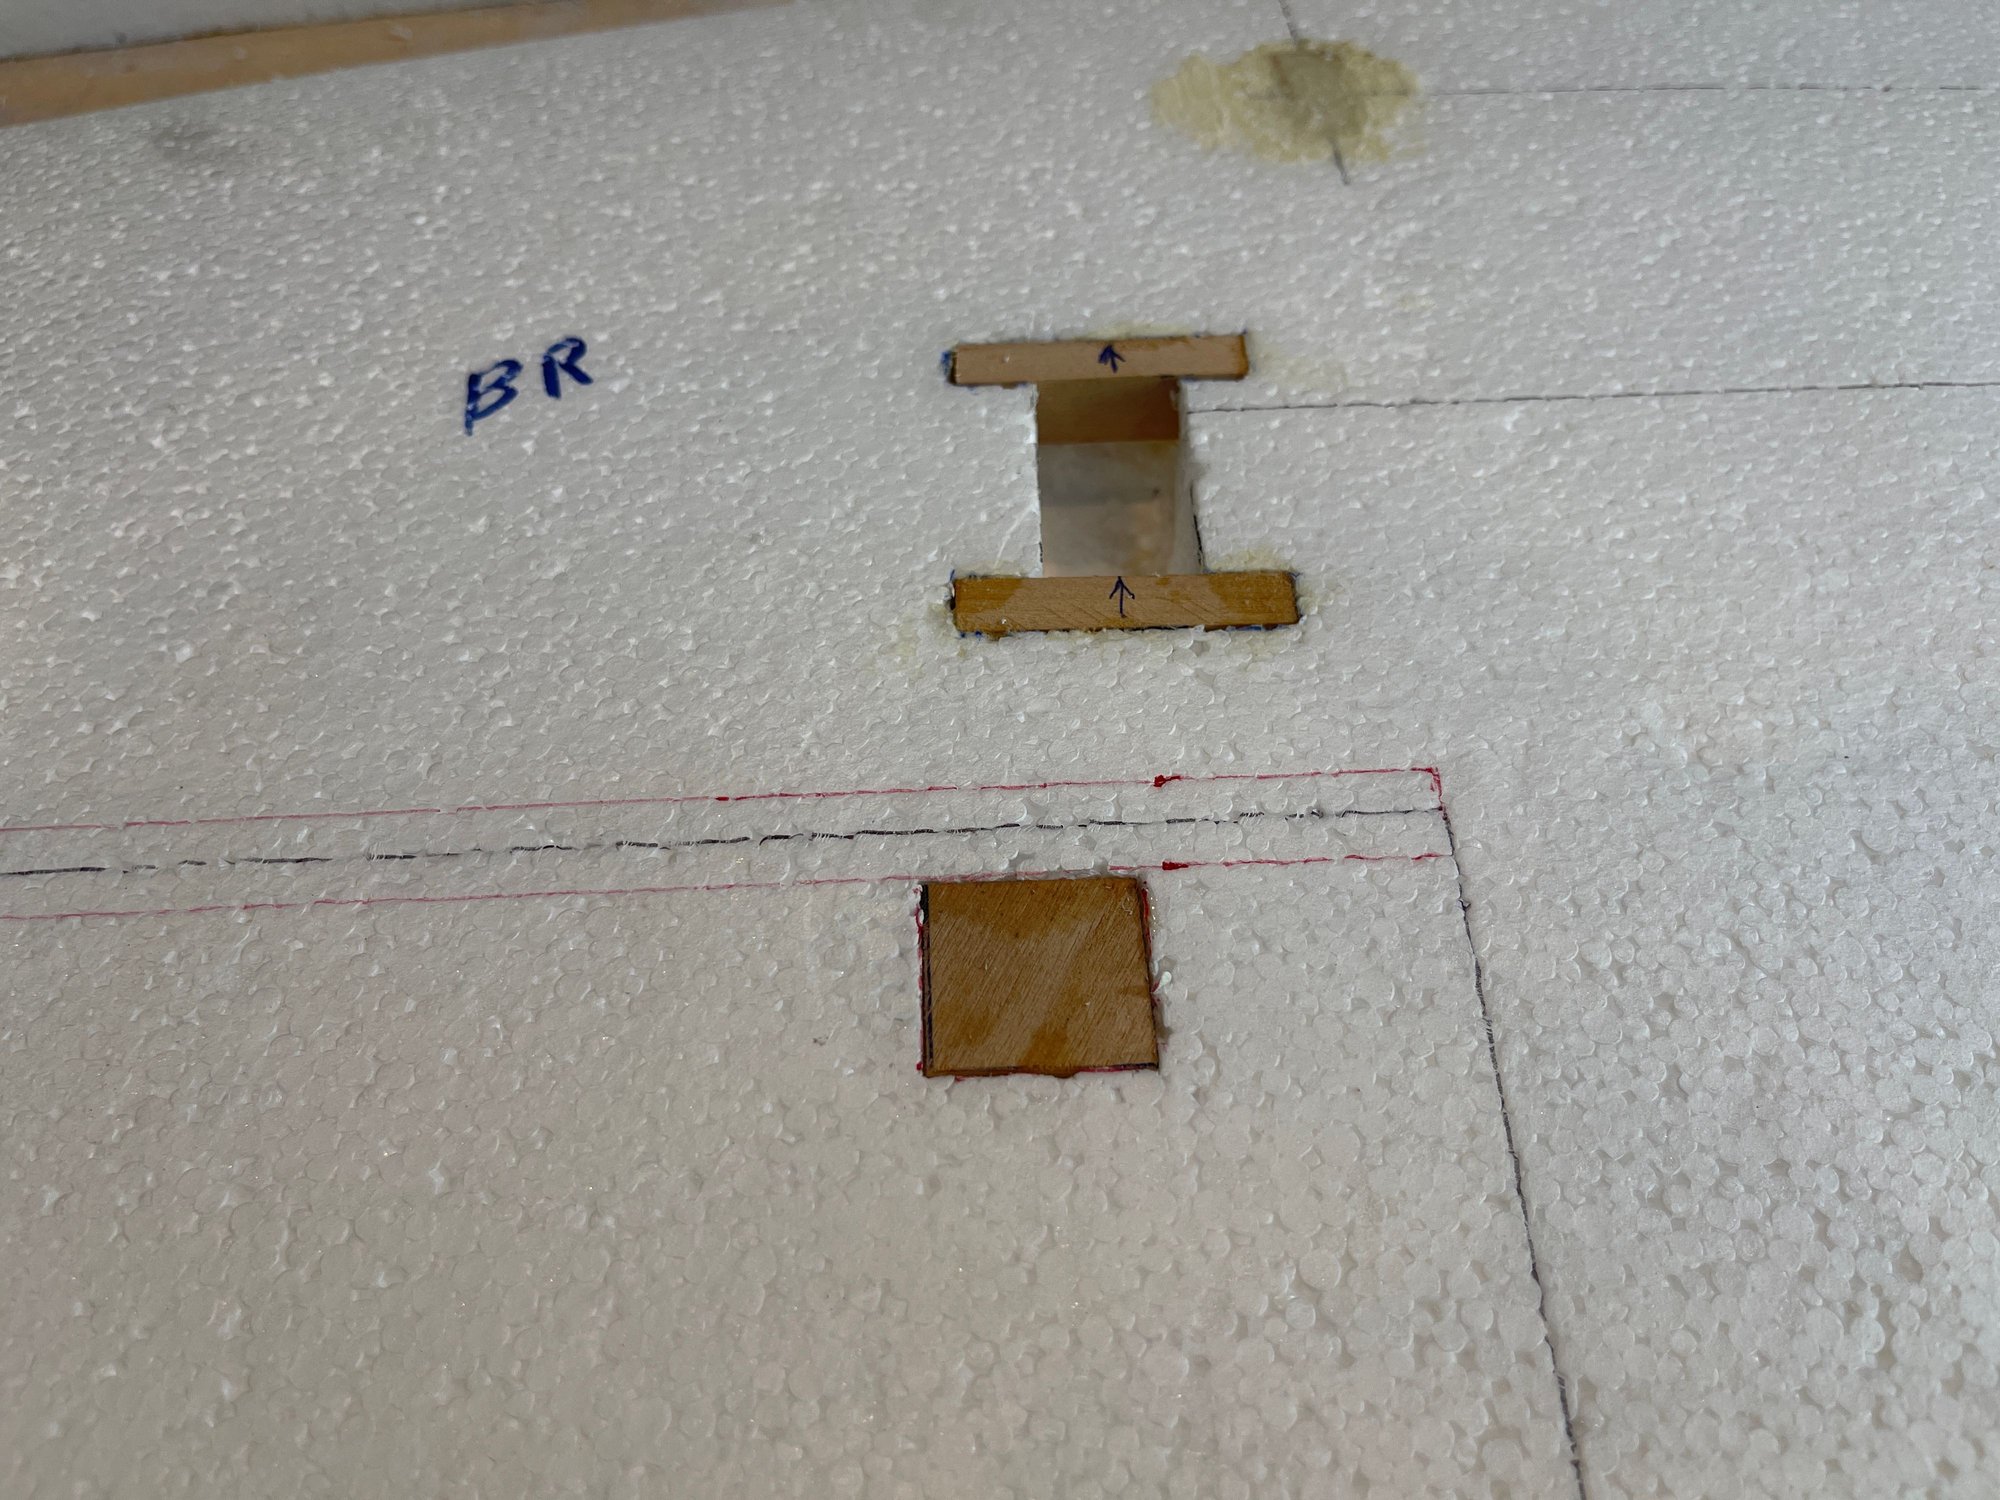
1st step was to put the hard points on the ailerons.
I made a line forward and aft to the lines made by Bryan that depict the hinge line to the ailerons. THese two red lines are 1/4" from the hinge line, to depict the thickness of the LE and TE at the hingline.
then I drew out where I thought the hard point will go.

finding the position for the hard point on the aileron

more or less, where the cross is
next step, was to obtain my plywood hardpoint, and then drawout where I will cut out foam with my dremel.
then glued it in with poly-u glue
position of the hard point
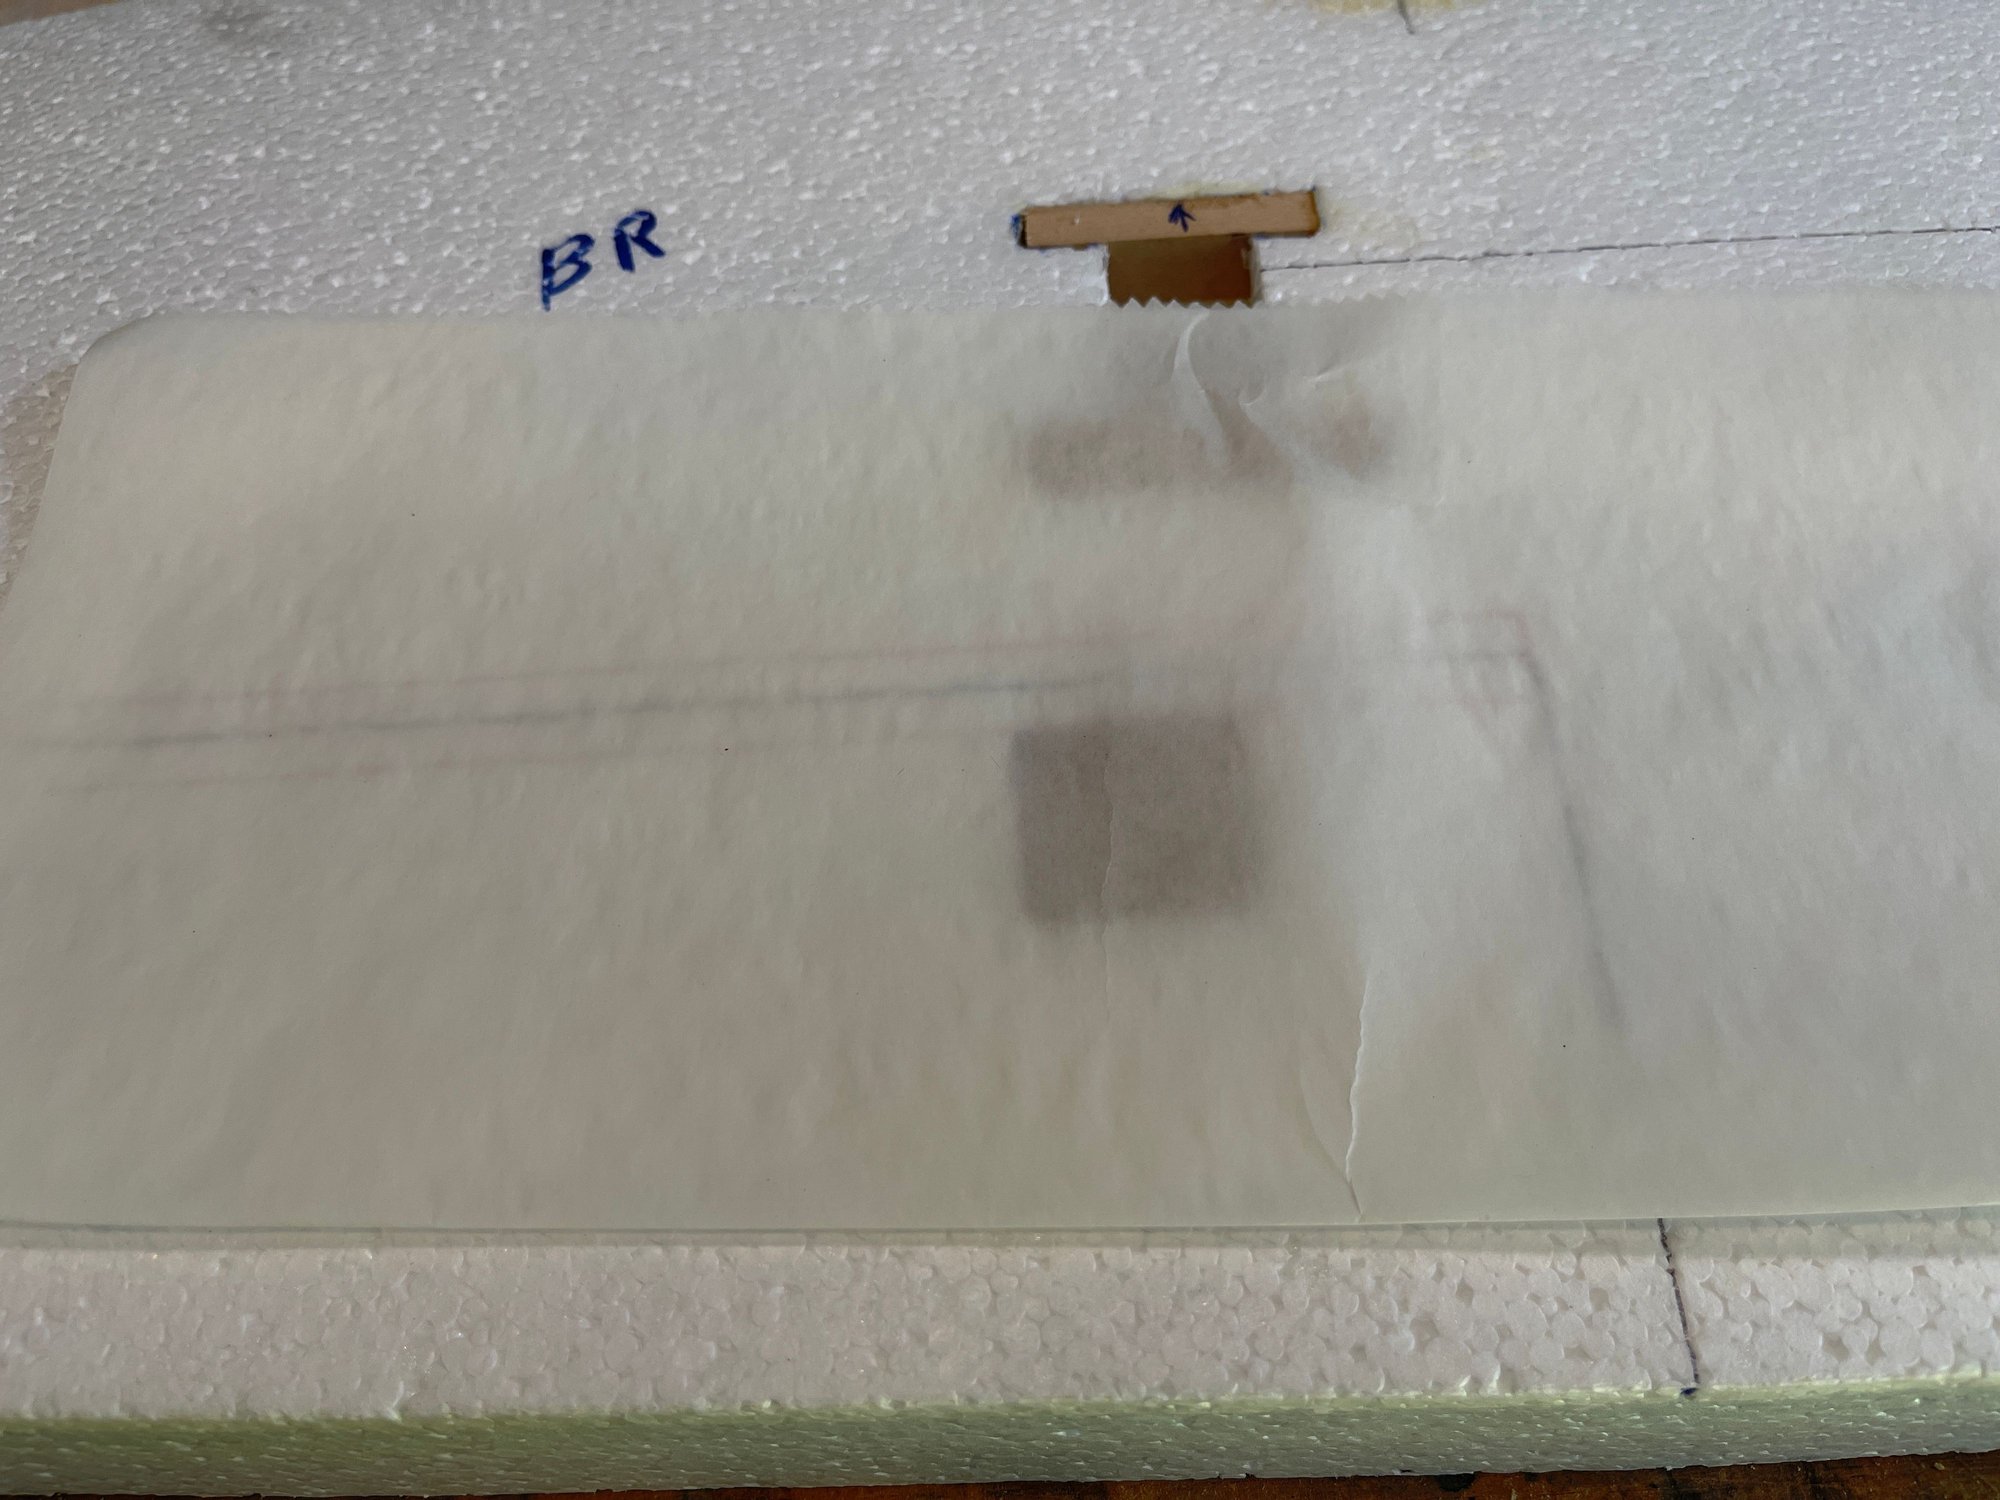
placing wax paper after glue was placed
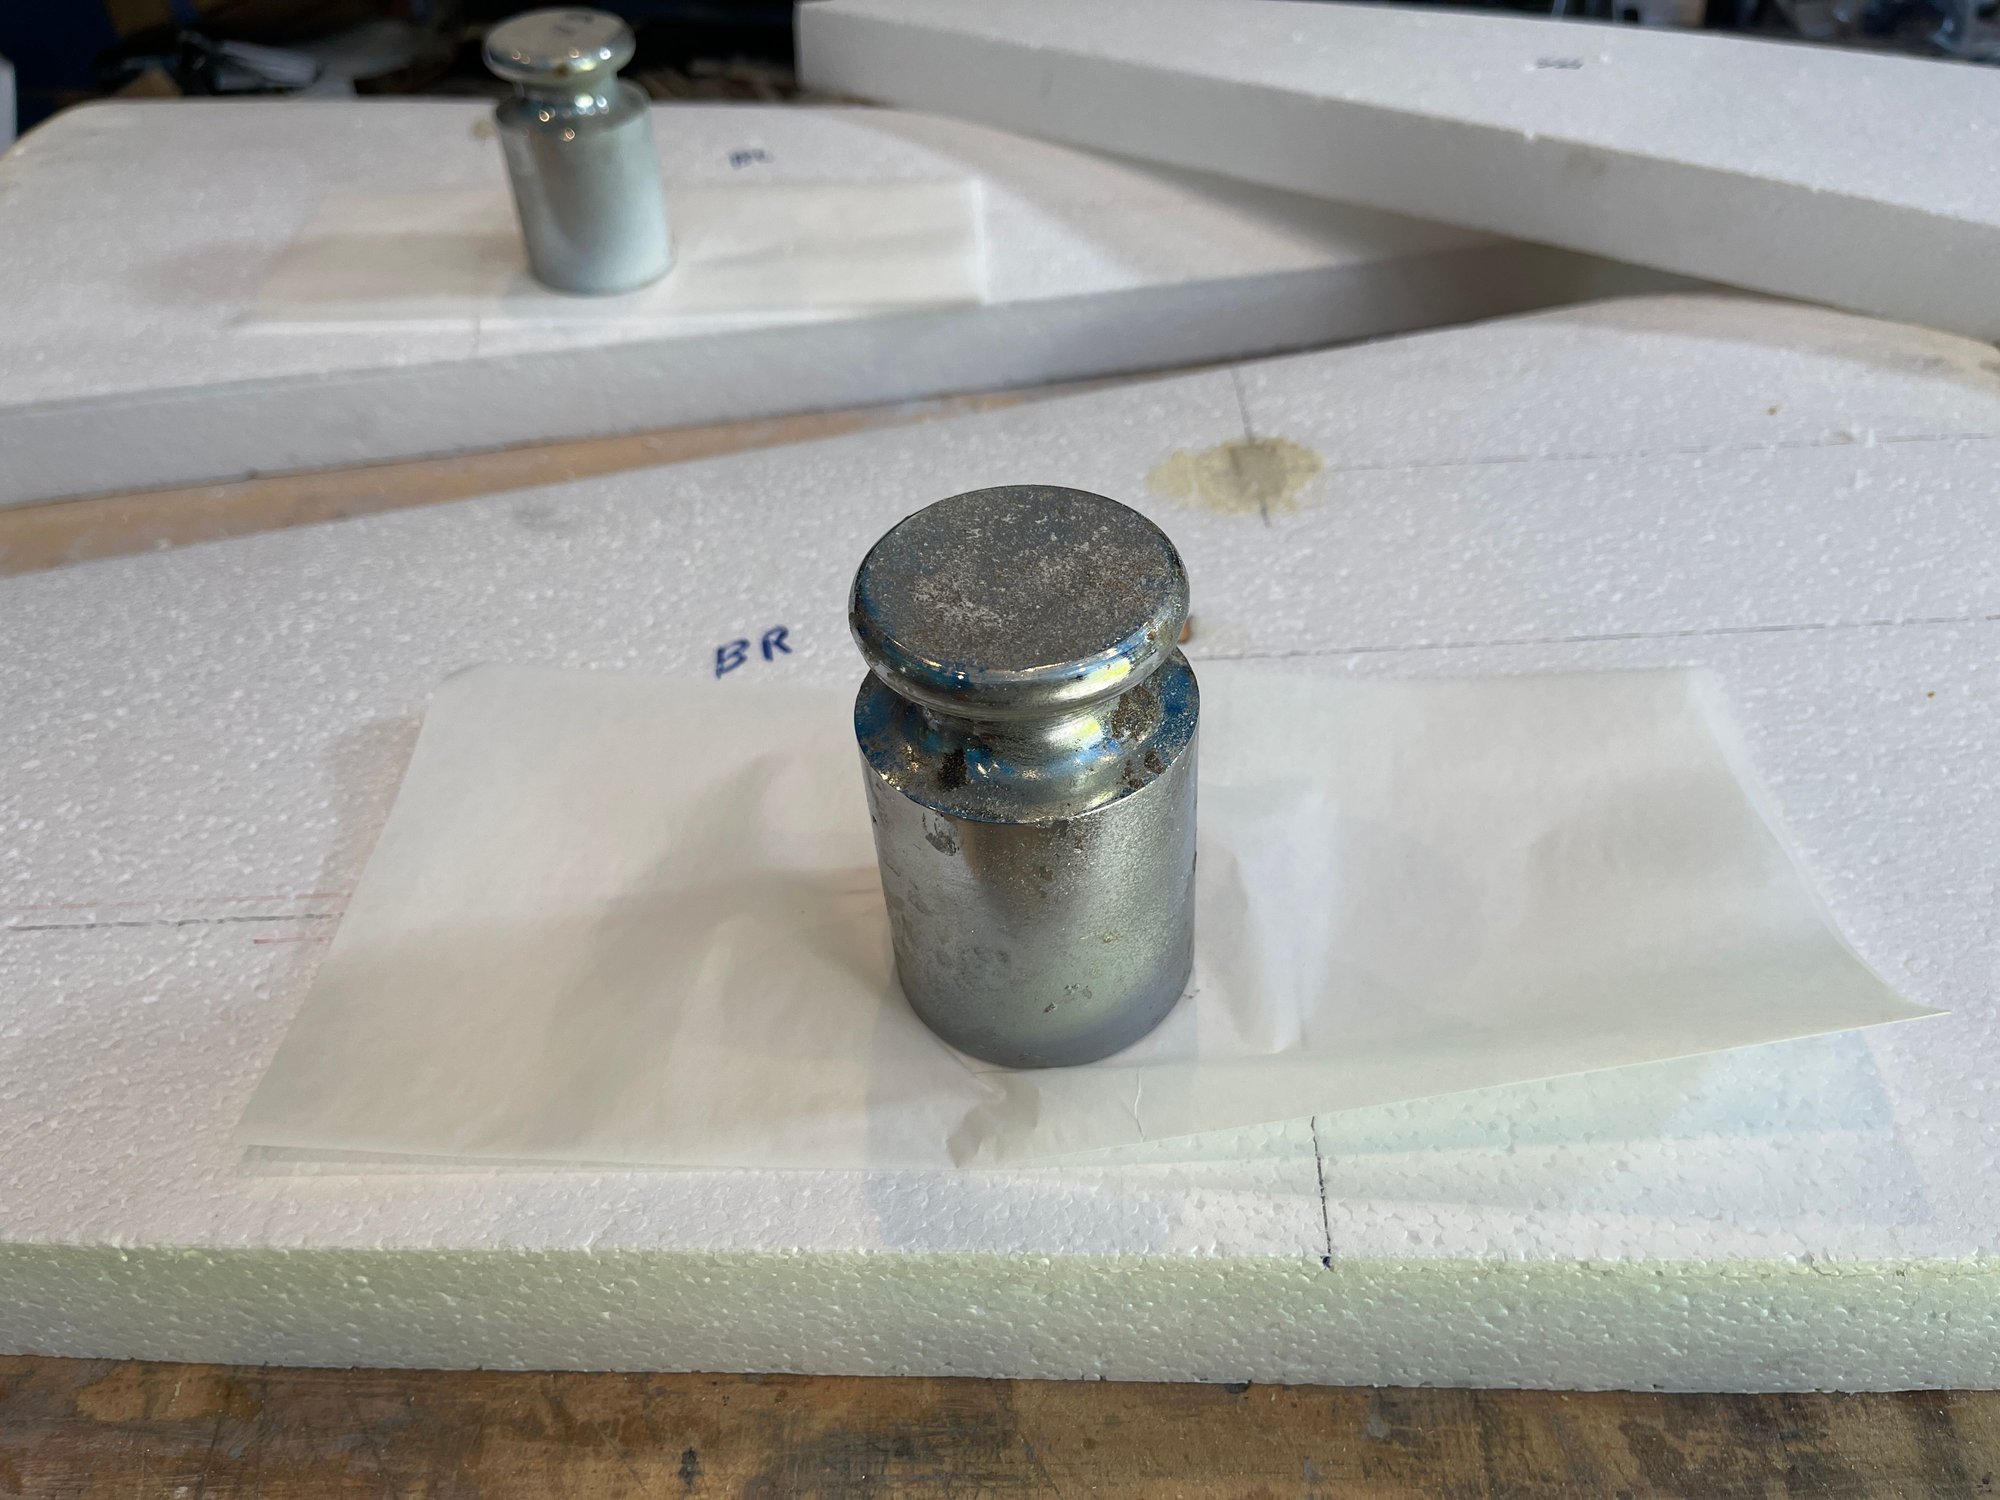
leave a weight on it til it cures
1st step was to put the hard points on the ailerons.
I made a line forward and aft to the lines made by Bryan that depict the hinge line to the ailerons. THese two red lines are 1/4" from the hinge line, to depict the thickness of the LE and TE at the hingline.
then I drew out where I thought the hard point will go.
finding the position for the hard point on the aileron
more or less, where the cross is
next step, was to obtain my plywood hardpoint, and then drawout where I will cut out foam with my dremel.
then glued it in with poly-u glue
position of the hard point
placing wax paper after glue was placed
leave a weight on it til it cures
Last edited by orthobird; 05-30-2022 at 04:27 PM.
05-30-2022, 04:32 PM
#47
next step, was to make the hard points for the wings root area
I am using wing adjusters
the hard points for the adjuster rods will be balsa
the hard point for the wing fastener bolt is plywood.
Because the root cap is glued on 1st, and then the balsa sheeting captures the root cap, it will be a very strong root cap against pull out. SO I am not worried about using balsa only for the adjusters pins.
this is what I did
1st, placed the wing on the fuselage side, and from the opposite side using a long 1/4" step drill, I perforated the root cap and the foam of the wing root, and made a total of 3 holes for those 3 hard points.,
then, I was able to place the hard points on the root and draw out where to cut out foam.
Dropped the hard points in with glue
then waited for them to cure.
I used poly-u glue for that step.
Each wing root cap hard points were weighed:
05-30-2022, 04:35 PM
#48
next step was to glue on the root cap
the way I like to do this is to place the fuselage on it side, and do one wing at a time
bring the wing down on the fuselage side so gravity helps to push the wing foam cores against the root cap, towards the front and the back, I will then place balsa shims to make sure there is intimate contact of the root cap of the wing with the fuselage sides.

i place wax paper between the wing and the fuselage side, to make sure no glue gets on my fuselage.
the way I like to do this is to place the fuselage on it side, and do one wing at a time
bring the wing down on the fuselage side so gravity helps to push the wing foam cores against the root cap, towards the front and the back, I will then place balsa shims to make sure there is intimate contact of the root cap of the wing with the fuselage sides.
i place wax paper between the wing and the fuselage side, to make sure no glue gets on my fuselage.
05-30-2022, 04:38 PM
#49
Once it cures, next step is to finish out the root caps, make sure they are nice and flush with the wing foam top side and bottom side:

root cap view once cured to wing foam. I used POLY U glue.
you can see the shim of balsa between the plywood cap and the foam,
both wings ready for coring. the right wing now weighs 165 grams and the left wing weighs 159 grams. this is before coring.
view of wing installed

the contact of the wing root to the fuselage side.
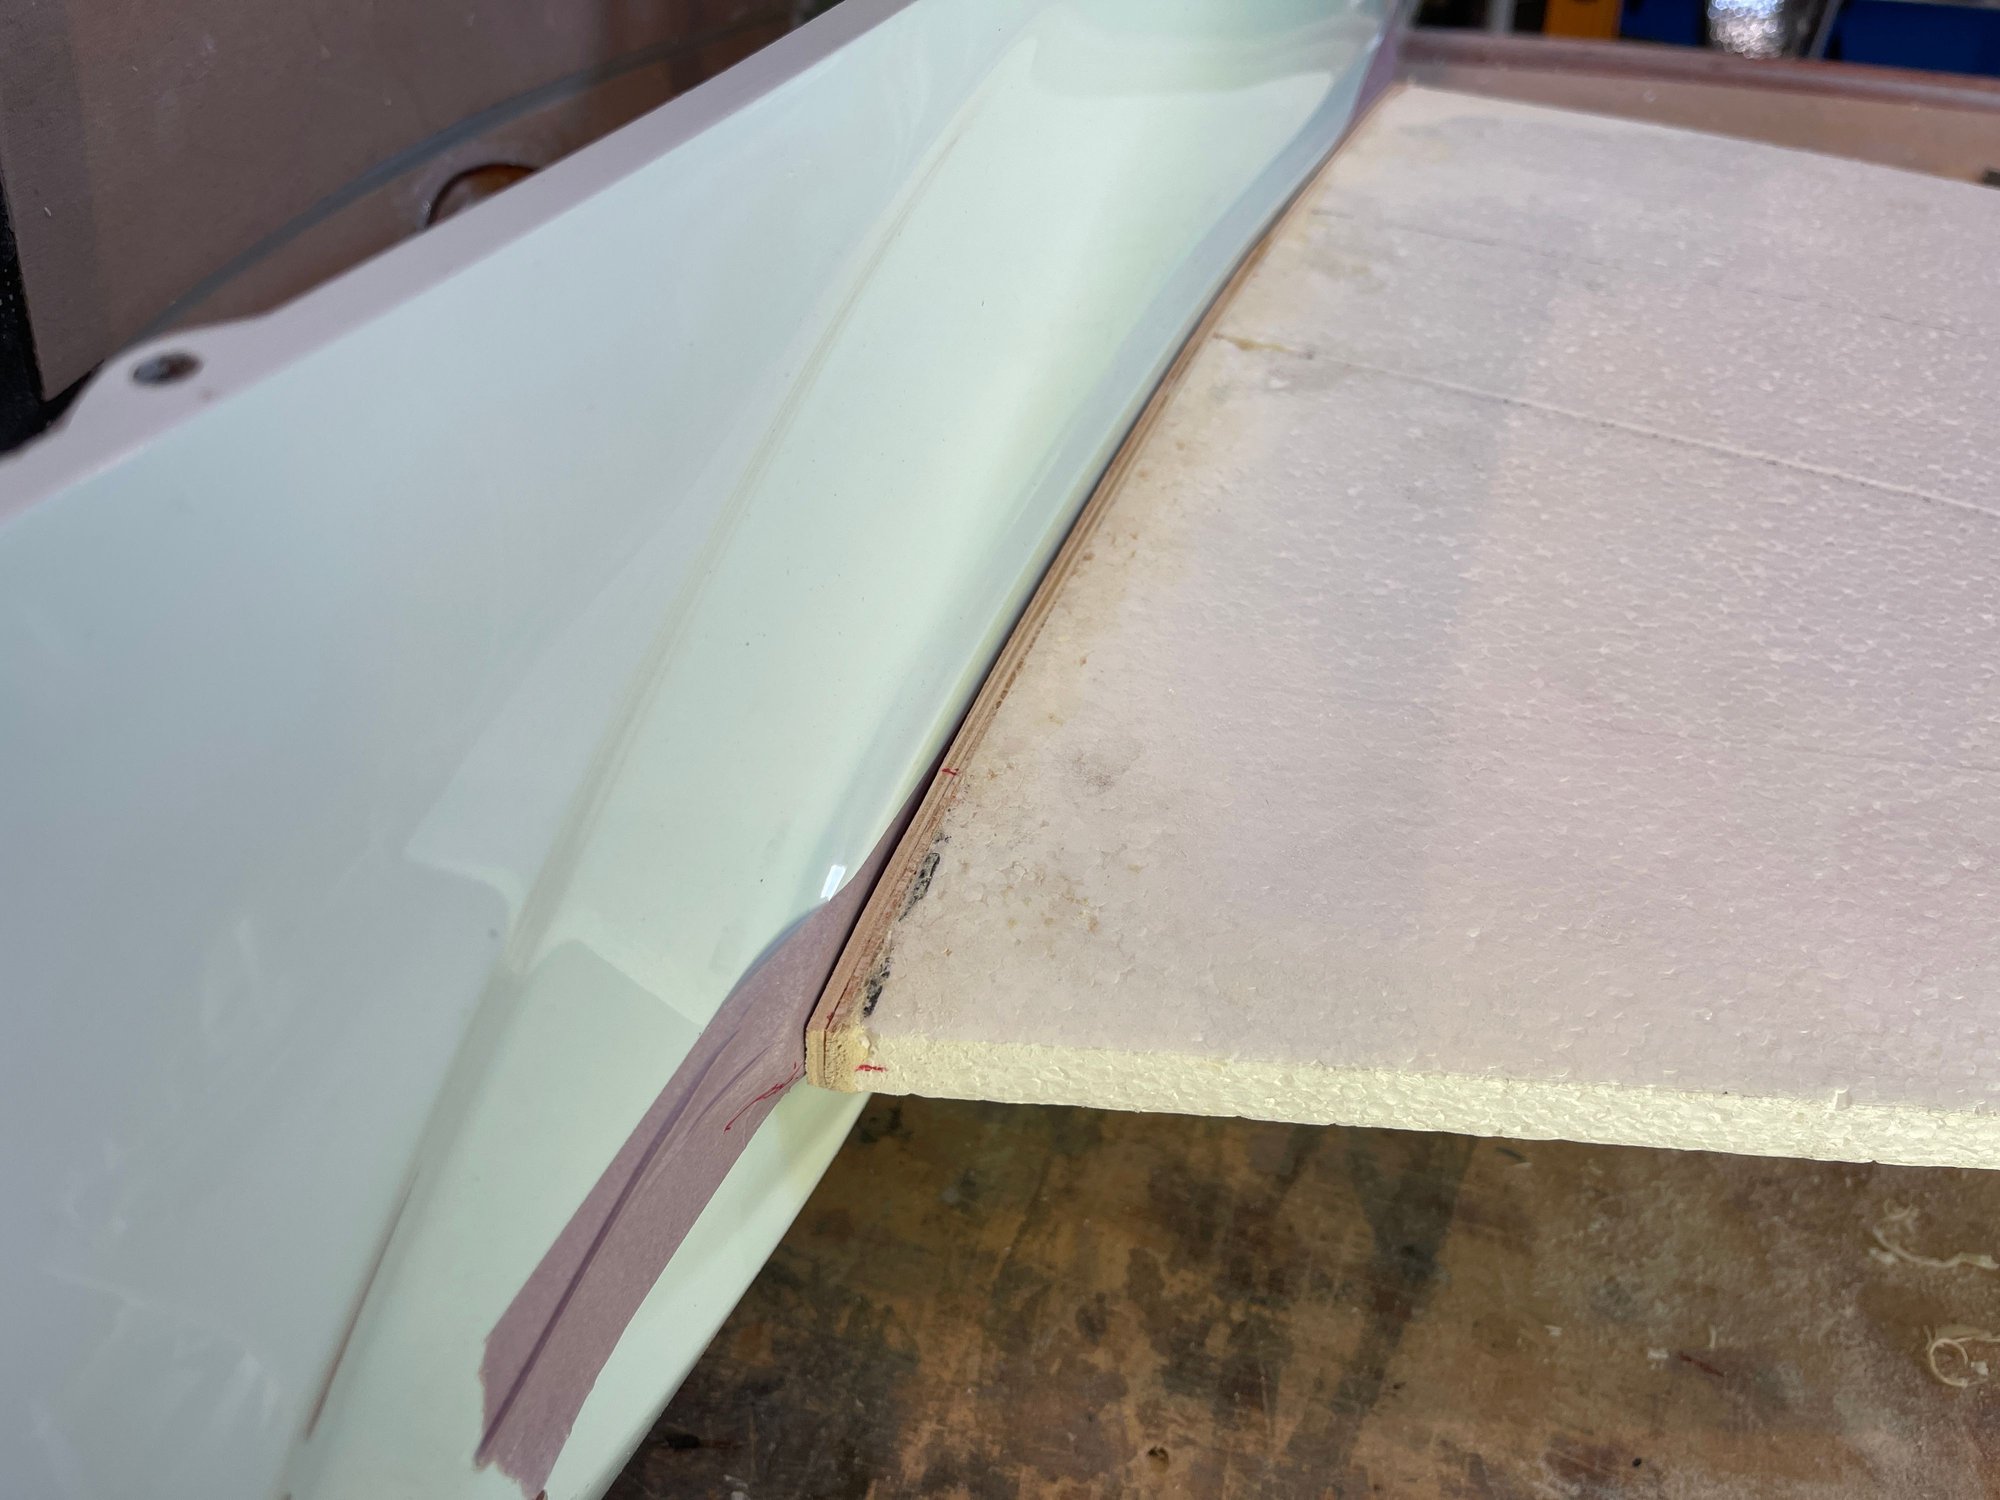
the other side.
root cap view once cured to wing foam. I used POLY U glue.
you can see the shim of balsa between the plywood cap and the foam,
both wings ready for coring. the right wing now weighs 165 grams and the left wing weighs 159 grams. this is before coring.
view of wing installed
the contact of the wing root to the fuselage side.
the other side.
06-01-2022, 06:47 PM
#50
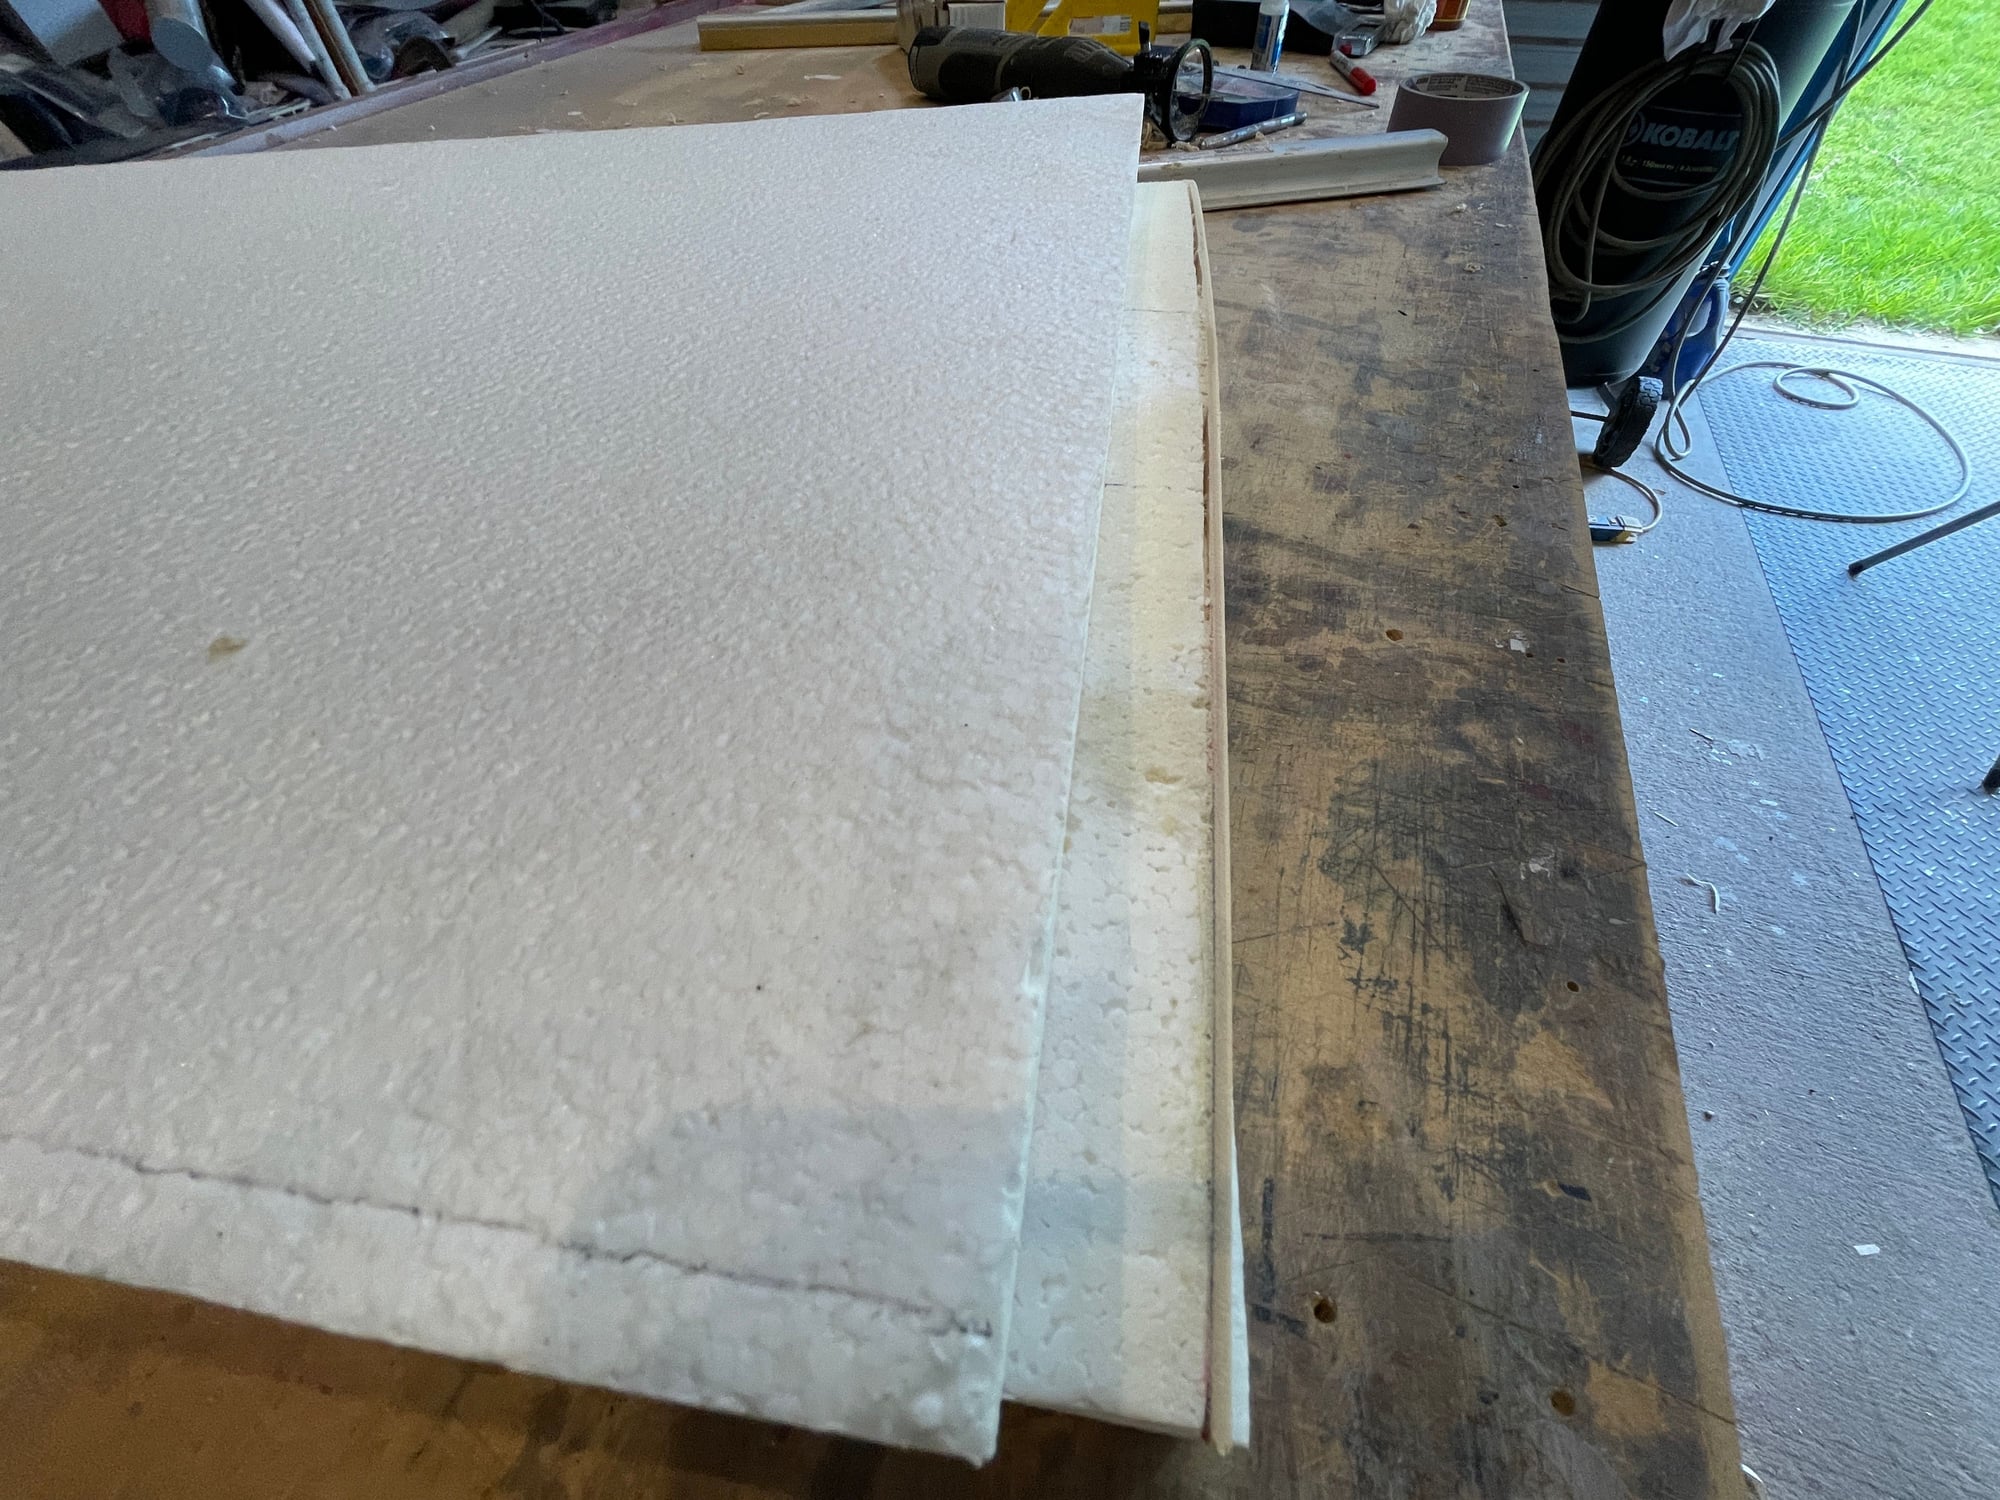
over the past few days, since my last post, I was able to make a template and based on some threads by Henry Piorun and Stuart Chale and Jason Arnold, i decided I would give this a try. My degree of coring is not as aggressive as theirs, but you will see what I did:

this wing was cored out by Henry Piorun. It was down to something like 50 grams or so!!
this is me, making this template. It is a double. Meaning, two pieces. One for the top and the other for the bottom. I should have taken a picture of this foam cutting wire I have, which is bipolar.

here, the template is done:

now, I have placed the template on the wing surface top and bottom:
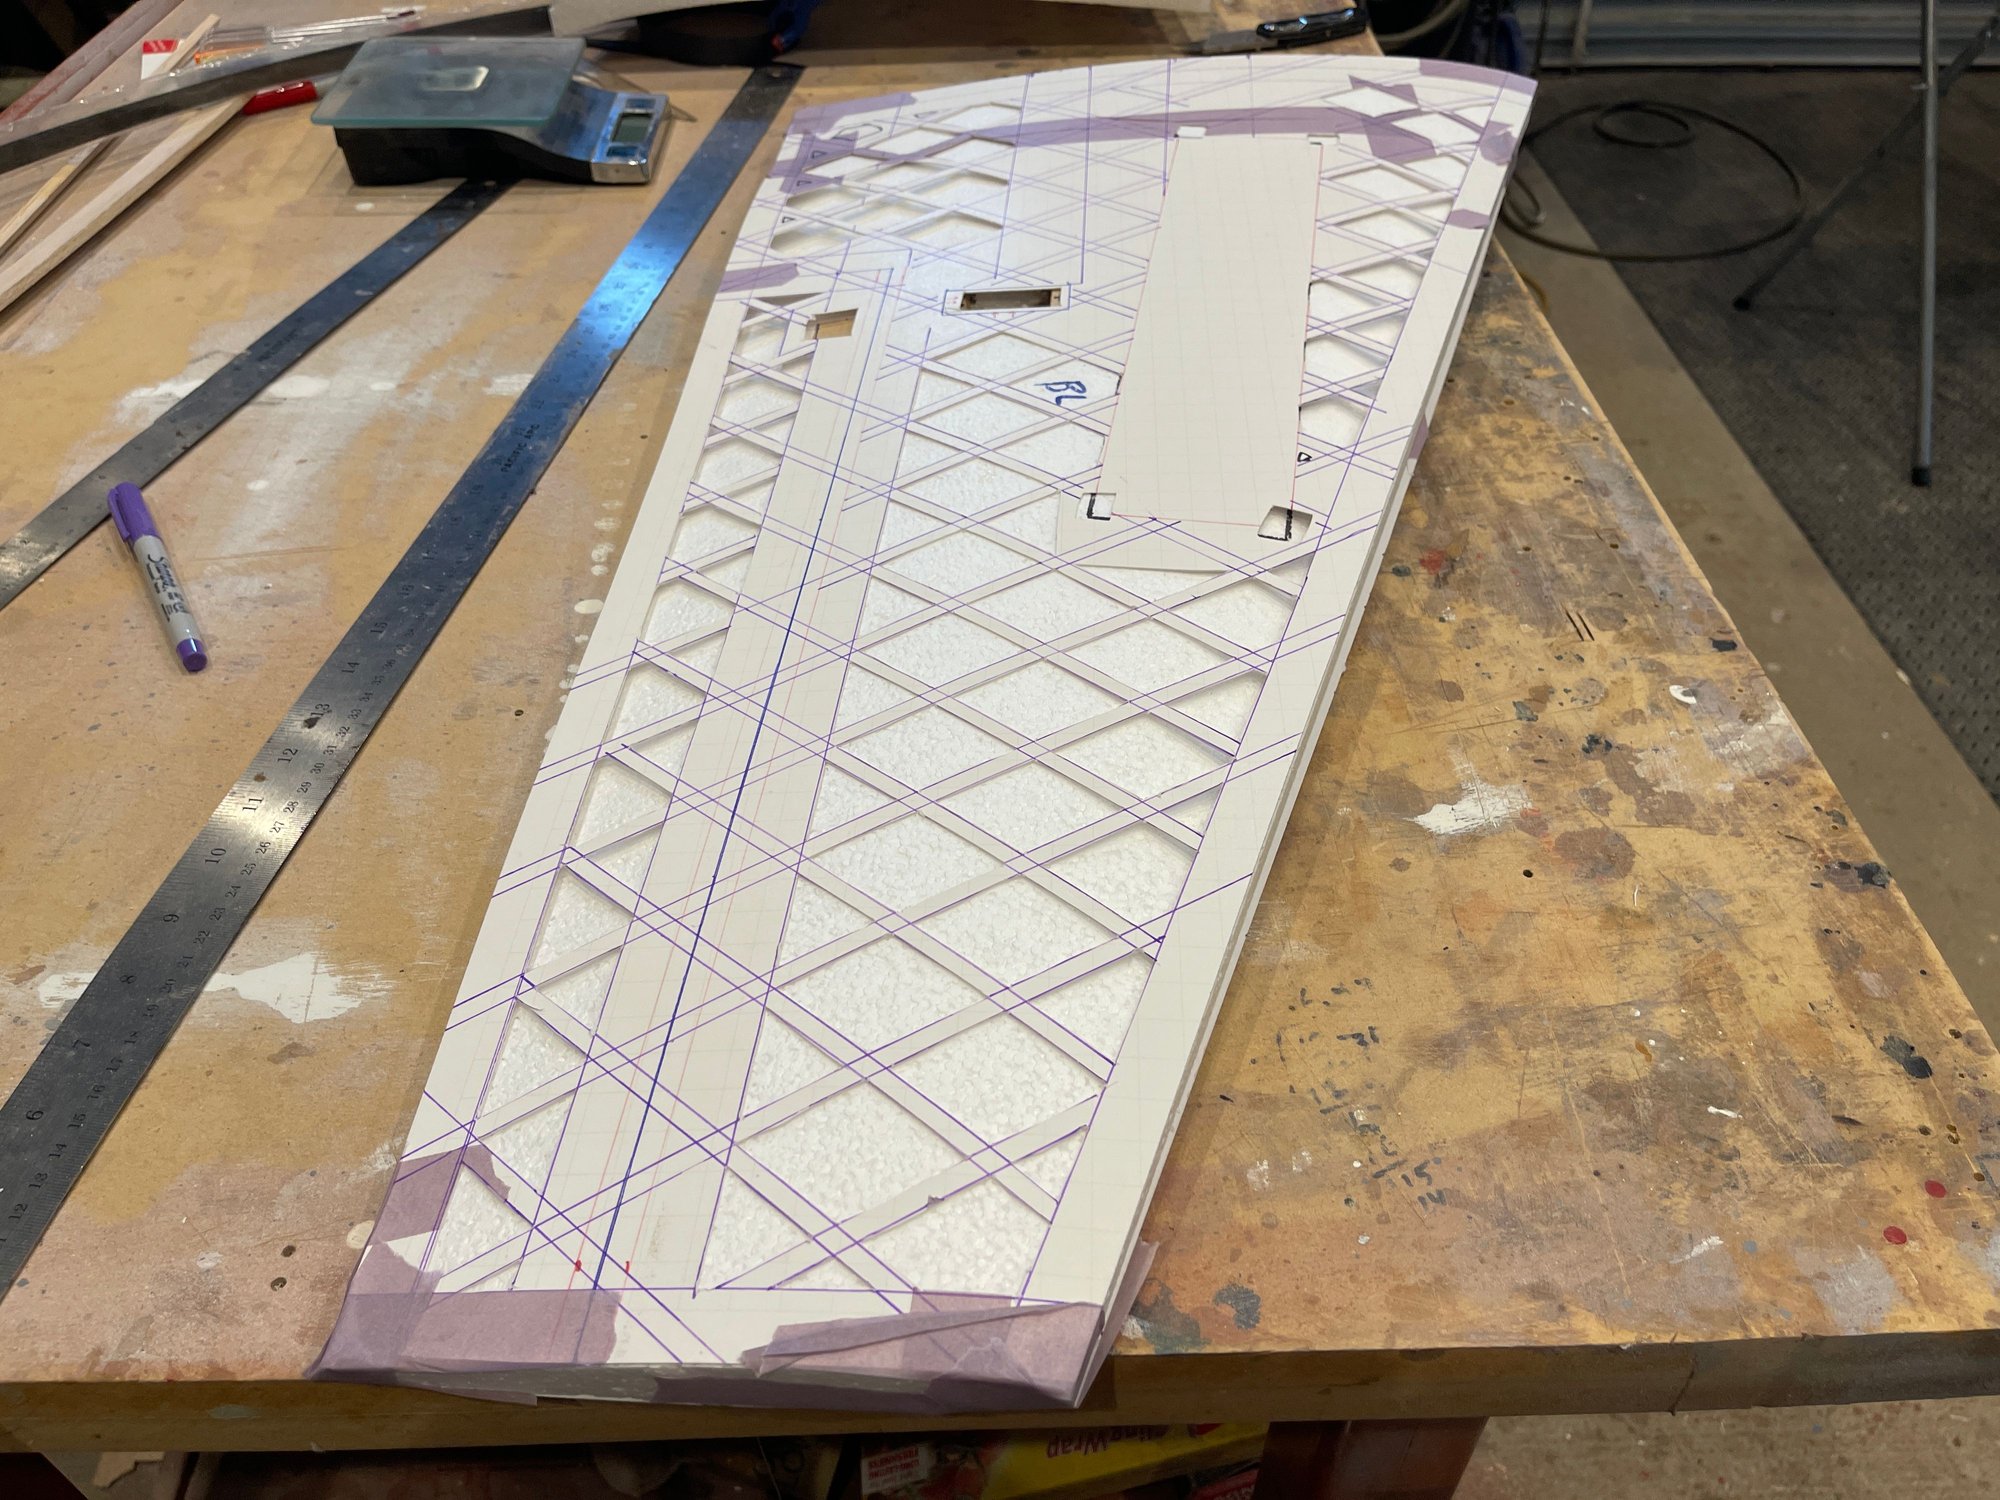
here is the end result:

this wing was cored out by Henry Piorun. It was down to something like 50 grams or so!!
this is me, making this template. It is a double. Meaning, two pieces. One for the top and the other for the bottom. I should have taken a picture of this foam cutting wire I have, which is bipolar.
here, the template is done:
now, I have placed the template on the wing surface top and bottom:
here is the end result: