F3P Expedition Build


 02-15-2019, 08:52 PM
#2
Balsa is stripped using a simple balsa stripper and single piece of 1/32 inch balsa. Total cost: $8.50. Total difficulty (1). This is easy.
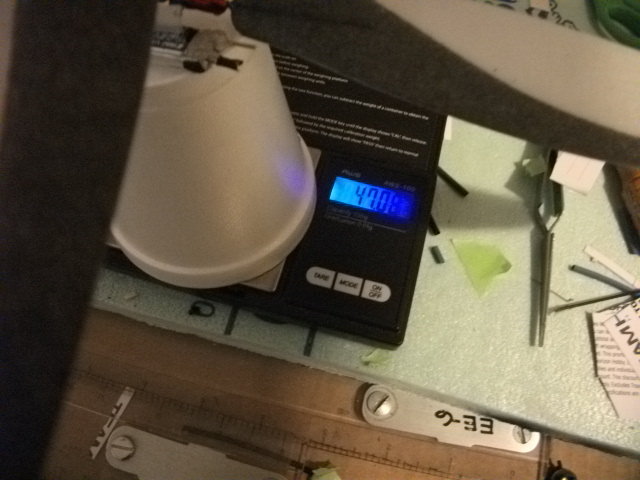
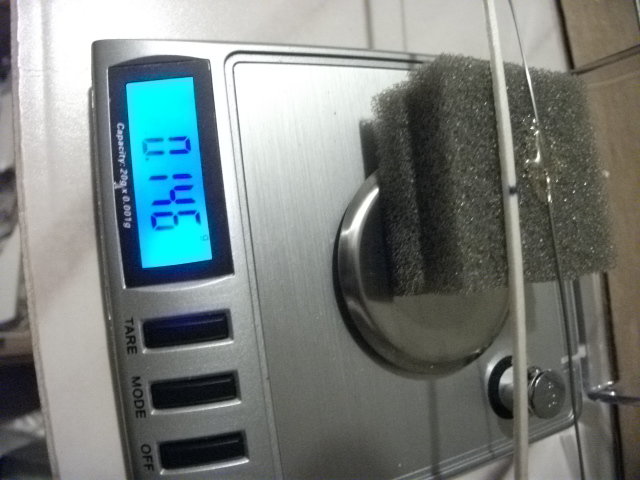
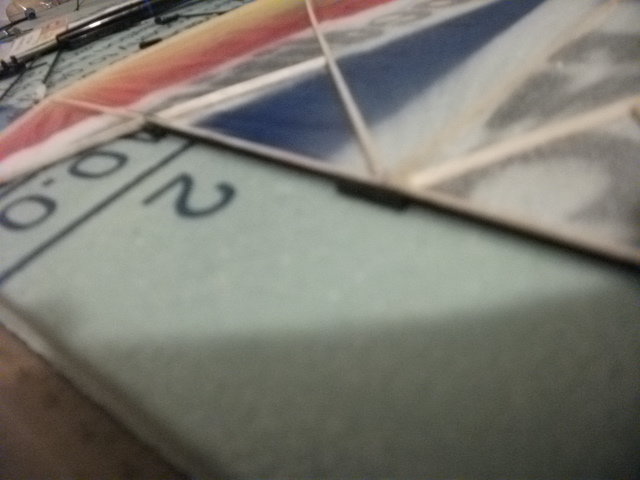
Step 2. I weigh each 36 inch strip. Balsa strips are 1/32 inch by 1/16 inch. Pieces weigh between .145 grams and .360 grams each. Sort from light to heavy. Heavy ones are stronger and used for wing leading edge, wing center rib, and certain braces which are more subject to abuse. Lighter ones are used for center ribs on the wings, stab, rudder and fuselage.
I did use .004 boron on the inside and outside of each horizontal fuselage outer pieces.
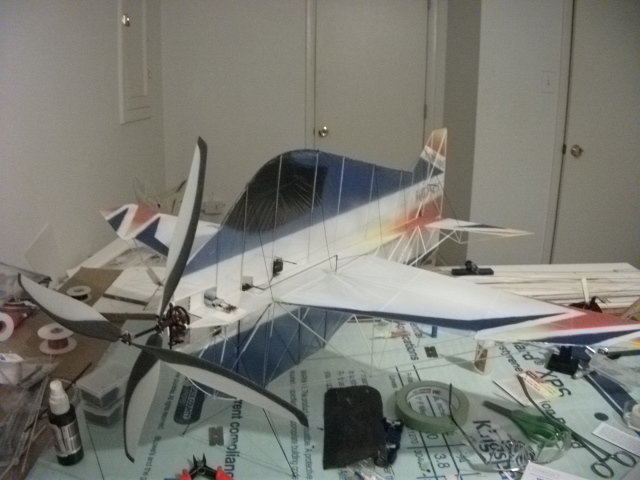
Cheers! Balsa cut and frame built in 1 weekend.
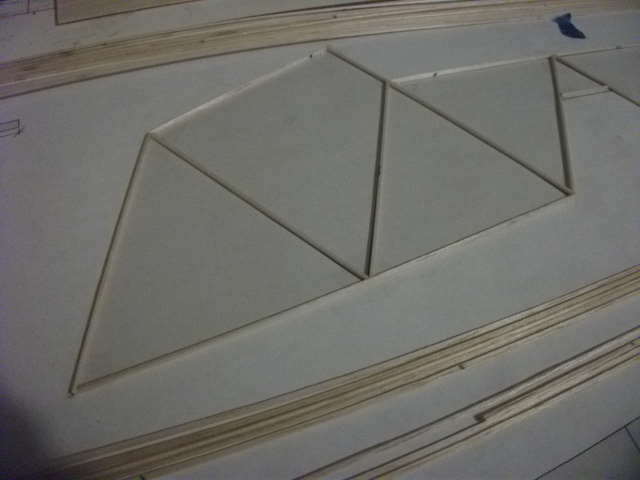
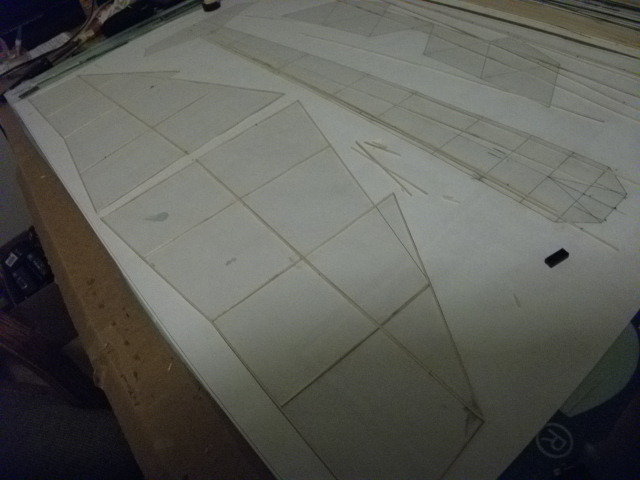
Just be very careful to align the balsa right to the plans. Cut the pieces and sand the tips to get them to fit closely but without creating stress. That is what creates warps or mis-alignment later when assembling.
Step 2. I weigh each 36 inch strip. Balsa strips are 1/32 inch by 1/16 inch. Pieces weigh between .145 grams and .360 grams each. Sort from light to heavy. Heavy ones are stronger and used for wing leading edge, wing center rib, and certain braces which are more subject to abuse. Lighter ones are used for center ribs on the wings, stab, rudder and fuselage.
I did use .004 boron on the inside and outside of each horizontal fuselage outer pieces.
Cheers! Balsa cut and frame built in 1 weekend.
Just be very careful to align the balsa right to the plans. Cut the pieces and sand the tips to get them to fit closely but without creating stress. That is what creates warps or mis-alignment later when assembling.

 02-16-2019, 07:34 AM
#5
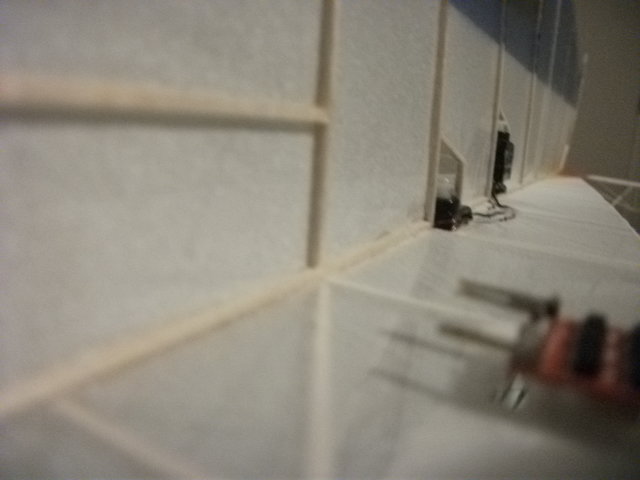
Balsa is graded by weight. When building the frame only use a small dot of medium to thick CA to hold in place. Cut the balsa sticks so they are just the right length or slightly larger then sand them to fit. Any stress on balsa will warp the structure. Its really easy, but just takes a bit of care. I framed up the plane in one weekend. (about two sessions of 2 hours each).
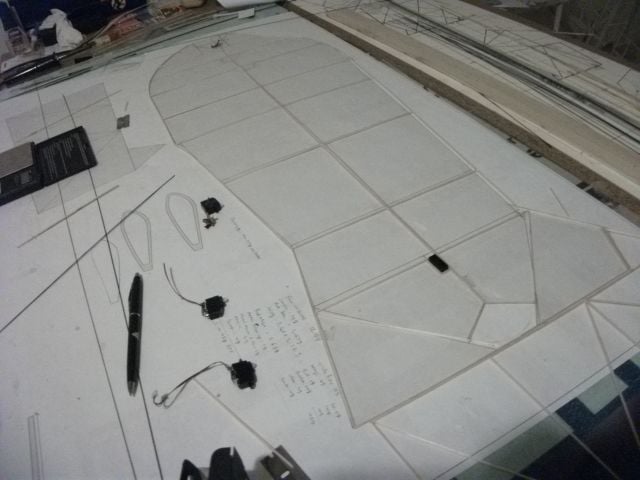
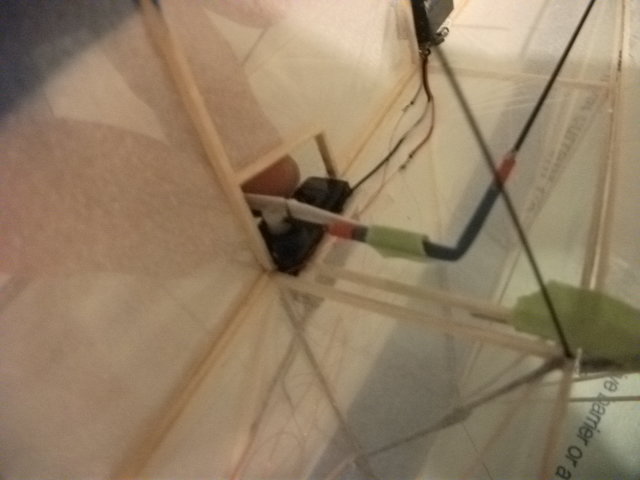
Notice that I added a small frame for the contra- I prefer the Lantsov brand contra systems. I also added servo boxes by placing the servo case in the position and framing the balsa box around it.
Notice that I added a small frame for the contra- I prefer the Lantsov brand contra systems. I also added servo boxes by placing the servo case in the position and framing the balsa box around it.
Last edited by Don Szczur; 02-16-2019 at 07:45 AM.


 02-16-2019, 07:53 AM
#7
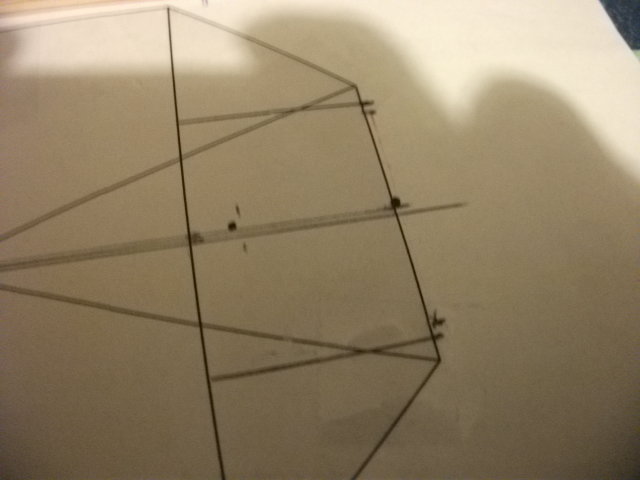
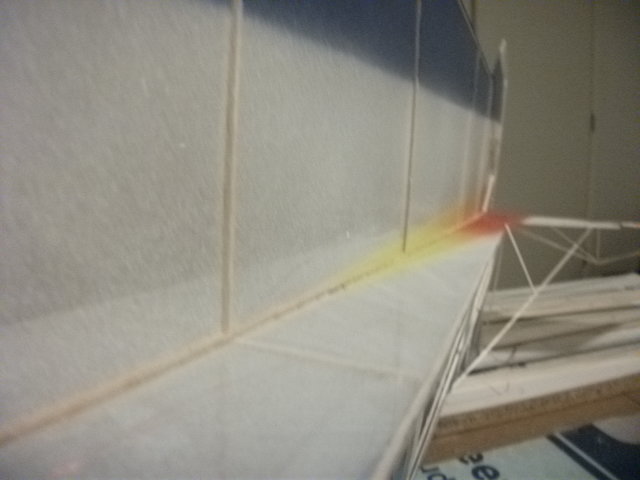
You will notice that I shifted the trailing edge of the stab forward by about 1/32 inch. This is so that the elevator counter balances will match up with the front of the stab. The plans do not allow for balsa thickness. I won't be too critical of the plans because this is Joseph's first "published" design. He's been building previous models for years just penciled on a building board or traced onto pieces of paper taped together. Many thanks to Scott Brownwell for working with Joseph on the CAD drawings 2D.
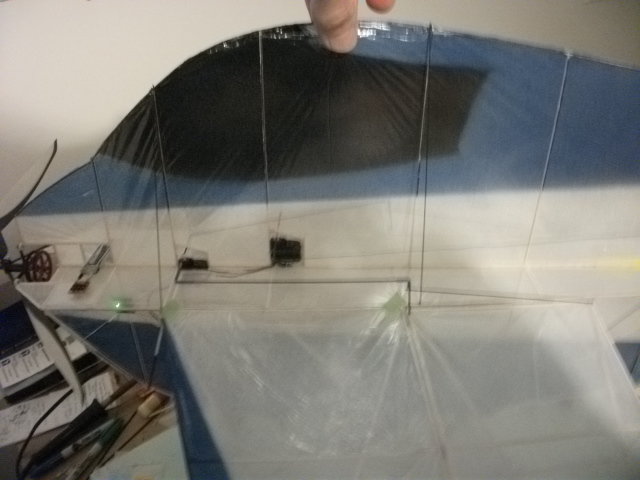
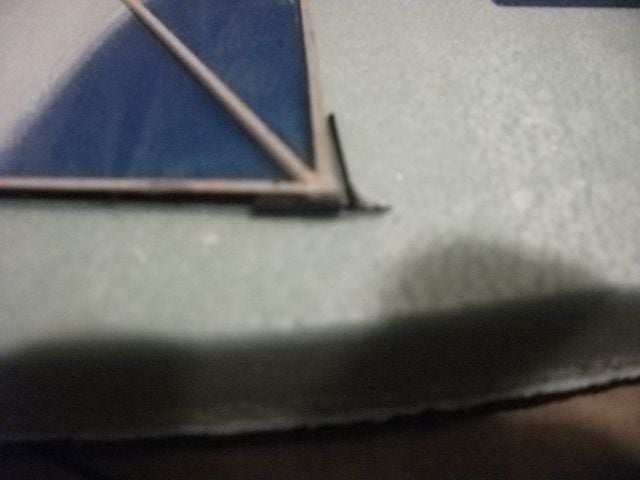
In any event, I added the very lightest balsa as pieces to make a "center line". I expect that will help during final assembly to achieve a very straight fuselage.
The boron was applied to the two fuselage side sticks prior to assembly. I did add a very thin piece of carbon laminate to the top of the canopy to make lifting and moving the model around a bit easier on the flight line....
Take care and detail on balsa alignment. I trial fitted the elevator to the stab before final assembly to make sure the LE/TE are straight for hinging later. Also double checked the clearance on the elevator counter balance tips. This was done very well on the plans and no adjustments were needed. Finally I double checked the alignment of the horizontal and vertical pieces(lined up the fuselage sides) to make sure they match with the horizontal braces. The plans were off just a bit but I made those adjustments.
Last edited by Don Szczur; 02-16-2019 at 05:00 PM.


 02-16-2019, 05:10 PM
#10
So the balsa strips are cut from 1/32 inch sheet and stipped 1/16 inch tall (approximately). The nice part about using the balsa stripper is that each strip is exactly the right height so when assembling the model the sticks all fit together really well. The lightest one was about 146 milligrams the heaviest one about 360 milligrams- about 3x the weight! The sponge on top of the scale allows for very accurate weighing, if you ever get into F1D or indoor free flight where the entire MODEL weighs about 1.2 grams to 1.4 grams without the motor. Balsa selection for that is not at the level of F1D which is relatively speaking very simple.
This build is complete and ready for paint.
This build is complete and ready for paint.
02-16-2019, 05:12 PM
#11
So the balsa strips are cut from 1/32 inch sheet and stipped 1/16 inch tall (approximately). The nice part about using the balsa stripper is that each strip is exactly the right height so when assembling the model the sticks all fit together really well. The lightest one was about 146 milligrams the heaviest one about 360 milligrams- about 3x the weight! The sponge on top of the scale allows for very accurate weighing, if you ever get into F1D or indoor free flight where the entire MODEL weighs about 1.2 grams to 1.4 grams without the motor. Balsa selection for that is not at the level of F1D which is relatively speaking very simple.


This build is complete and ready for paint.
This build is complete and ready for paint.


 02-16-2019, 05:23 PM
#13
So I placed a 1/16 inch spacer between the aileron and the wing to see if I can get a gap seal on the aileron. Not sure how well this is going to work but will give it a shot. Basically after spraying the frame, and even before that- making sure everything is perfectly straight. The tape holds the hinge line straight. After spraying with some 3M 77 I found that the frame has to be carefully set on to the mylar. Basically just drop it on to the board flat and it keeps it nice and straight. To trim the covering around the edges, Paul showed me some nice medical exacto tips, but in the absence of some really sharp blades, I used a 30 watt soldering iron, unplugging it every minute or so (25 watt or even 15 watt would probably work even better). There are also hot wire tools that medical professionals use, but the soldering iron works very well..


 03-01-2019, 07:13 PM
#18
Discussion about glues and paints.
It was suggested to use Duco like indoor free flight models. This stuff is basically as light as air. I think I can use something like .02 grams on an F1D model. So in terms of glue for this build, I used Gorilla CA the stuff in the orange 3 gram squeeze pouches. This works really well- much better than thin CA. It gives a few seconds for the parts to set, and gets sticky after several seconds, but does not harden immediately. It helps with positioning the balsa pieces and CF strips. I also use Gorilla CA gel. This is useful for hinging in that it will not soak its way into the hinges. Hinges are made by cutting smallest diameter (1.8 mm) heat shrink tubing and very thin carbon rod as the hinge. Overall I used about 2 grams of the CA during the build and about 1 gram going over the entire structure joints to double up any that may have been a bit sparse on glue. I used about 2 grams of the glue gel for the hinges and other, more gap filling needed spots. In terms of adhesion, I found that where I did use Duco (.004 boron on the fuselage stringers) if I put too much Duco it acts like plastic film and the CA will not stick to the thin residue. So bottom line, Duco is lighter but takes a bit longer to dry (than CA and accelerator). The trade off is about 2 grams, in my estimation. I did not try Duco on carbon fiber rods, but assume it would work fine on this and other non-balsa components.
It was suggested to use Duco like indoor free flight models. This stuff is basically as light as air. I think I can use something like .02 grams on an F1D model. So in terms of glue for this build, I used Gorilla CA the stuff in the orange 3 gram squeeze pouches. This works really well- much better than thin CA. It gives a few seconds for the parts to set, and gets sticky after several seconds, but does not harden immediately. It helps with positioning the balsa pieces and CF strips. I also use Gorilla CA gel. This is useful for hinging in that it will not soak its way into the hinges. Hinges are made by cutting smallest diameter (1.8 mm) heat shrink tubing and very thin carbon rod as the hinge. Overall I used about 2 grams of the CA during the build and about 1 gram going over the entire structure joints to double up any that may have been a bit sparse on glue. I used about 2 grams of the glue gel for the hinges and other, more gap filling needed spots. In terms of adhesion, I found that where I did use Duco (.004 boron on the fuselage stringers) if I put too much Duco it acts like plastic film and the CA will not stick to the thin residue. So bottom line, Duco is lighter but takes a bit longer to dry (than CA and accelerator). The trade off is about 2 grams, in my estimation. I did not try Duco on carbon fiber rods, but assume it would work fine on this and other non-balsa components.
03-01-2019, 07:18 PM
#19
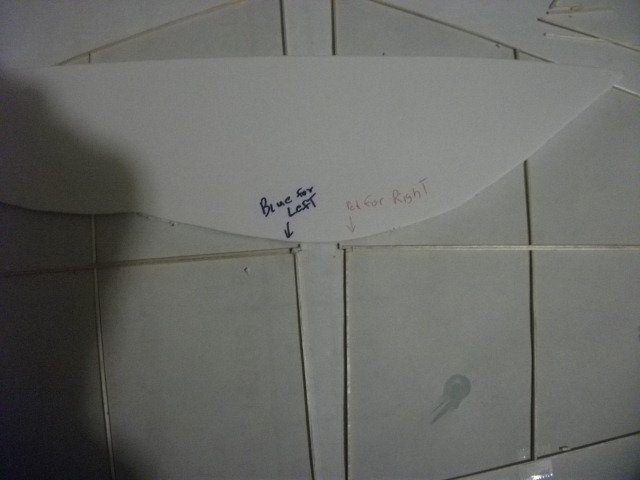
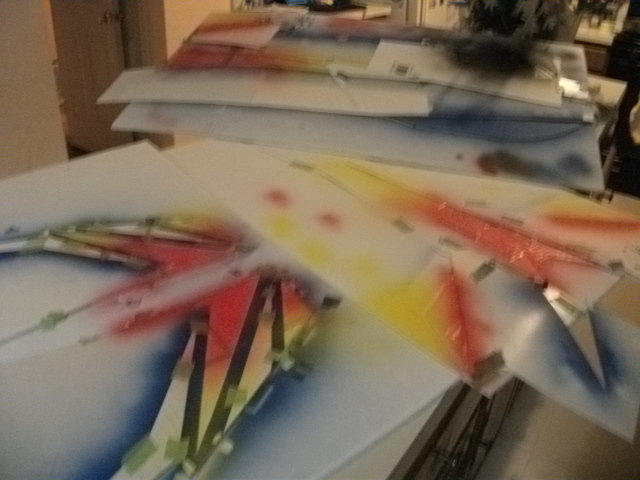
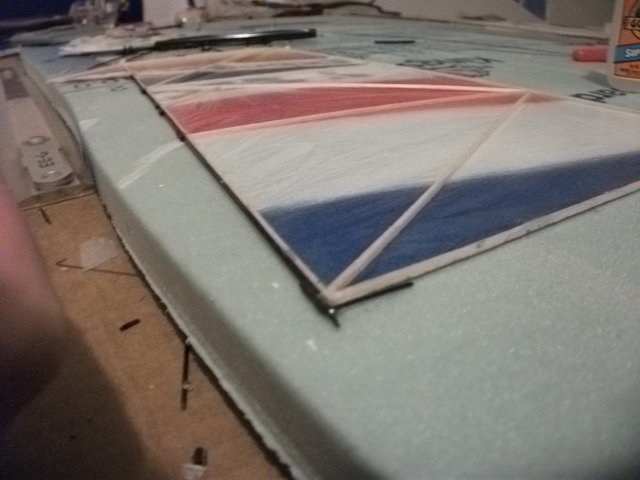
In terms of paint, Joseph found that this particular brand works the best. He had been using "finger paint" level of quality water based paints which although light tend to flake off of the mylar. However this paint sticks very well even after several applications of tape (wing joining). Total weight gained was about 3 to 4 grams for paint. Basically the entire structure was painted starting with white, then red, then yellow then blue. Each section was reverse-masked. Joseph recommended to me this approach because if you paint a base coat of white then paint the other colors on top, the reverse side is opaque . By reverse masking, it allows the blue, yellow and red to show through top or bottom of the wing, for example. This is great quality paint and very easy to work with and spray.
03-01-2019, 07:29 PM
#20
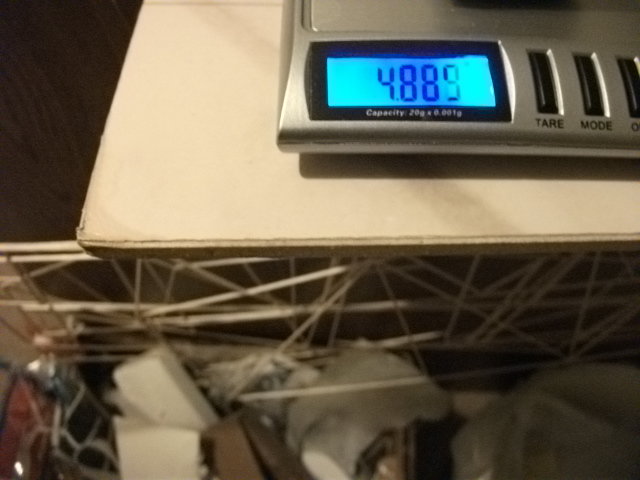
A word about the weight of balsa versus carbon fiber. I did a lot of careful selection of wood and carbon fiber. What I concluded is that balsa is stiffer for the same weight or even lighter, hands down. I probably saved at least 10 grams (about 20 percent of the model weight) by using balsa. The trade off, however is a relatively fragile airframe as compared to carbon, The carbon rods also have less drag aerodynamically. We are not sure this is a real disadvantage though as the extra drag from the truss structures help give the airframe a more consistent and slower speed.
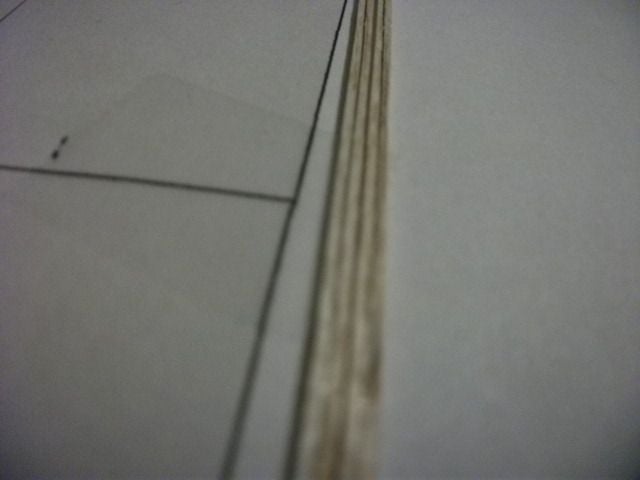
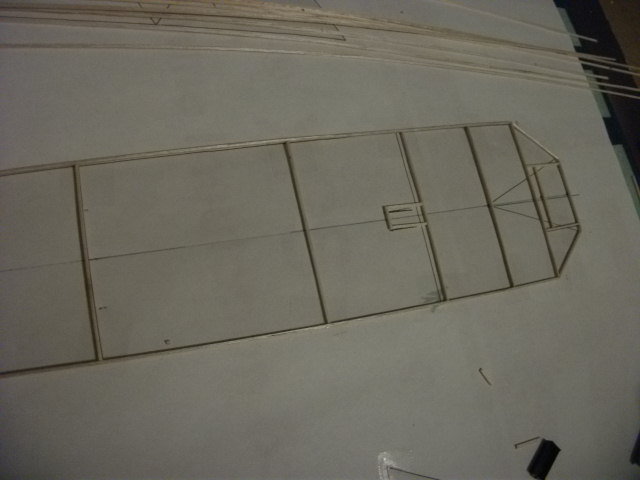
For this model build, I used mostly balsa, some boron (elevator balsa pushrod is reinforced with 4 pieces of boron, fuselage side stringers use boron on the inside and outside). and some carbon fiber. Scott Brownewell had suggested some really thin carbon fiber strips for strategic locations. I split this in halves or thirds and used very small strips on one side of balsa key truss structure pieces that I noticed had a tendency to break (e.g., from my first real F3P practice session two Friday nights ago). I also used carbon rods rather than balsa on the upper sections of the airframe- places where you tend to bump into and snap balsa stringers. The results turned out great. The airframe is very strong and weight is reasonable at about 47 grams ready to fly.
For this model build, I used mostly balsa, some boron (elevator balsa pushrod is reinforced with 4 pieces of boron, fuselage side stringers use boron on the inside and outside). and some carbon fiber. Scott Brownewell had suggested some really thin carbon fiber strips for strategic locations. I split this in halves or thirds and used very small strips on one side of balsa key truss structure pieces that I noticed had a tendency to break (e.g., from my first real F3P practice session two Friday nights ago). I also used carbon rods rather than balsa on the upper sections of the airframe- places where you tend to bump into and snap balsa stringers. The results turned out great. The airframe is very strong and weight is reasonable at about 47 grams ready to fly.


 03-01-2019, 07:56 PM
#24
Drilling the servo shafts to insert the carbon fiber piece is much easier accomplished if a "pilot" hole is drilled using a hot needle to melt through the plastic and allow the drill bit to find its way through in a straight alignment. I had pre drilled the holes prior to servo mounting, but found a few holes were mis-aligned so widening the holes a bit allowed for proper alignment of the carbon fiber control arm. The previously mentioned gel glue works very well to glue the carbon fiber rod through the servo shaft. Definitely don't use thin or even medium CA as it tends to wick its way into the servo bushing and destroying the servo. Its possible to use a knife or pin to clean this out with gel glue (yes I did get a bit of gel on the shaft/servo case intersection. By removing the case of the servo, the airplane overall saves about 2 grams in weight.
03-01-2019, 08:01 PM
#25
The pictures show pretty well the removable rudder pin which slides through all the previously mounted heat shrink. I used some of that really thin carbon fiber strip (about 1/40th of an inch wide) to reinforce the leading edge of the removable rudder.