


JW Büker Jungmeister build
 05-22-2022, 12:21 PM
#51
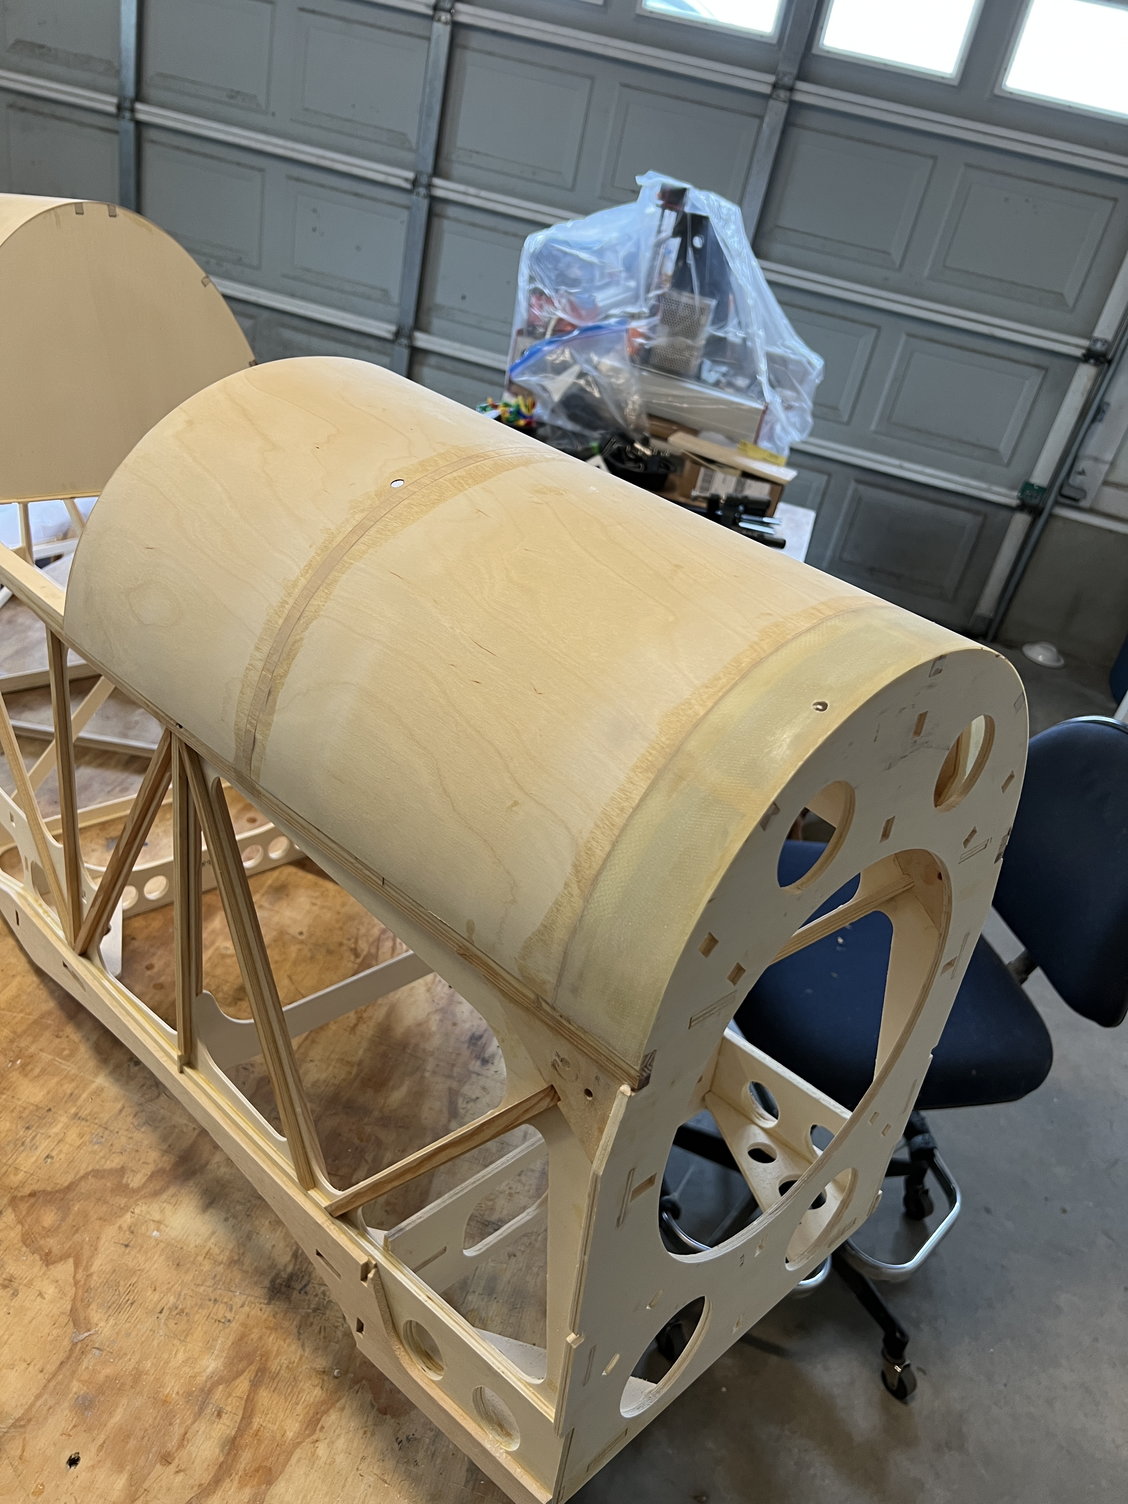
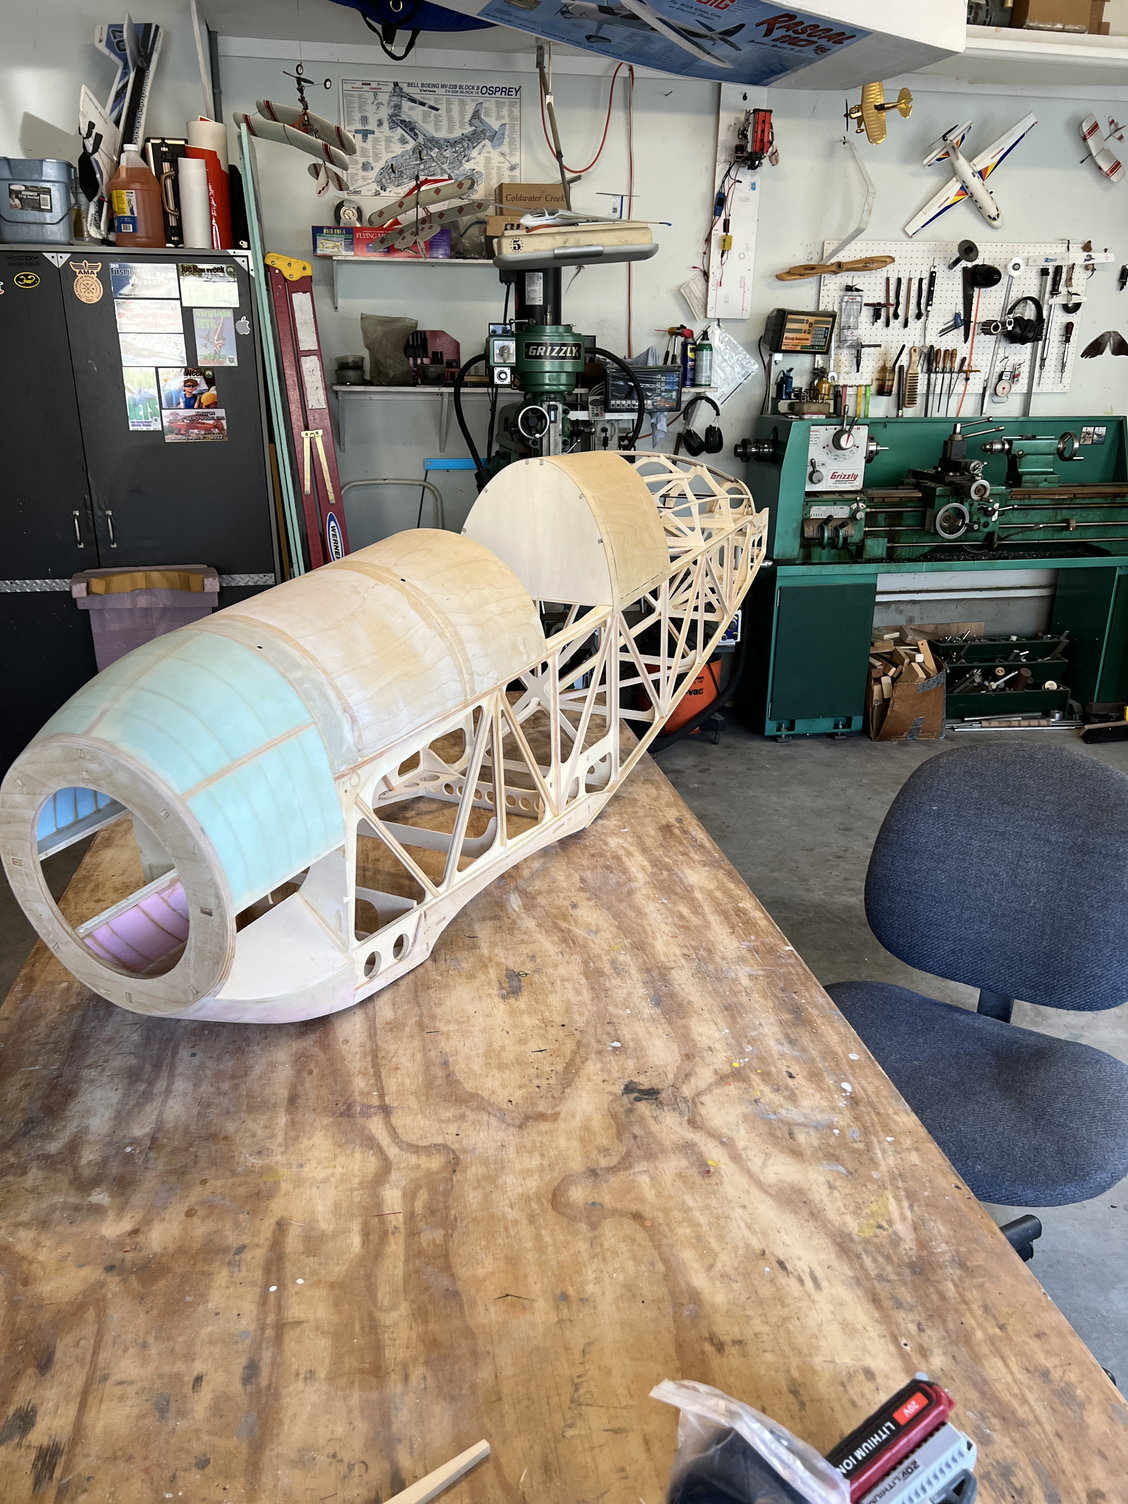
I made a .045 layup of fiberglass to replace the piece that goes on the very front of the fuselage. The original wasn't sized to my liking. Then, while I was at it, I decided to fill in the simulated "fuel tank" lines on the top forward of the fuselage. Unless these areas are executed perfectly, they just wind up looking crappy so I decided to eliminate them. My feeling about this is that there are so many other concessions in this kit that compromise scale fidelity that this one won't make much difference. Obviously I'm not a scale fanatic!

The following users liked this post:
Steve (06-13-2022)
05-22-2022, 12:27 PM
#52
I needed to work on the smoke and fuel tanks before I glued on the firewall pieces. The smoke tank I'm using is smaller than the kit-supplied gas tank so it took some mods to make it work.
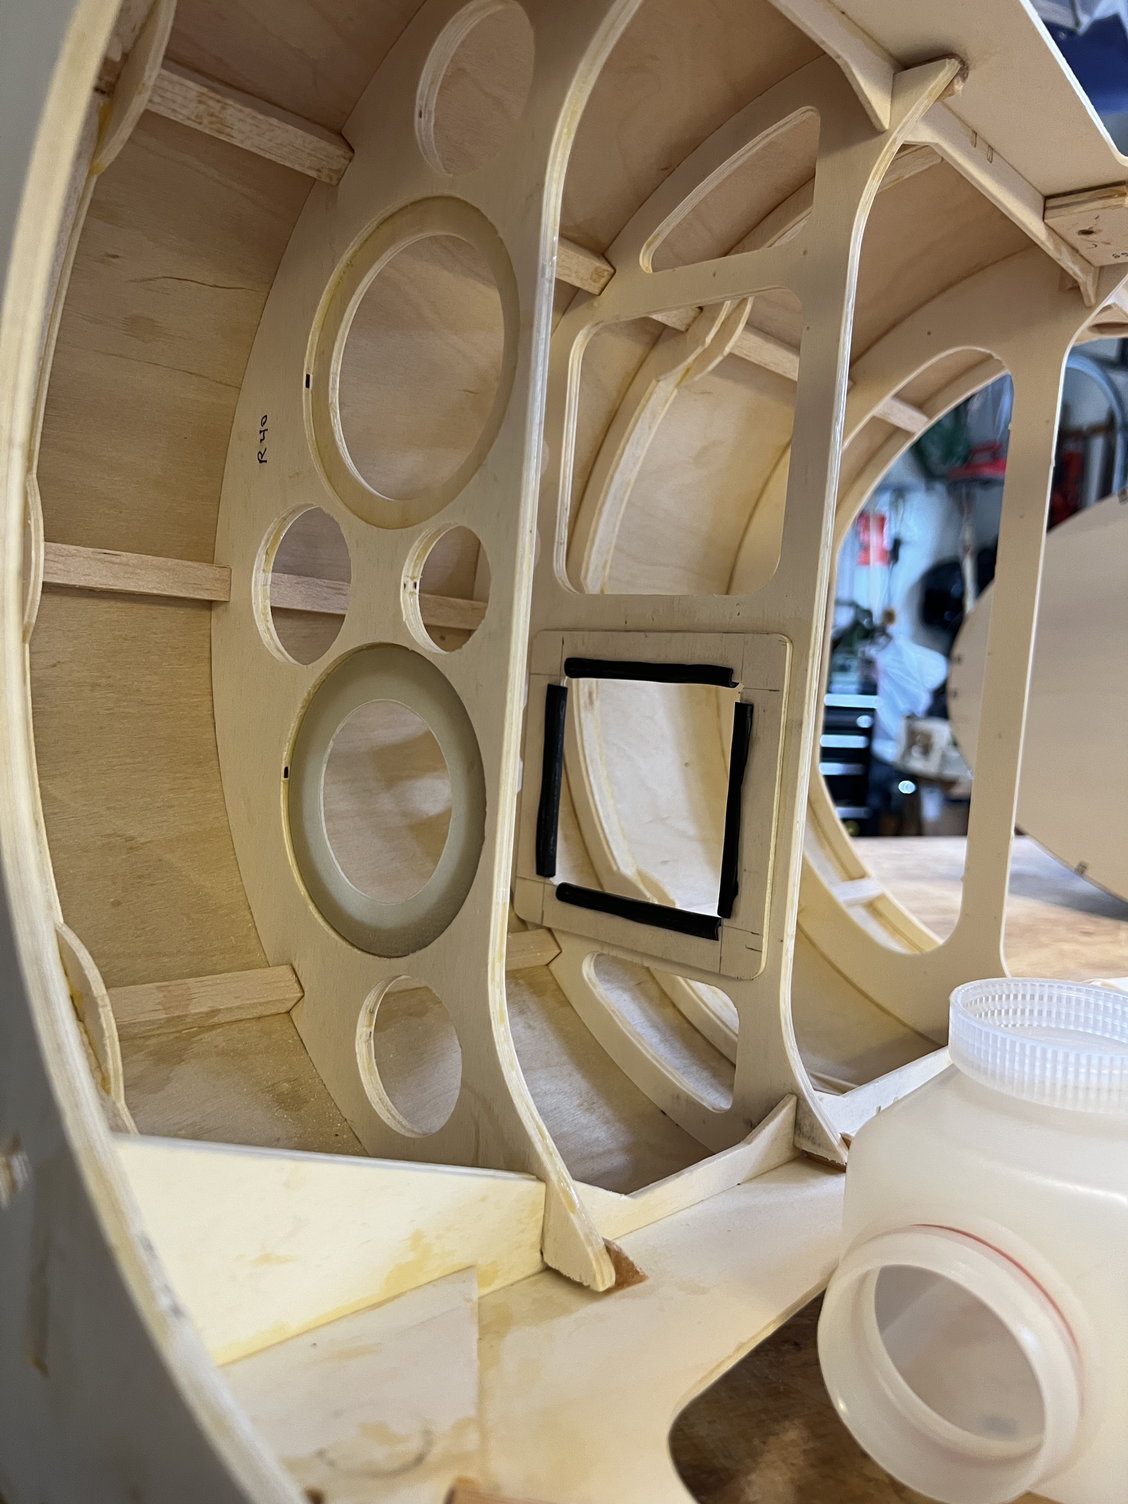
Reducer intalled in the front portion of the smoke tank mount. Plus you see I added some rubber padding.
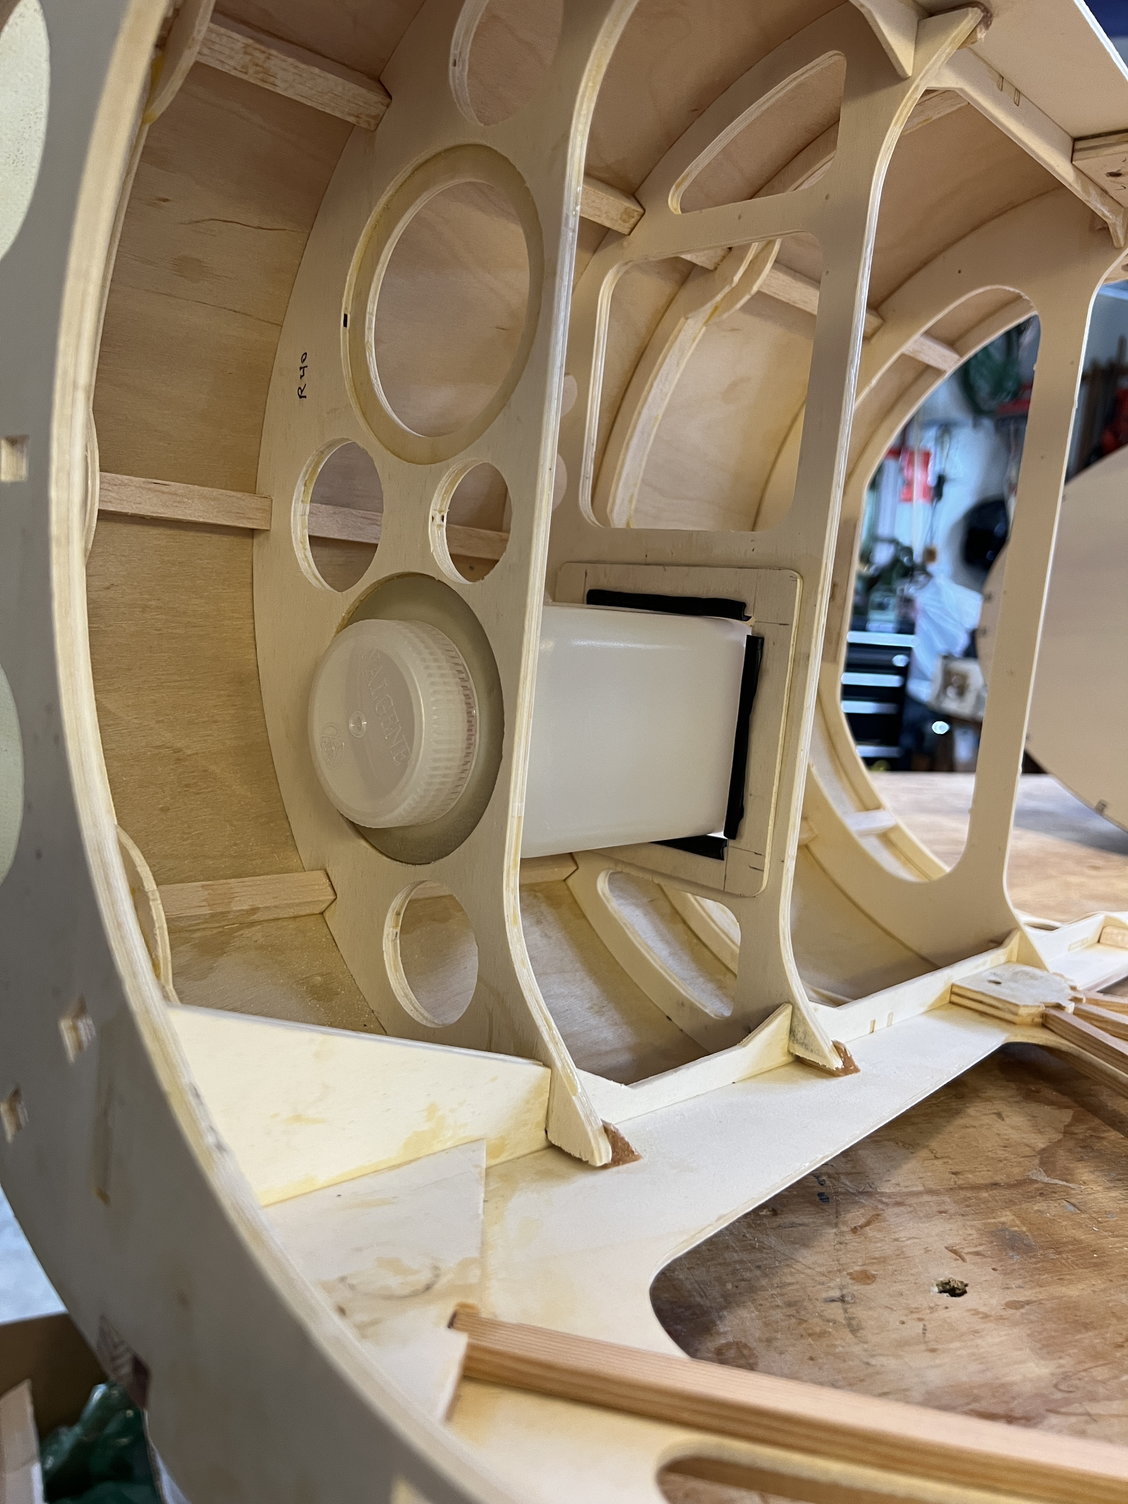
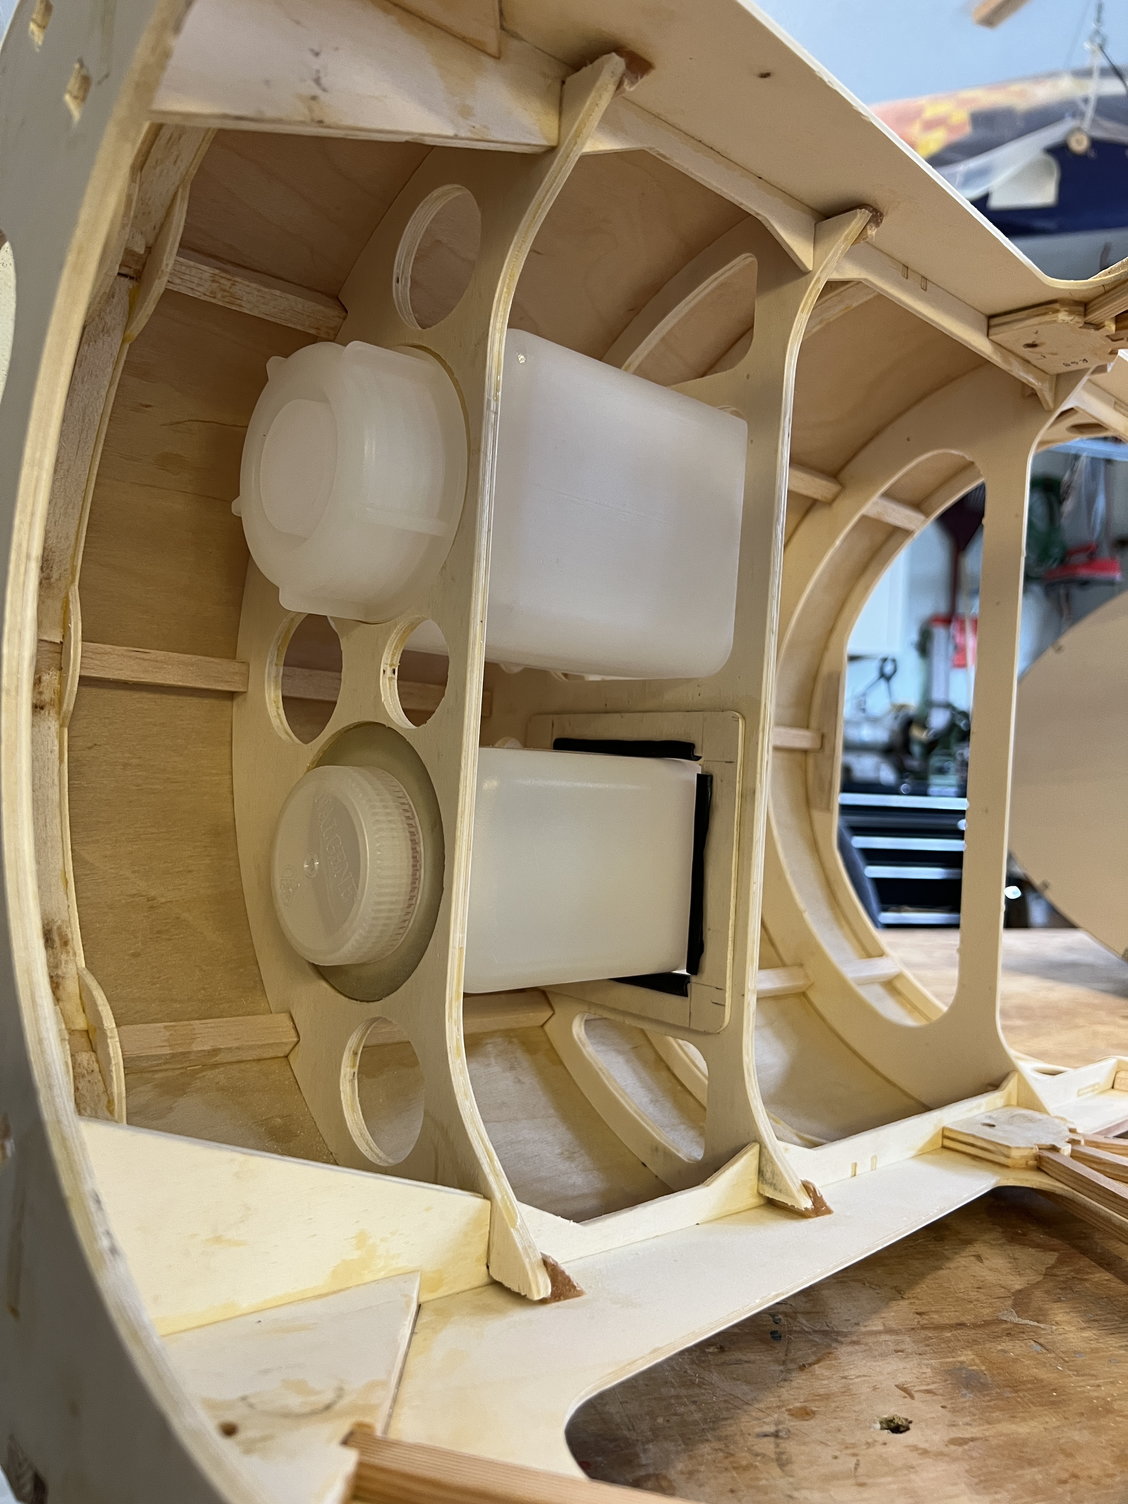
I like this tank mounting method.
Reducer intalled in the front portion of the smoke tank mount. Plus you see I added some rubber padding.
I like this tank mounting method.
The following users liked this post:
Steve (05-22-2022)
05-22-2022, 12:32 PM
#53
And it's finally time to glue on the front of the fuselage. I just retired so I have lots of time to work on these projects. I doubt it will be long til this thing is flying.
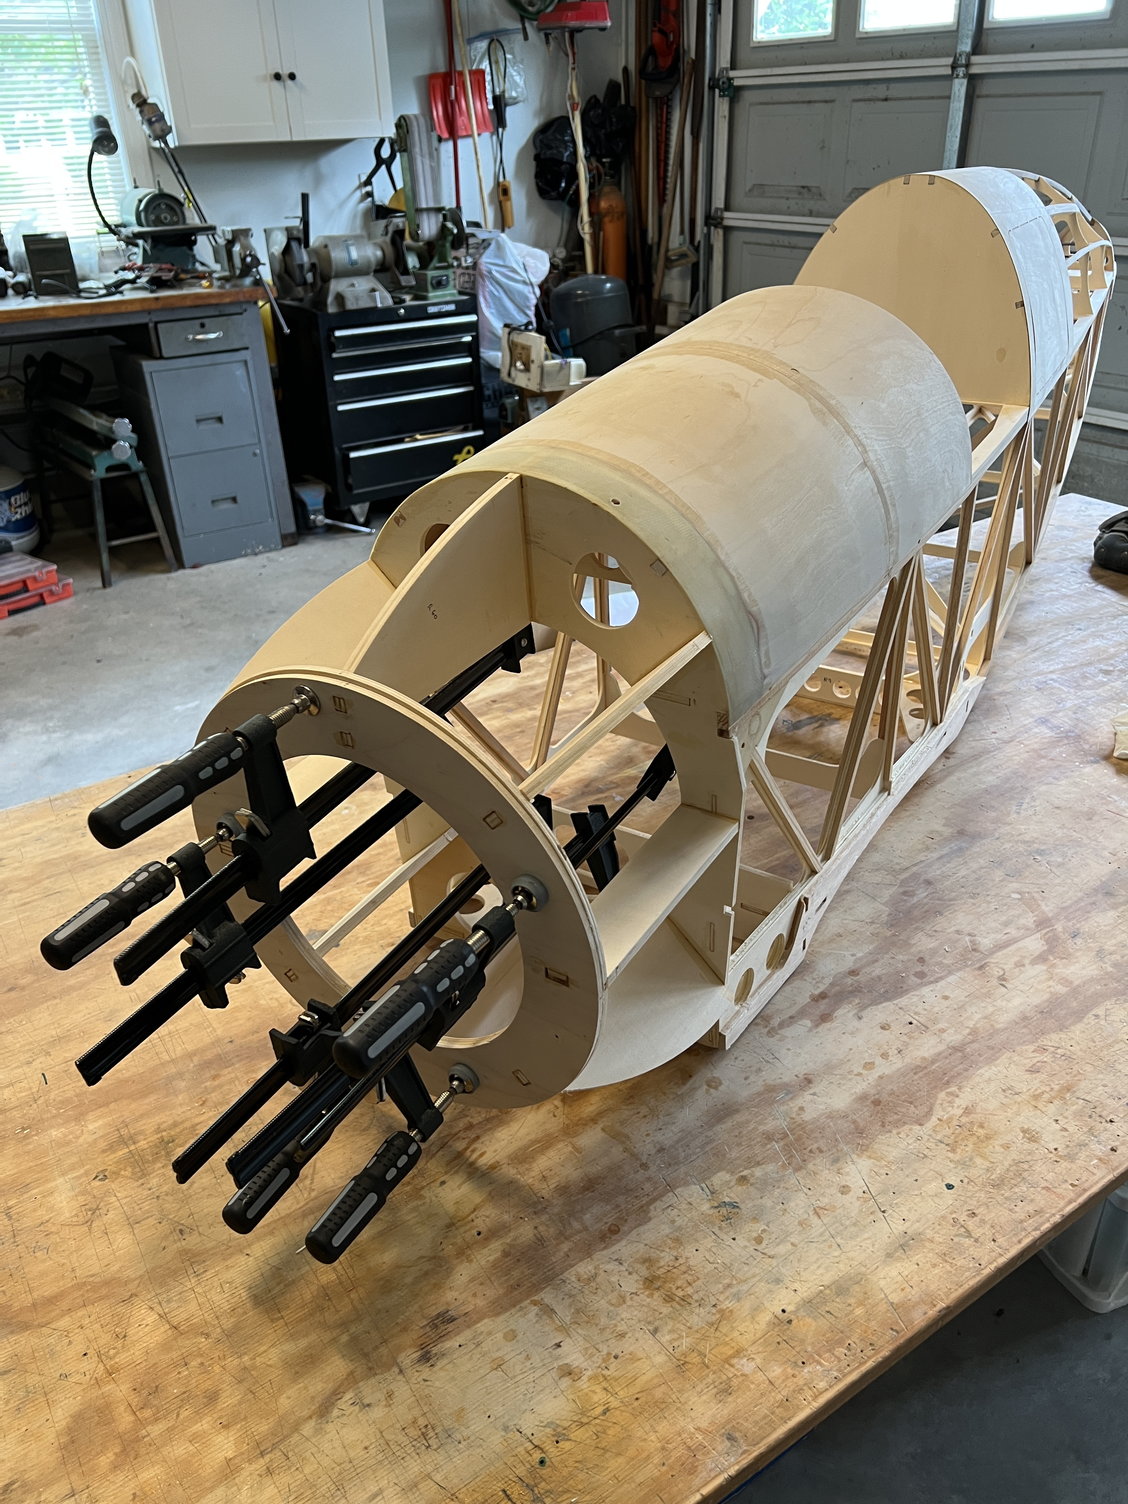
This part of the build is pretty fun. All the parts automatically place themselves perfectly. Fun!
This part of the build is pretty fun. All the parts automatically place themselves perfectly. Fun!
The following users liked this post:
Steve (05-22-2022)
05-23-2022, 07:52 AM
#54
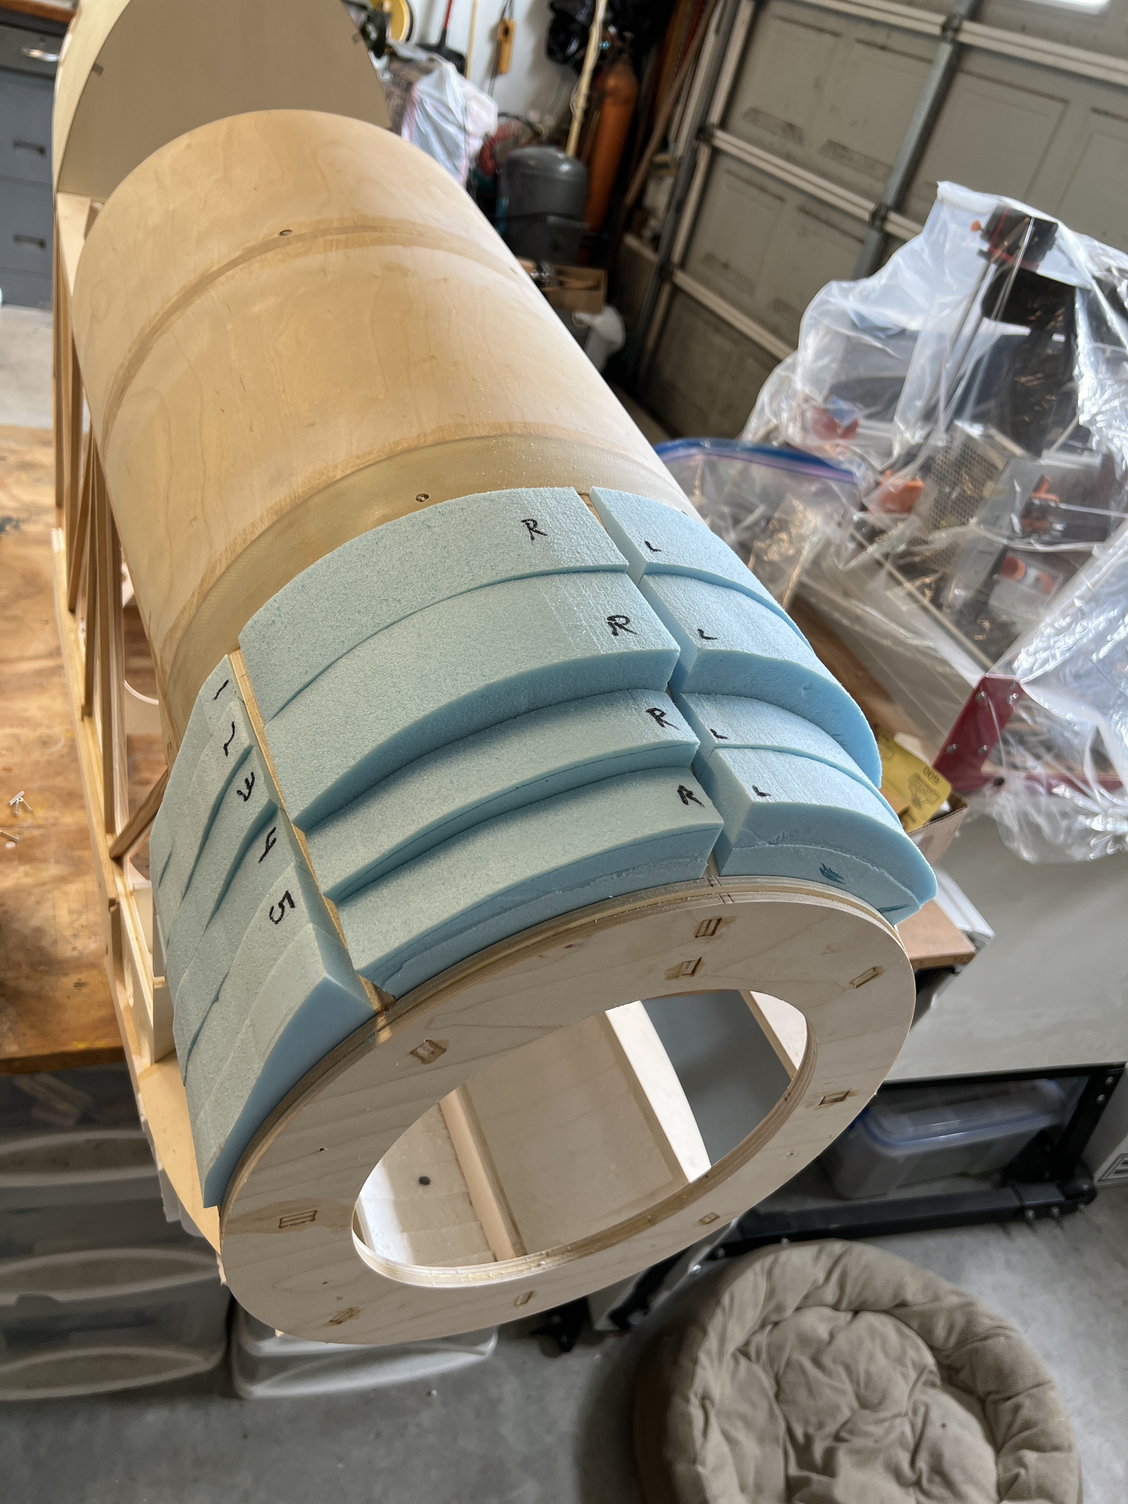
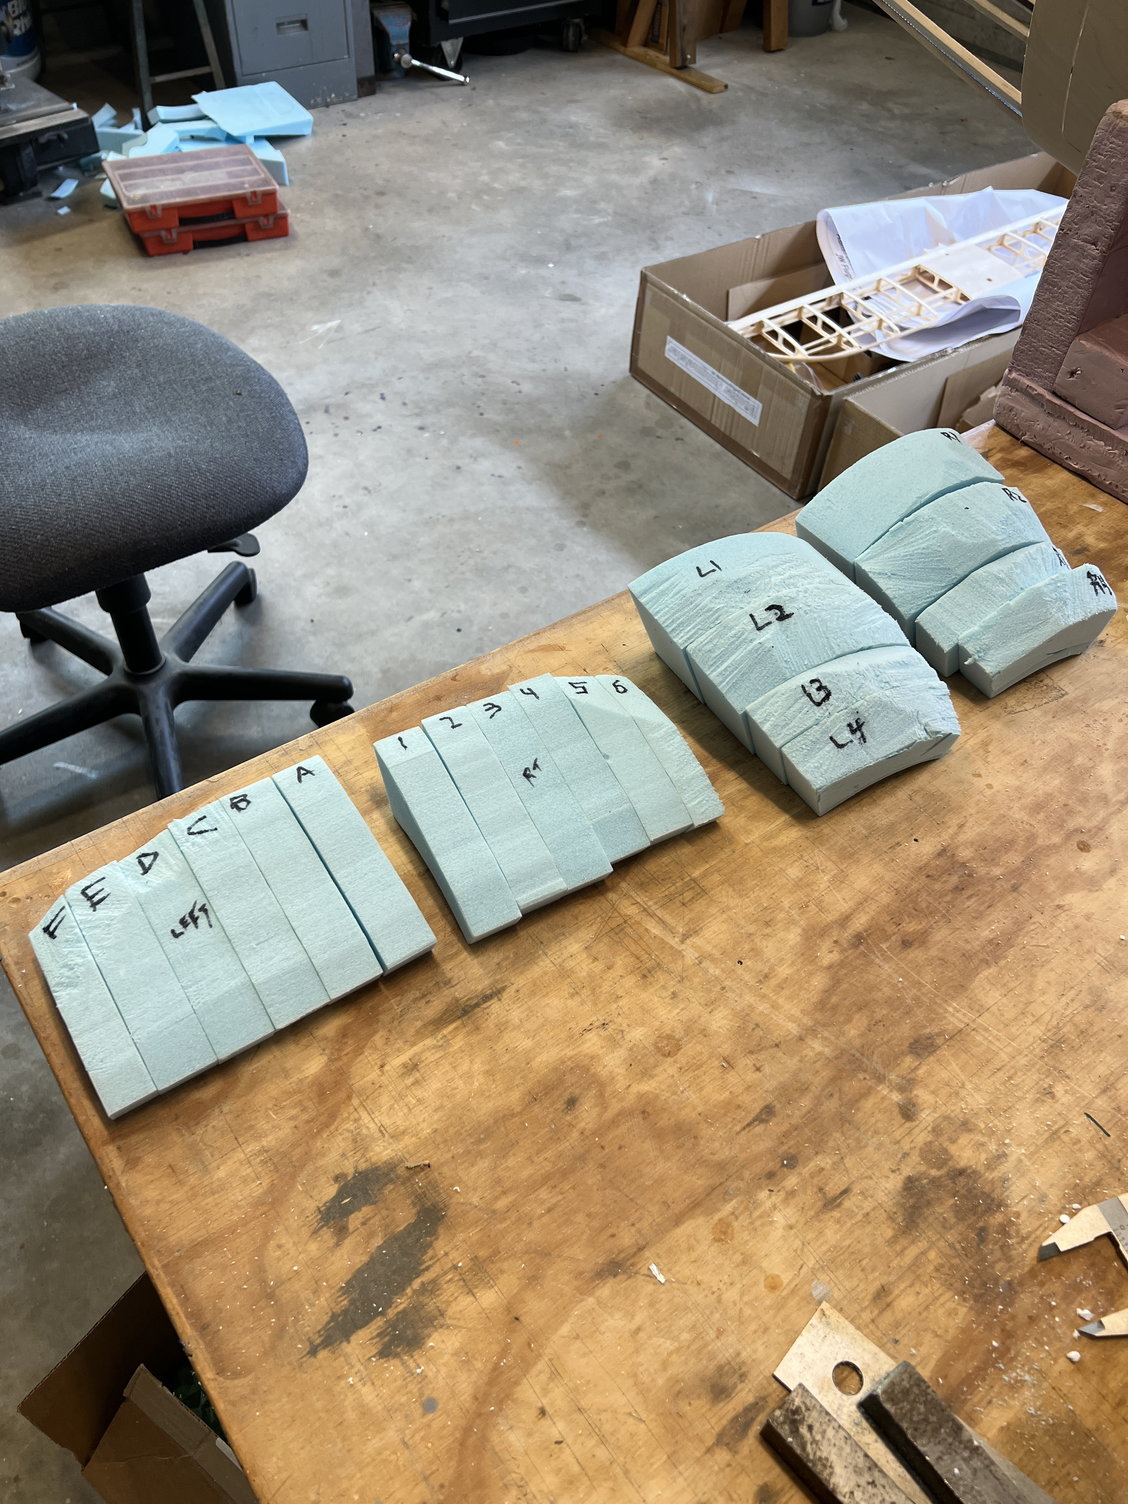
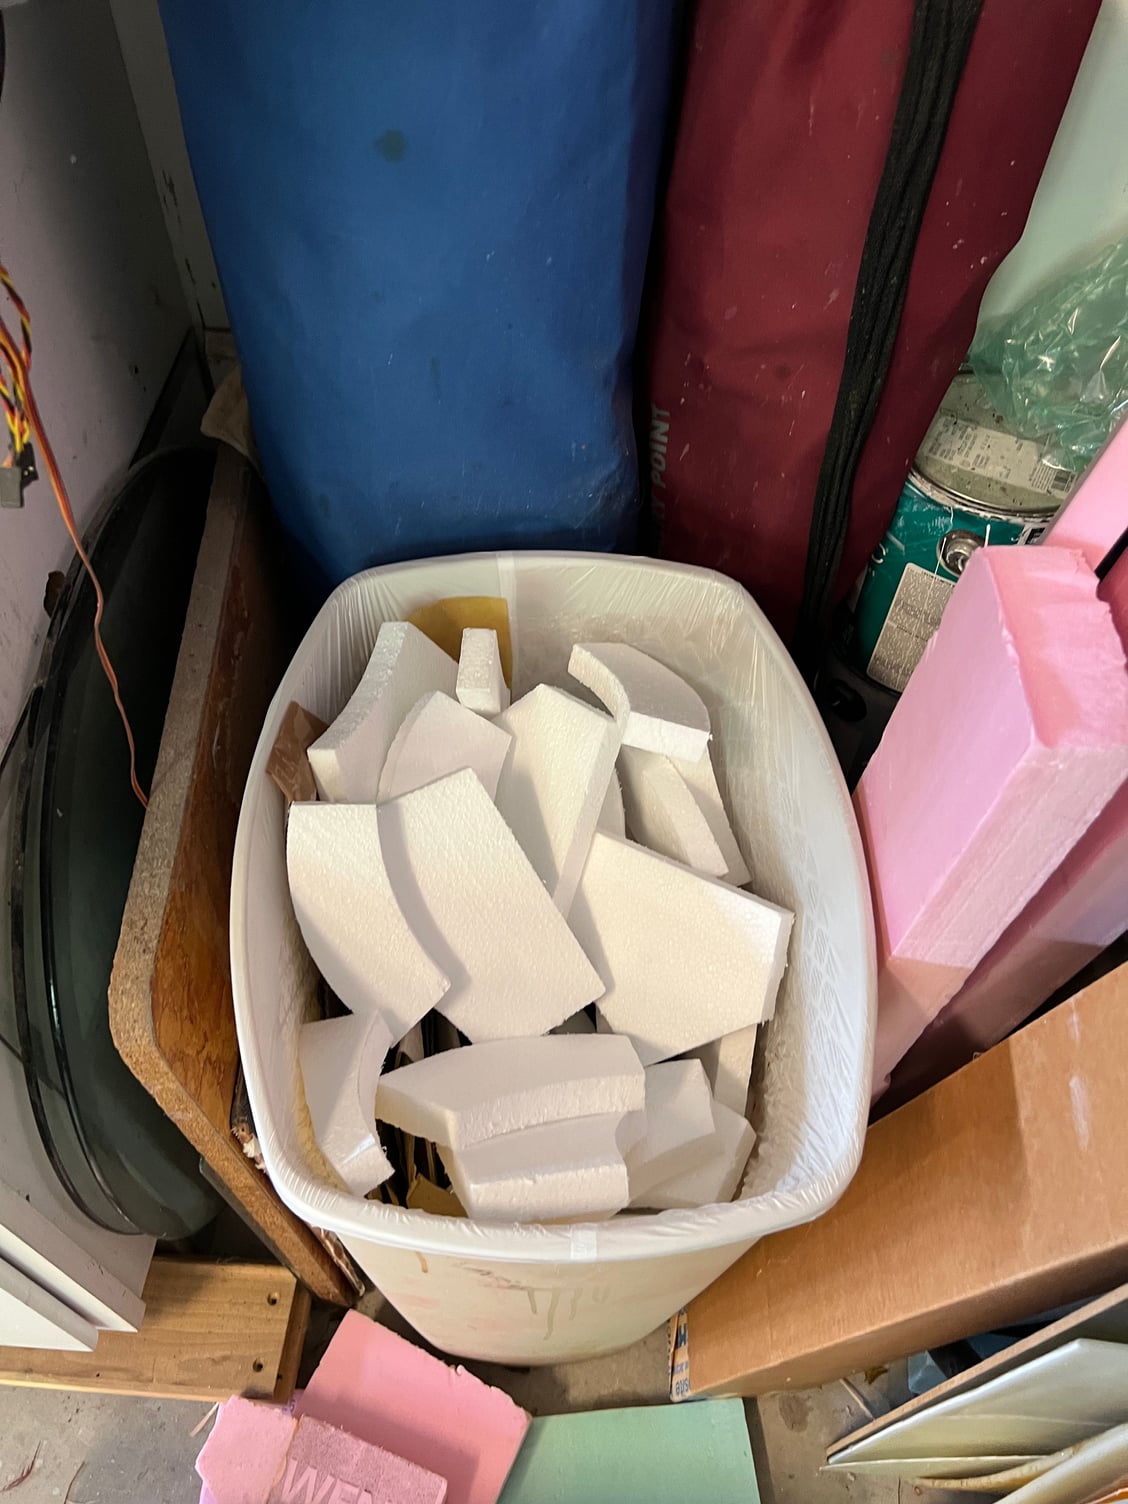
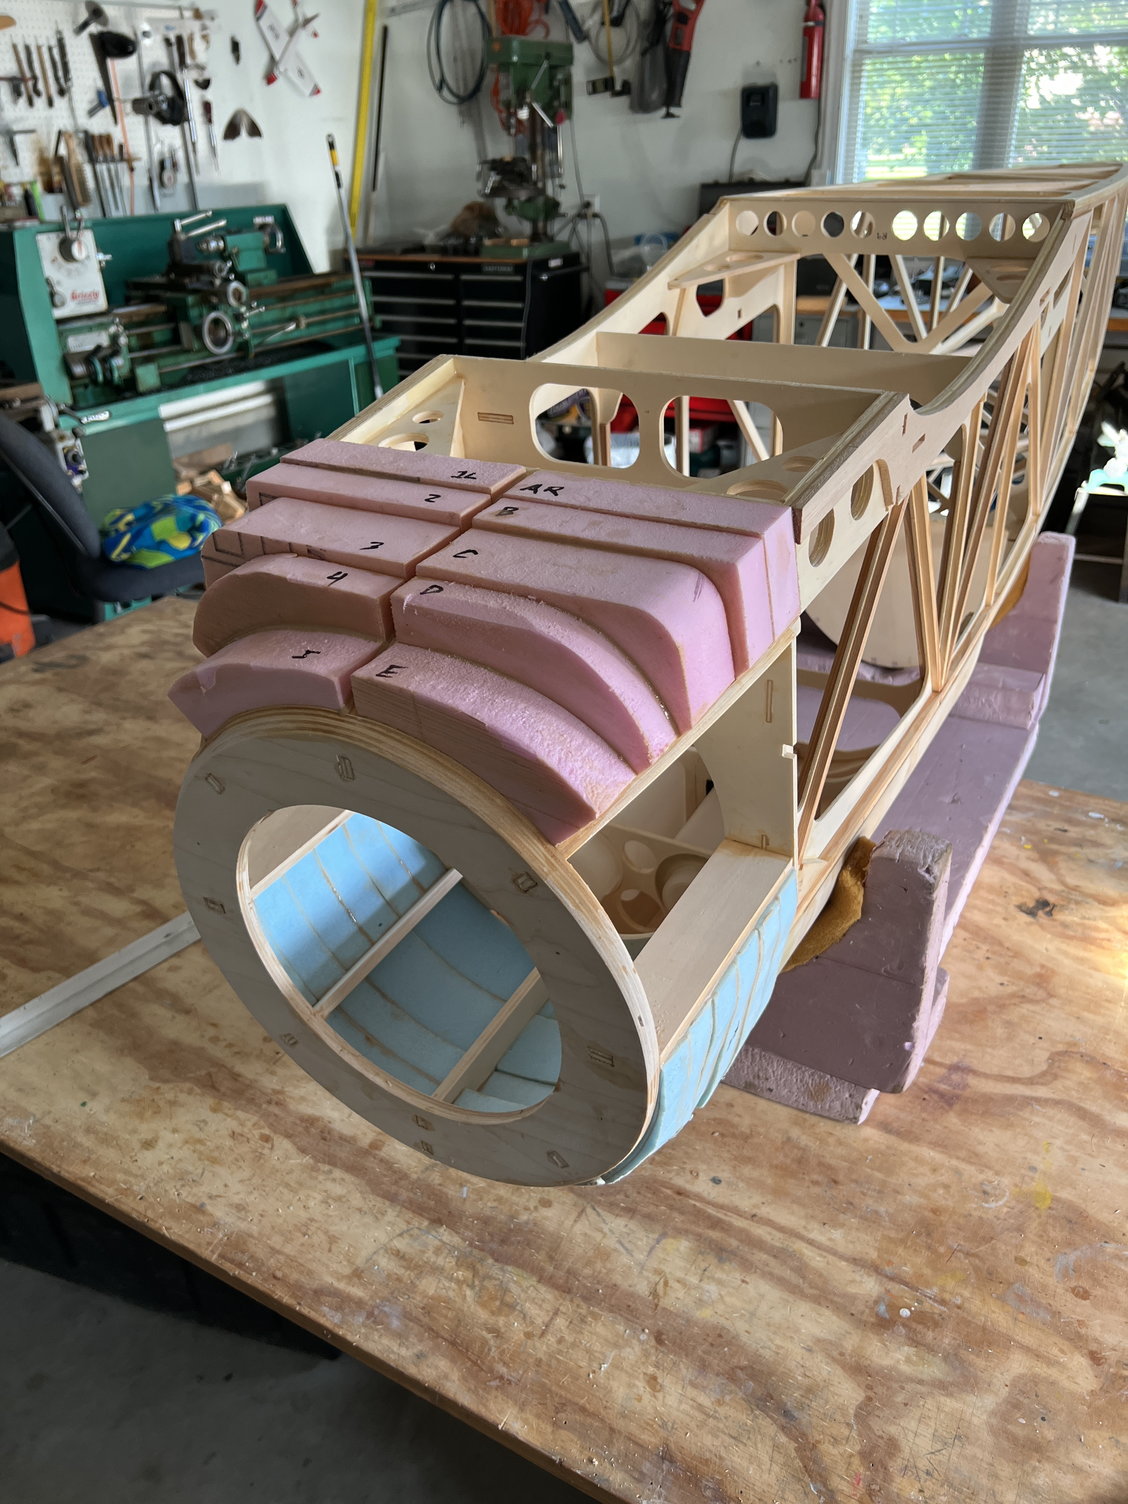
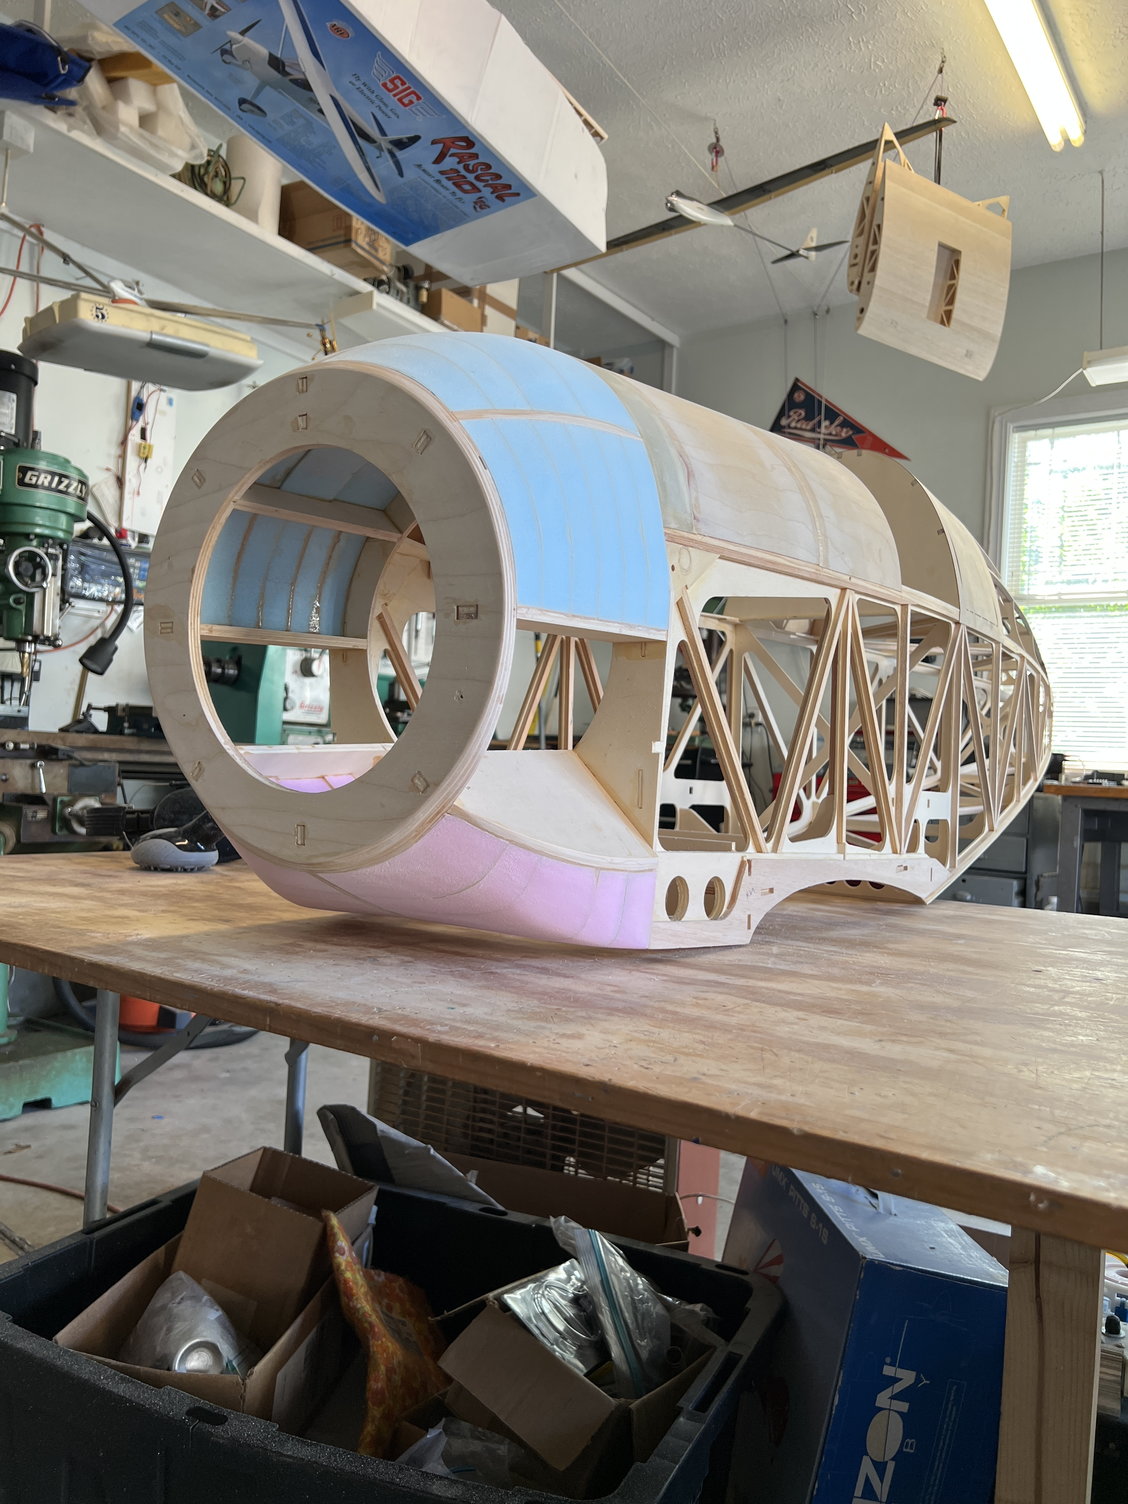
Time to fill all that daylight in the front frames. The written instructions call out Balsa Wood pieces to fill, but the kit comes supplied with STYROFOAM. IMO styrofoam is good for one thing: stuffing packages for shipping. SO: I pulled out some high-density blue foam to use. The main reason I prefer blue foam is because it sands better and is much more durable. I think blue foam is the absolute perfect material for this application: light but STRONG, and will make a durable surface to glass up.
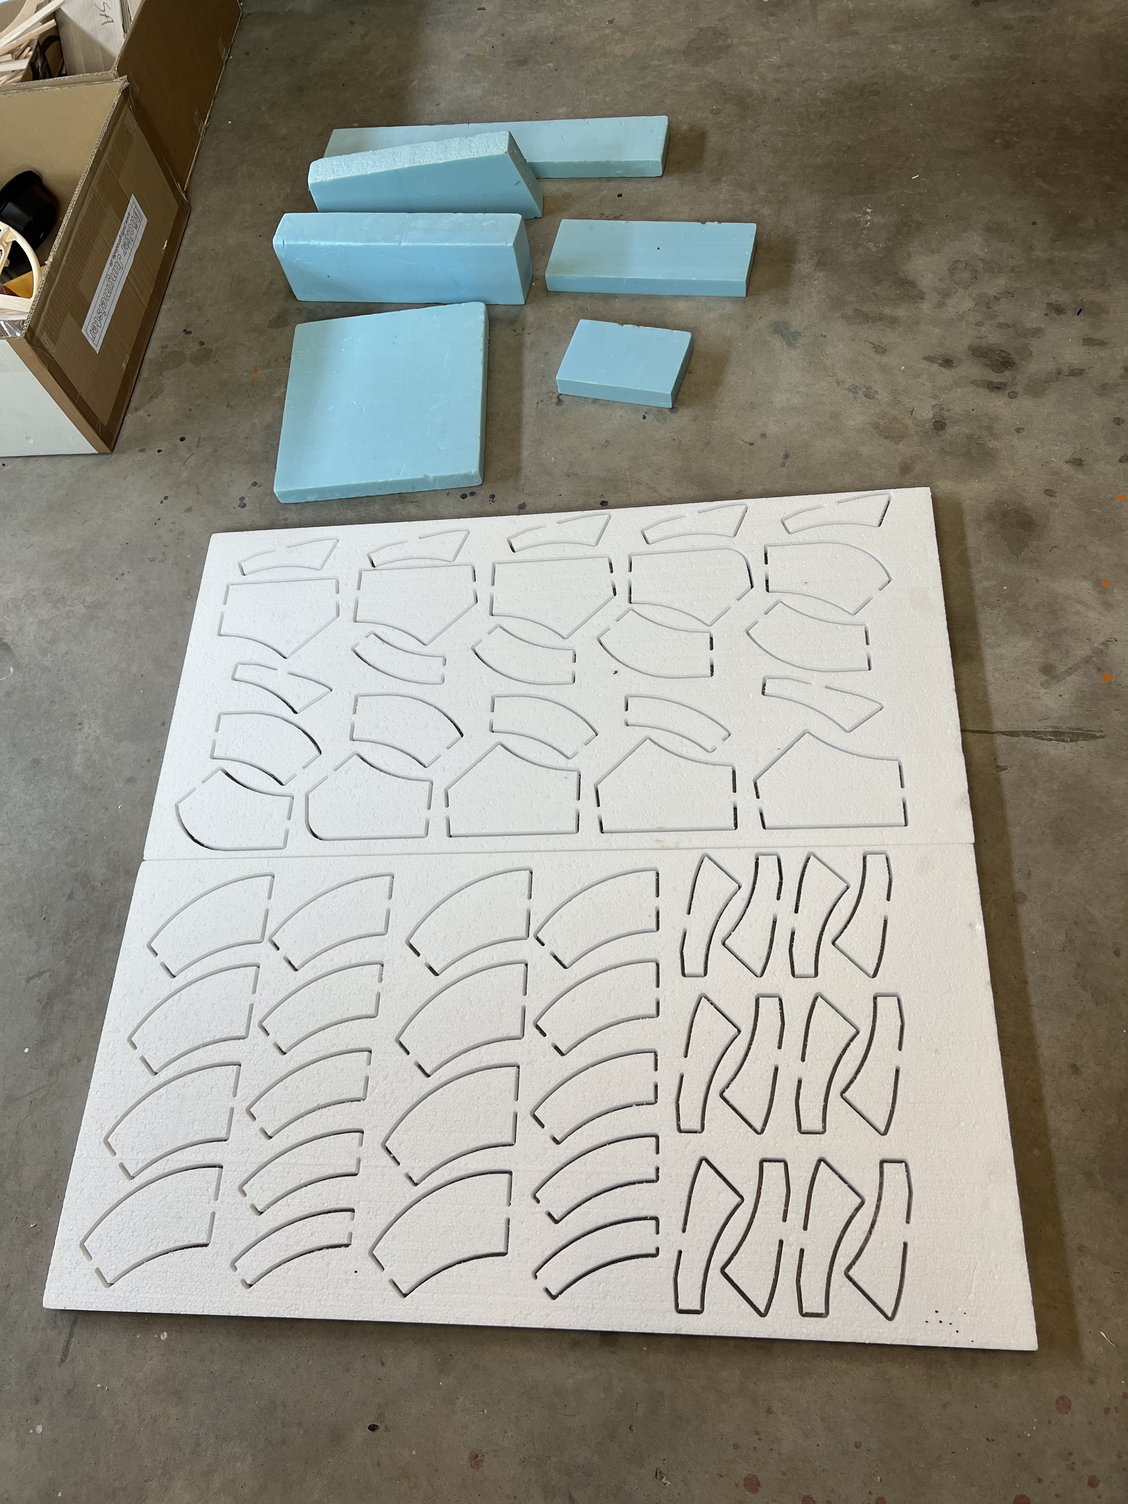
Styrofoam in the foreground and some of the blue foam I will use above.
Lots of space to fill with foam
Styrofoam in the foreground and some of the blue foam I will use above.
Lots of space to fill with foam
Last edited by mitchilito; 05-24-2022 at 03:18 AM.
The following users liked this post:
Steve (06-13-2022)

The following users liked this post:
Steve (06-13-2022)
 06-02-2022, 01:02 AM
#61
Actually, I took a little time off from the Bucker because I'm putting a Sig Rascal 110 together for my gas-converted OS Gemini Twin. See the conversion here:
OS Gemini Twin Rear Walbro Gas Conversion
As you'll see in my conversion thread, I had one a while back. Unfortunately the radio quit and I lost it. Since then I've been missing it like crazy. Plus I needed a home for my gorgeous Gemini!
OS Gemini Twin Rear Walbro Gas Conversion
As you'll see in my conversion thread, I had one a while back. Unfortunately the radio quit and I lost it. Since then I've been missing it like crazy. Plus I needed a home for my gorgeous Gemini!
06-02-2022, 03:49 PM
#63

 06-05-2022, 12:19 AM
#65
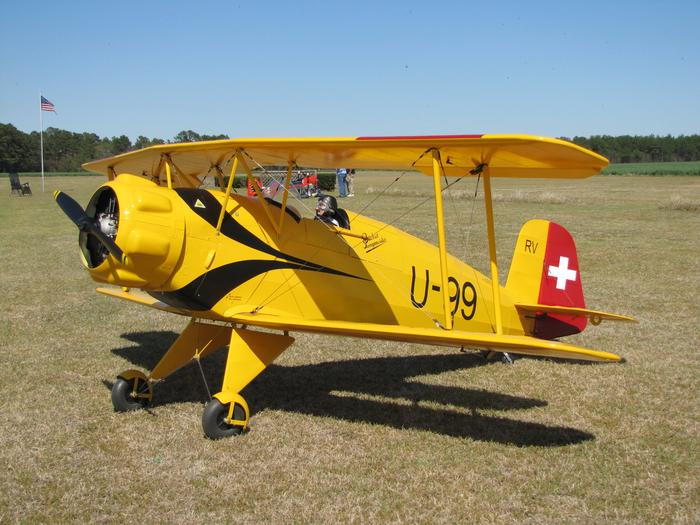
The "older kits" were by a different manufacturer and an entirely different beast. I have a friend that built one and flew it for 8 years. That kit had a finer scale fidelity. His is actually the one you see on Voglesang's website in the JW Bucker gallery - which is funny considering it isn't even a JW kit!I. It's the one in yellow Swedish livery.
I'm not a scale fanatic so I don't mind the concessions to scale accuracy much, but I don't really care for the oversized cabane struts (that go from the fuselage to the top wing). I may make a proper sized set some day.
Here's my friends Bucker. Notice the smaller cabanes:
I'm not a scale fanatic so I don't mind the concessions to scale accuracy much, but I don't really care for the oversized cabane struts (that go from the fuselage to the top wing). I may make a proper sized set some day.
Here's my friends Bucker. Notice the smaller cabanes:
Last edited by mitchilito; 06-05-2022 at 12:26 AM.
06-05-2022, 02:16 AM
#66
I must admit that I'm definitely not an expert when it comes to the Bucker, not having seen that many full scale examples to be able to pick up a lot of the scale details but would love you to show me the two different cabanes as a direct example when you get a moment, not trying to distract you from your build though.
tmac48
tmac48
06-09-2022, 05:10 PM
#67
Just had a thought. Seeing that there isn't any fibre fairing fuss to wings, reckon you could make a mould from yours and then you could sell some!!!
Tmac48
Tmac48
06-14-2022, 02:47 PM
#68
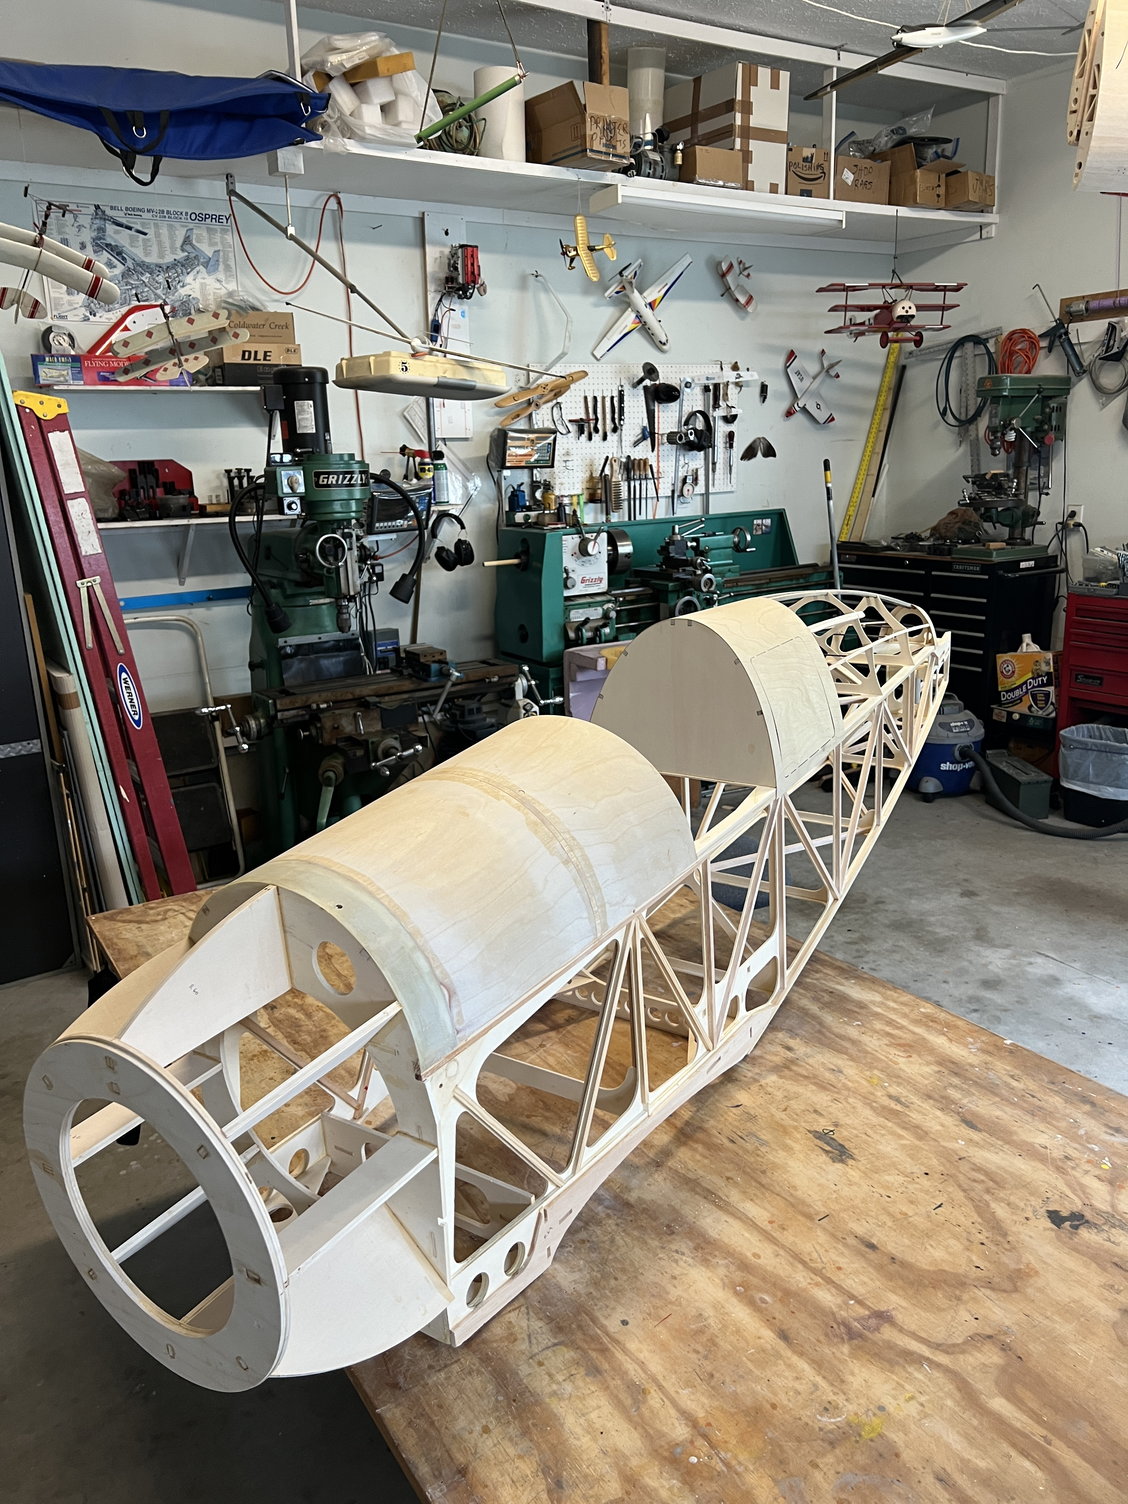
Progress! I finally got my gas convertet Rascal 110 dialed-in and flying fantastic (I’ll attach the maiden flight but you’ll have to put up with the crappy iPhone 13 video going out of focus and my hoarsing around with the pitch and engine settings. It was a maiden flight after all) and can get back to work on the Bücker:
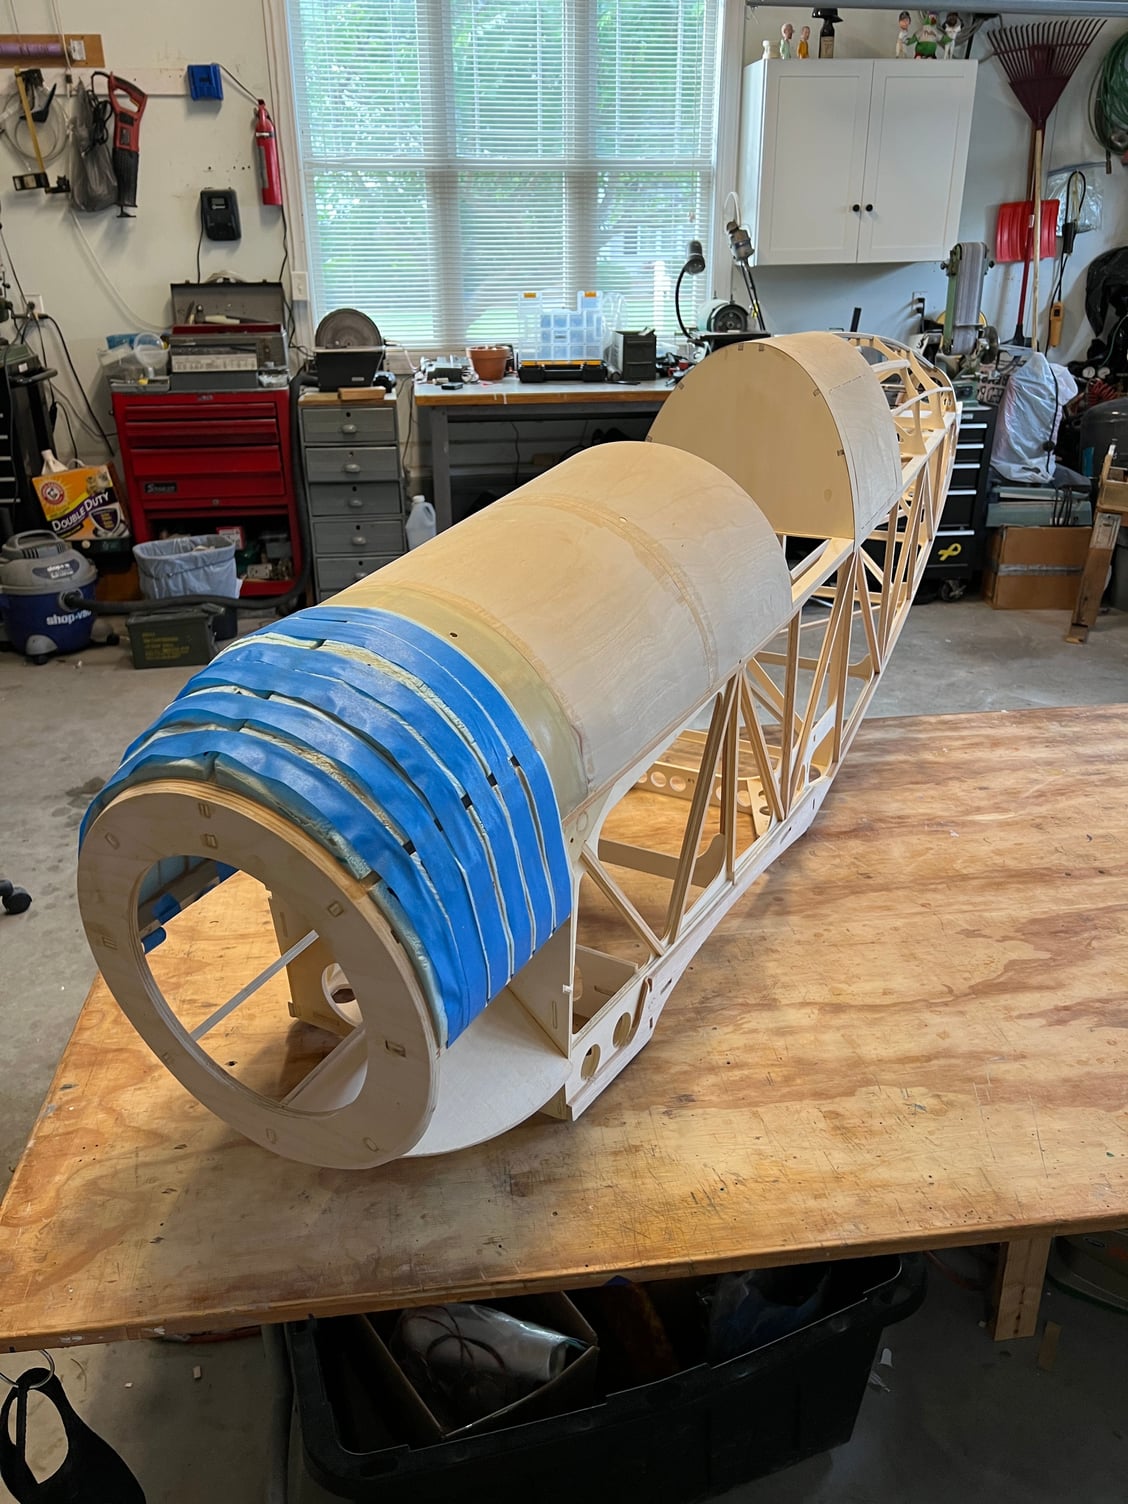
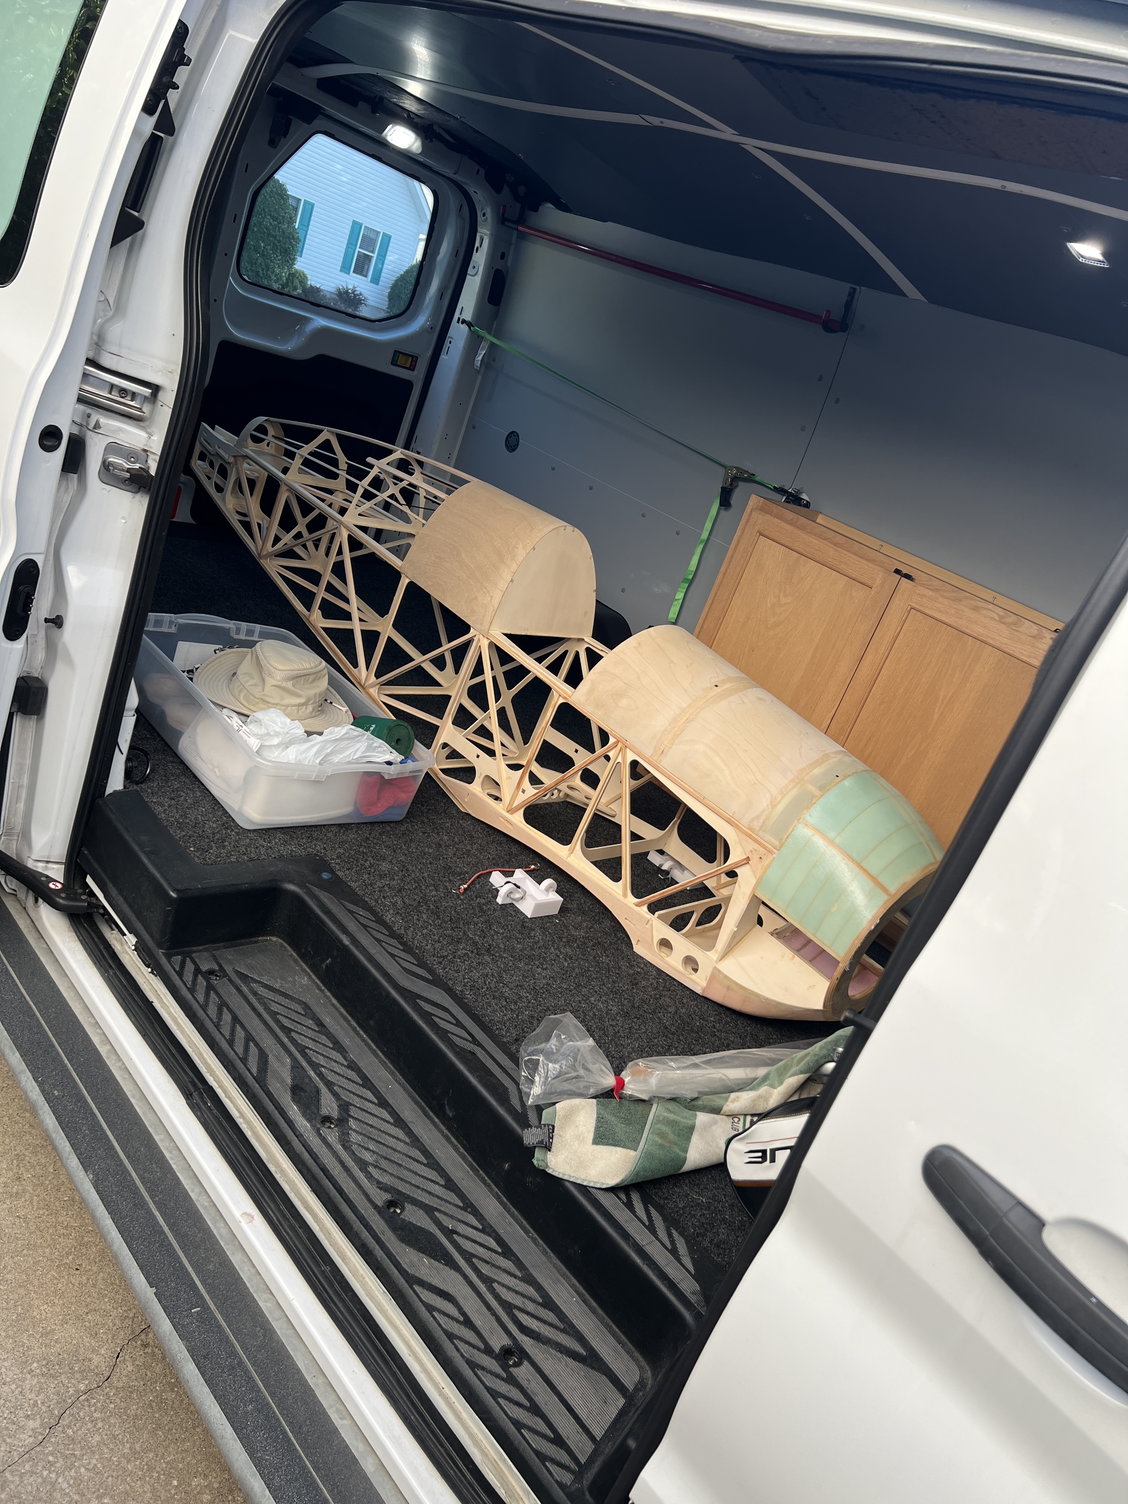
Foam epoxied and taped.
Here’s the Rascal. A more fun project I’ve never had. The Gasoline Gemini engine is a dream!
Foam epoxied and taped.
Here’s the Rascal. A more fun project I’ve never had. The Gasoline Gemini engine is a dream!
Last edited by mitchilito; 06-14-2022 at 02:53 PM.
The following users liked this post:
Steve (06-19-2022)
06-15-2022, 03:46 AM
#69
I meant to show how I pre-sanded the whole front end PRIOR to gluing the foam in. The plywood front end is HARD to sand and the foam would undoubtedly be in harm’s way. Here’s the bottom prepped for foam:
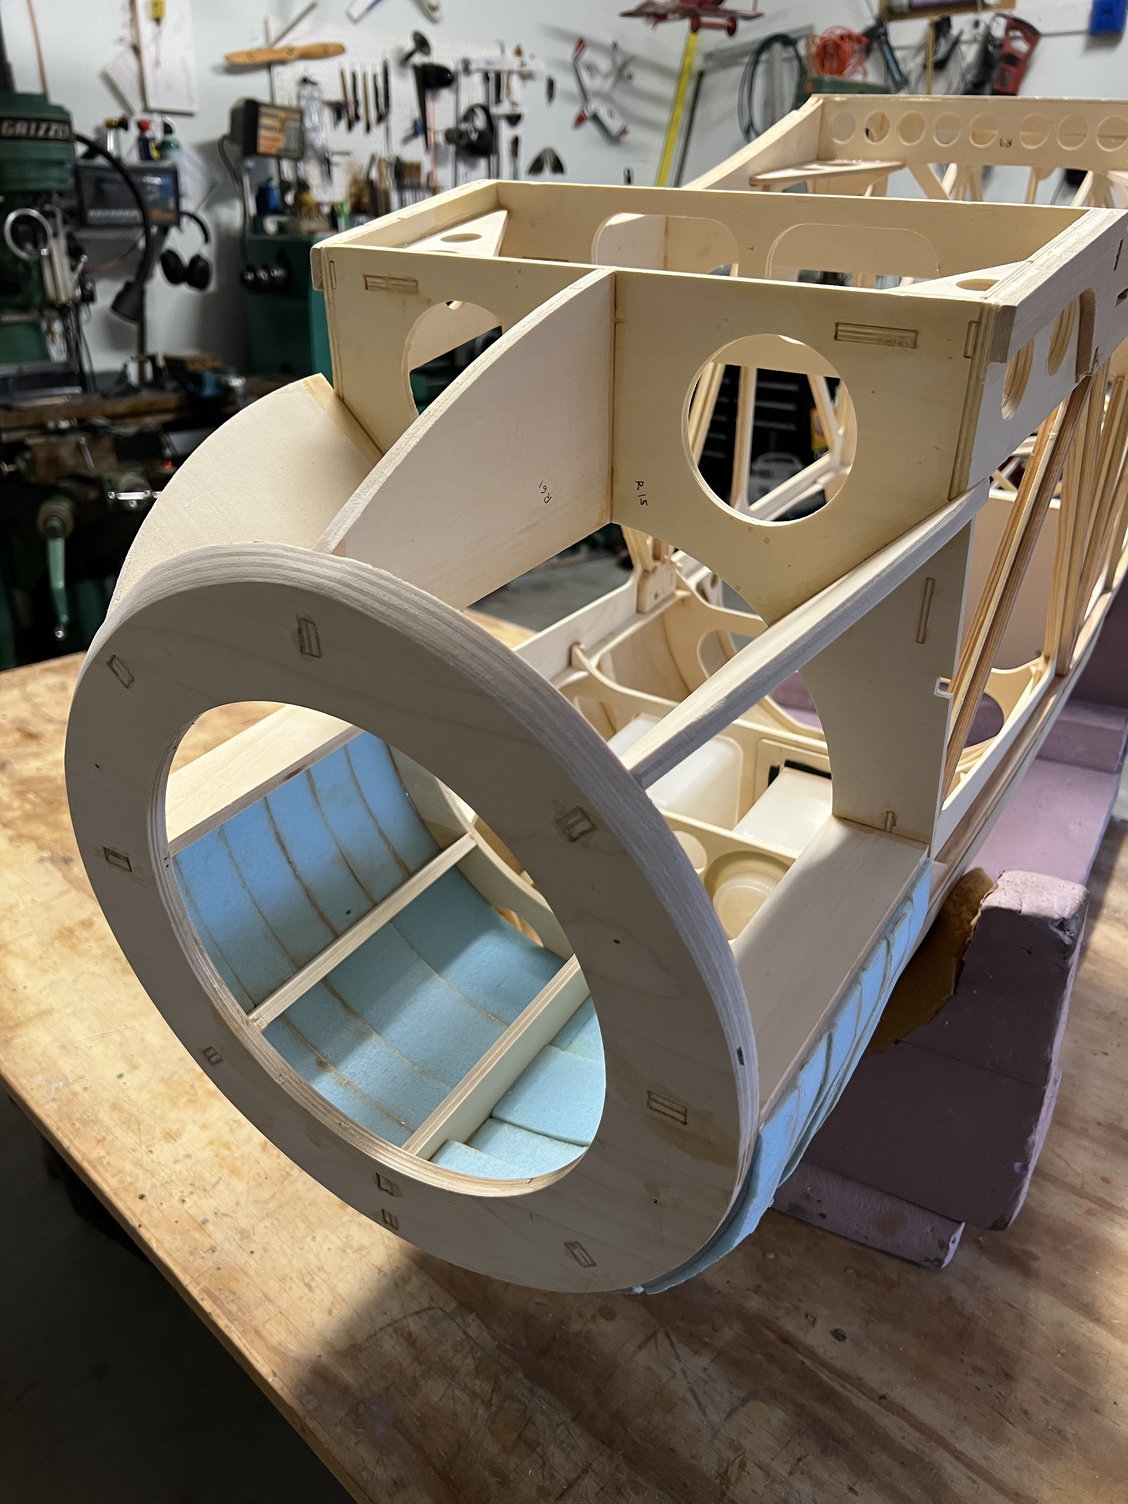
Forgot to throw this picture in here.
Forgot to throw this picture in here.
Last edited by mitchilito; 06-15-2022 at 01:46 PM.
The following users liked this post:
Steve (06-15-2022)
 06-19-2022, 04:37 PM
#72
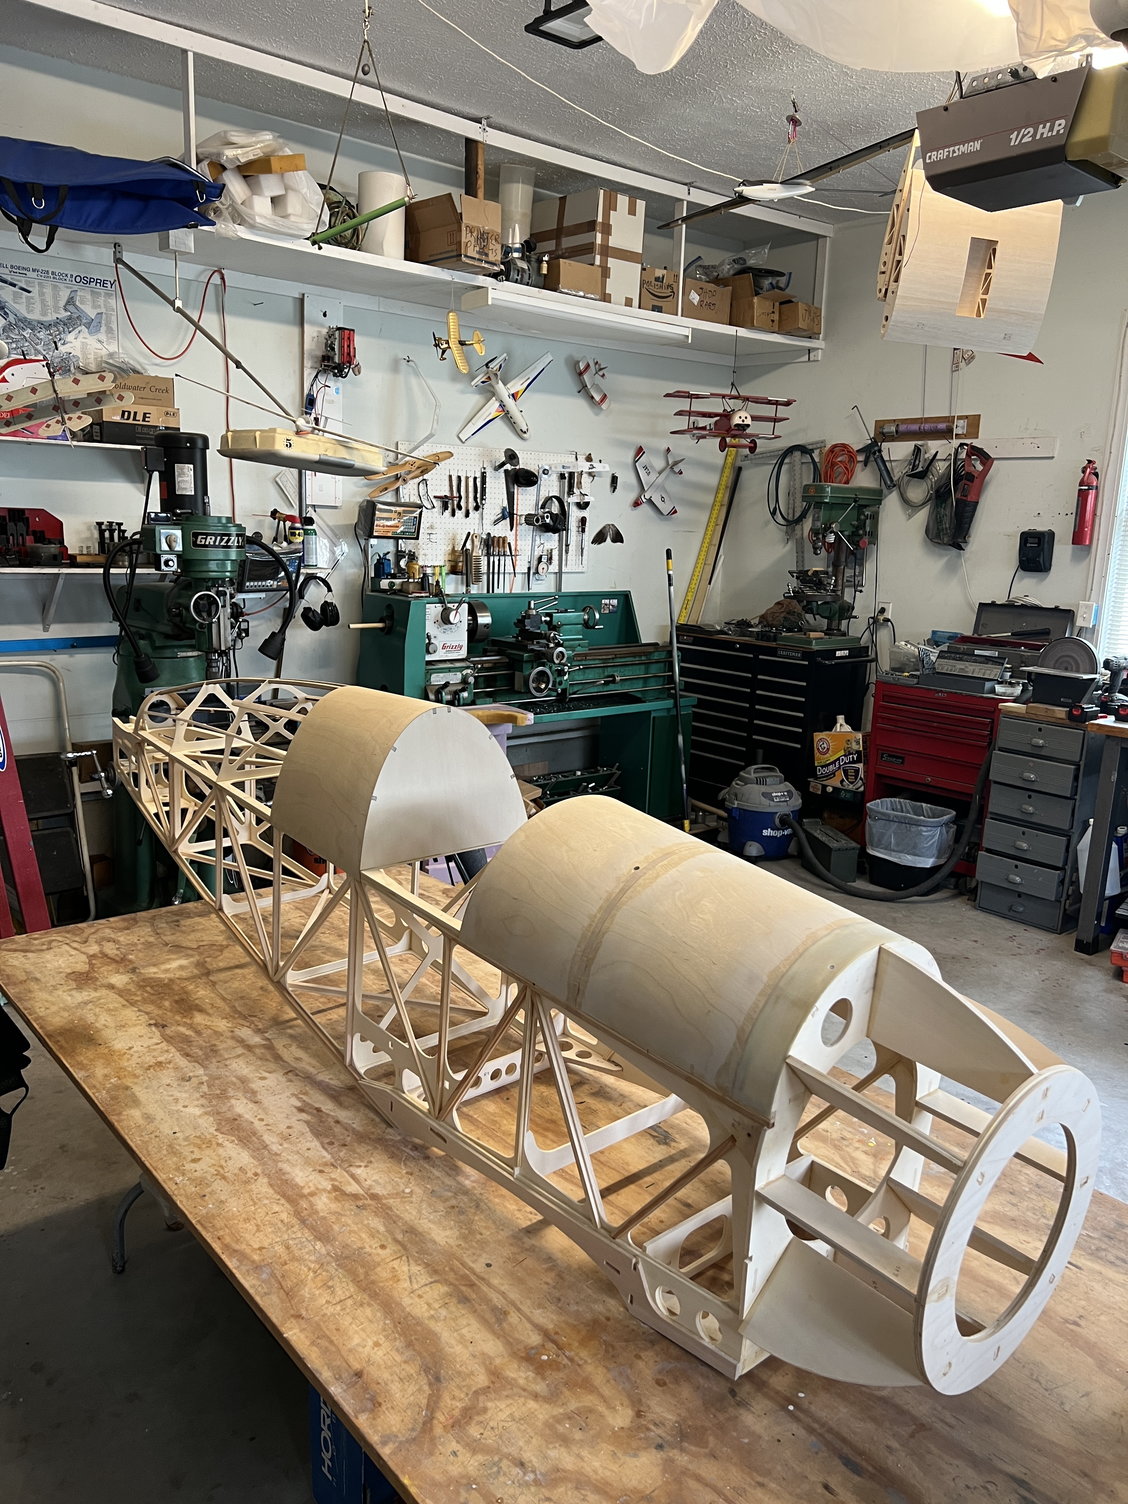
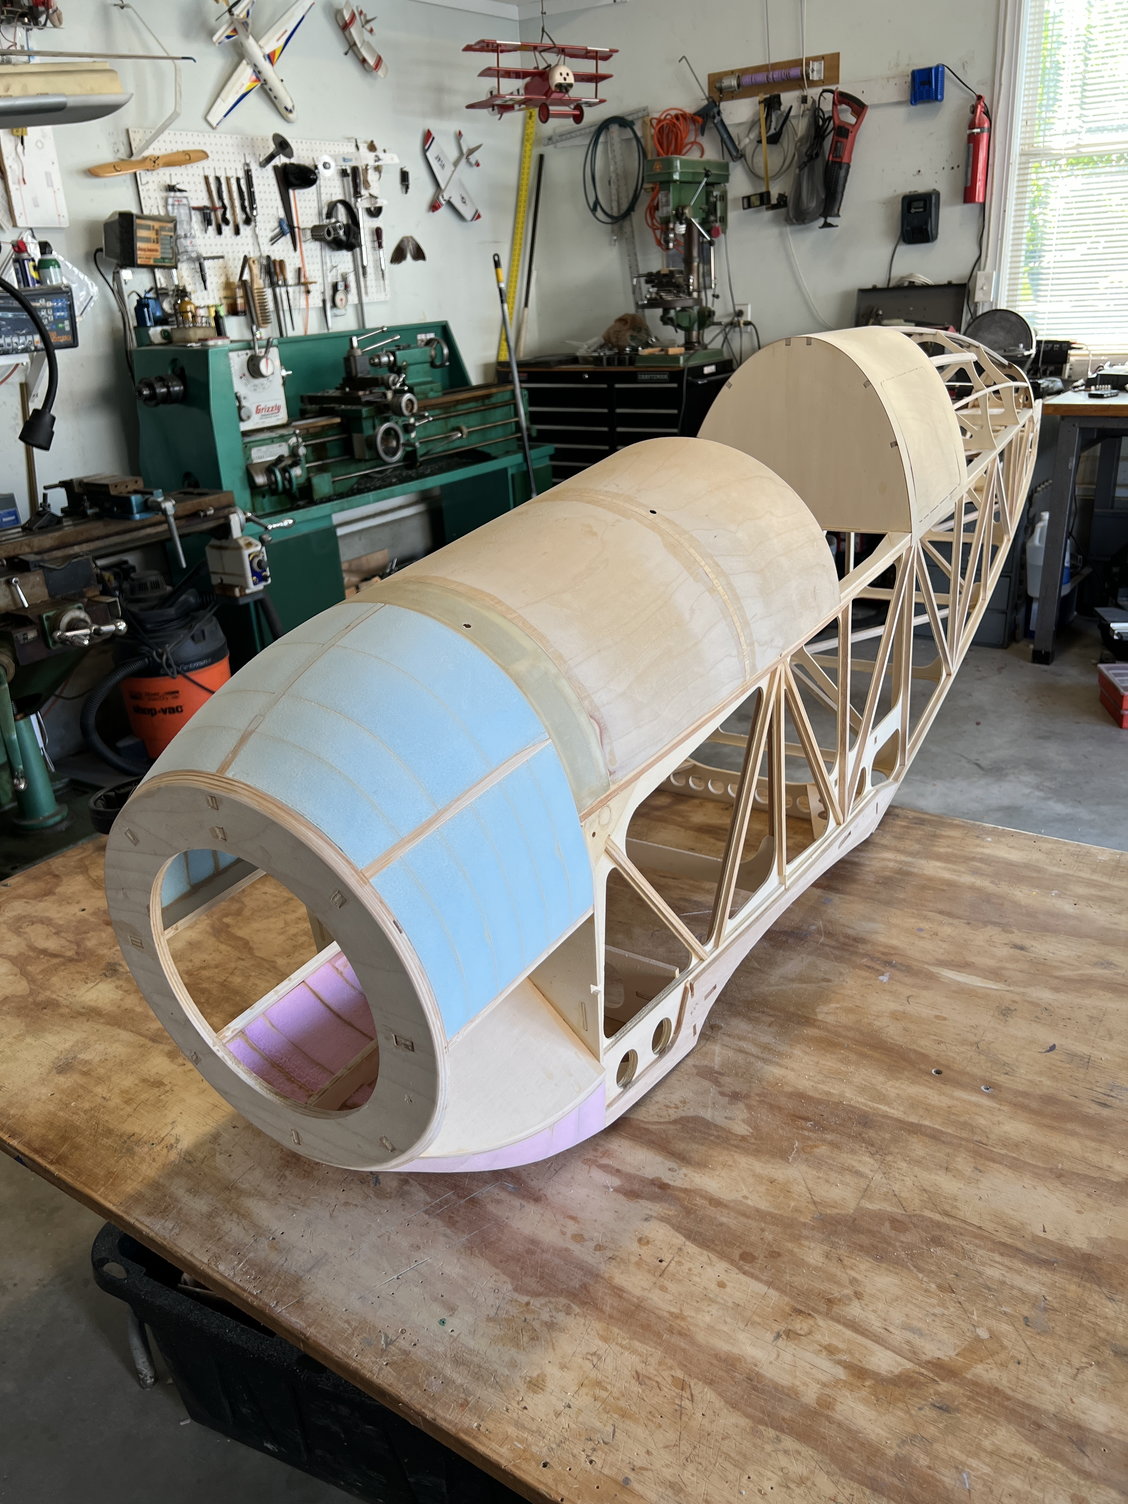
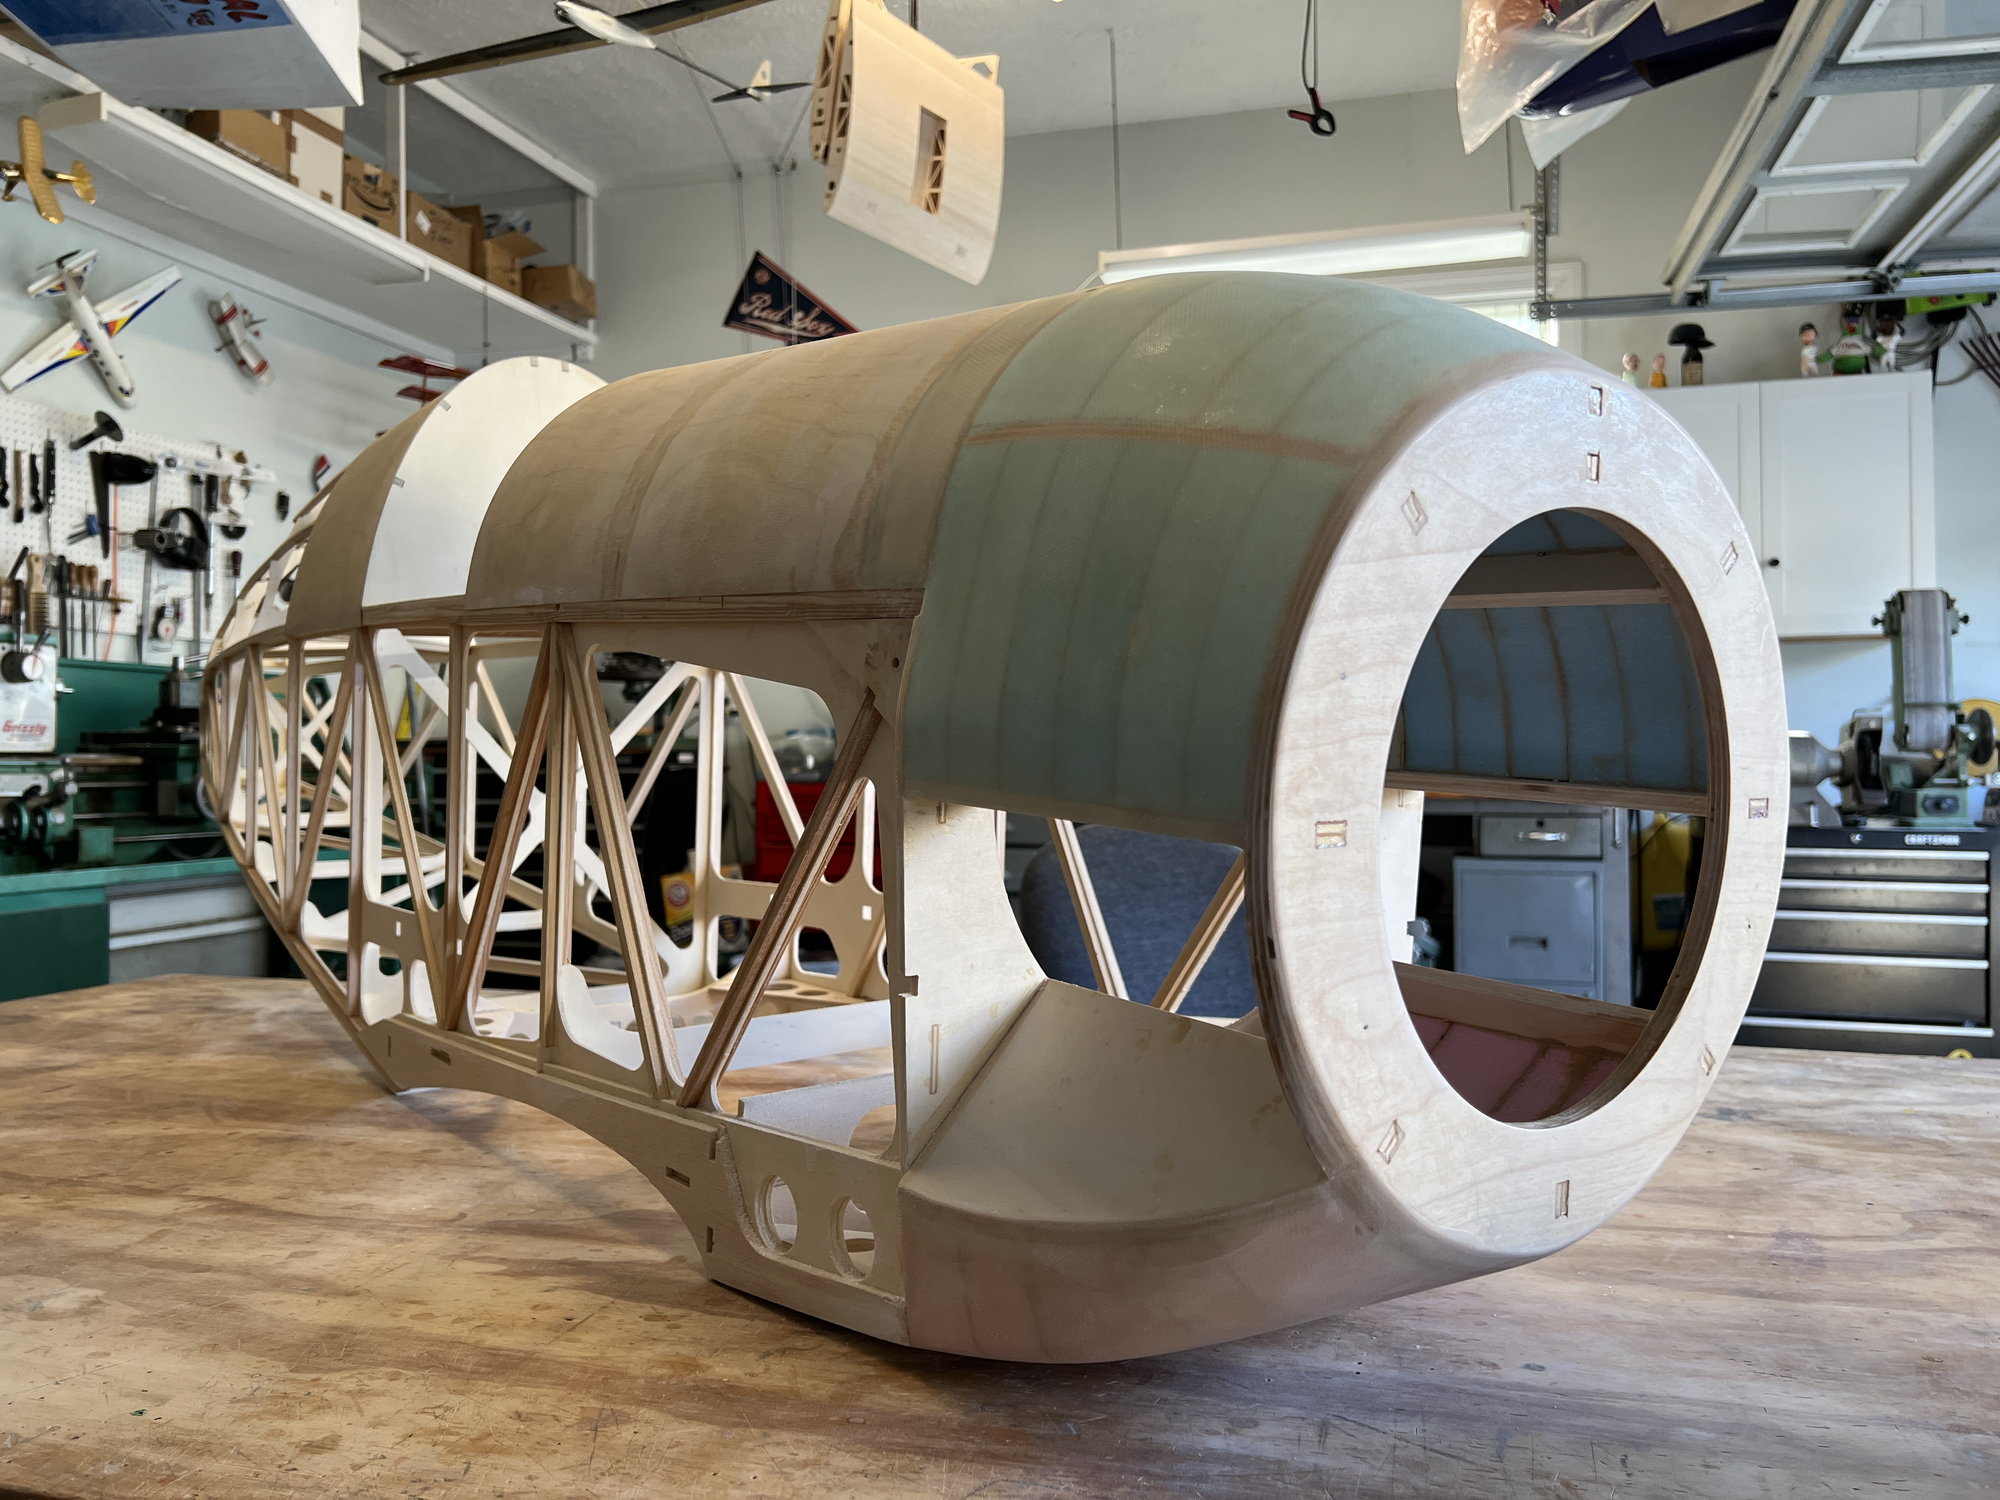
Here it is after 3 plies of 6oz/sq.yd fiberglass. On the top I staggered the layers starting 1/4 inch back of the foam on the fuselage so it would feather in without a hump. On the bottom all three plies butt up against the plywood just aft of the foam. And then a LOT of sanding to get it all smoothed out.
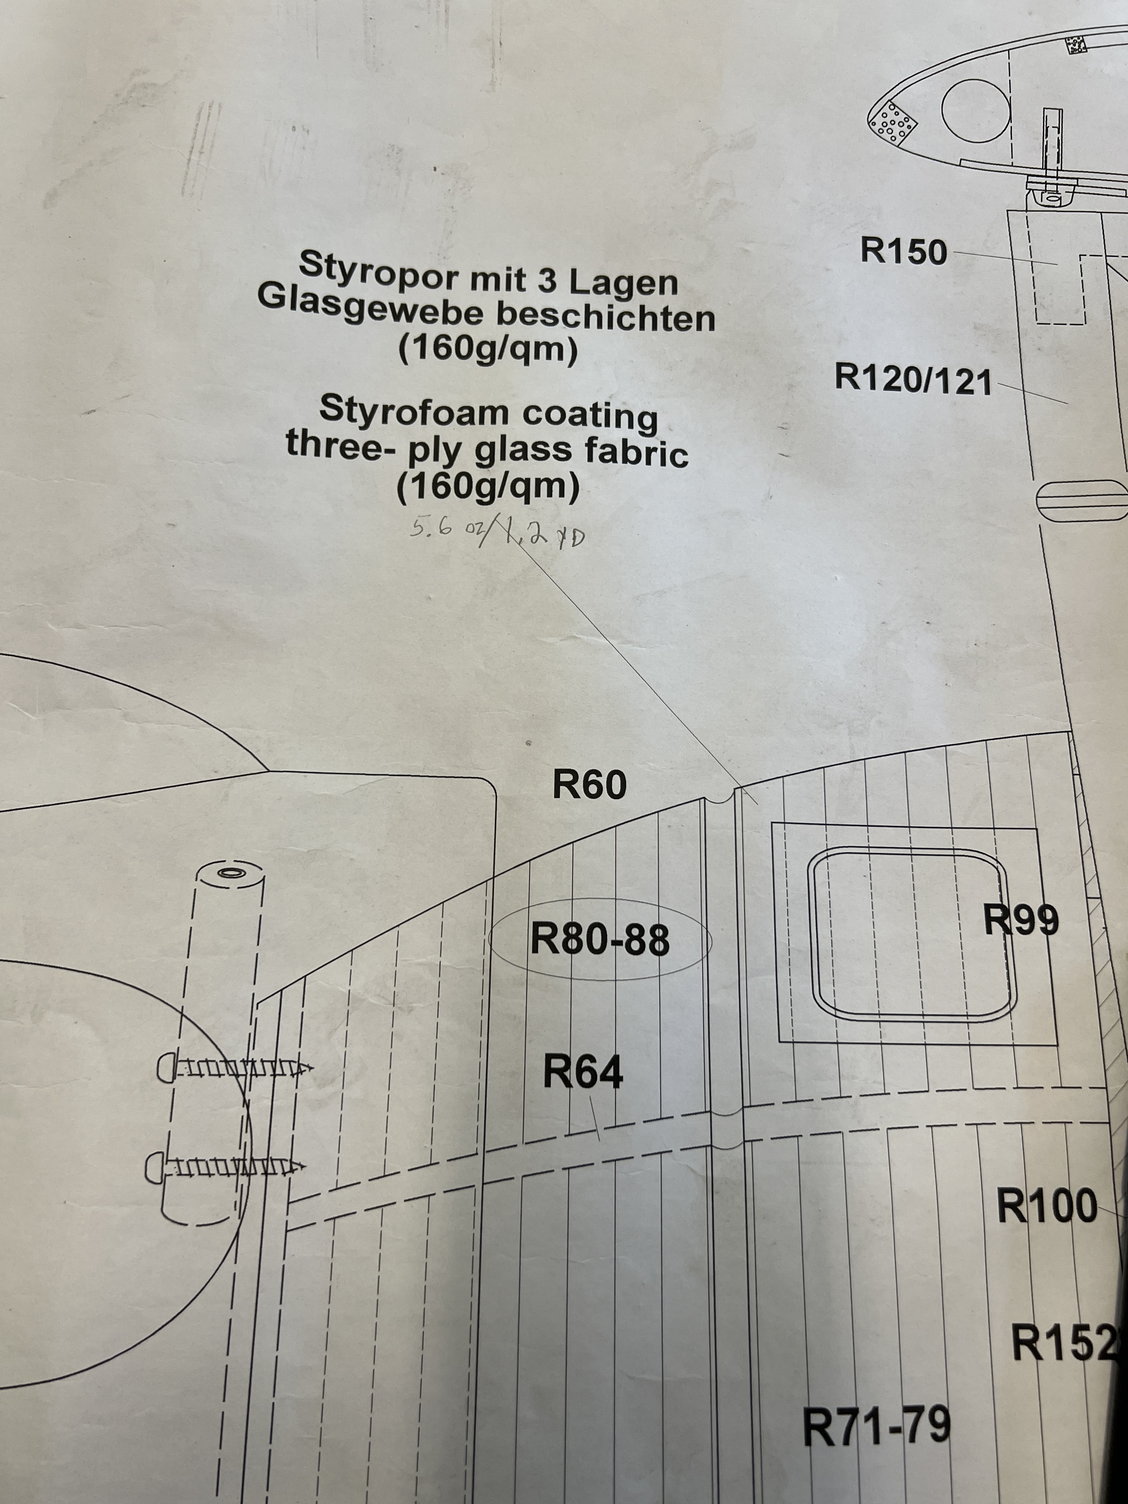
here's the glass weight conversion
here's the glass weight conversion
The following users liked this post:
Steve (06-22-2022)
06-20-2022, 02:36 AM
#74
Ha! Didn't you say 11 weeks? I should be flying this thing by then!!
I'll be covering very soon. I pretty much decided on Stewart Systems for the covering and then my good buddy covered his 1/4 scale Spad using it and I loved the way it worked. Can't wait!
I'll be covering very soon. I pretty much decided on Stewart Systems for the covering and then my good buddy covered his 1/4 scale Spad using it and I loved the way it worked. Can't wait!
Last edited by mitchilito; 06-20-2022 at 02:39 AM.