


Welcome to Club SAITO !
 06-05-2024, 03:51 PM
Senior Member

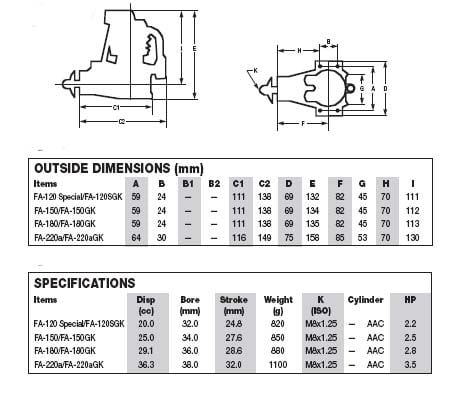
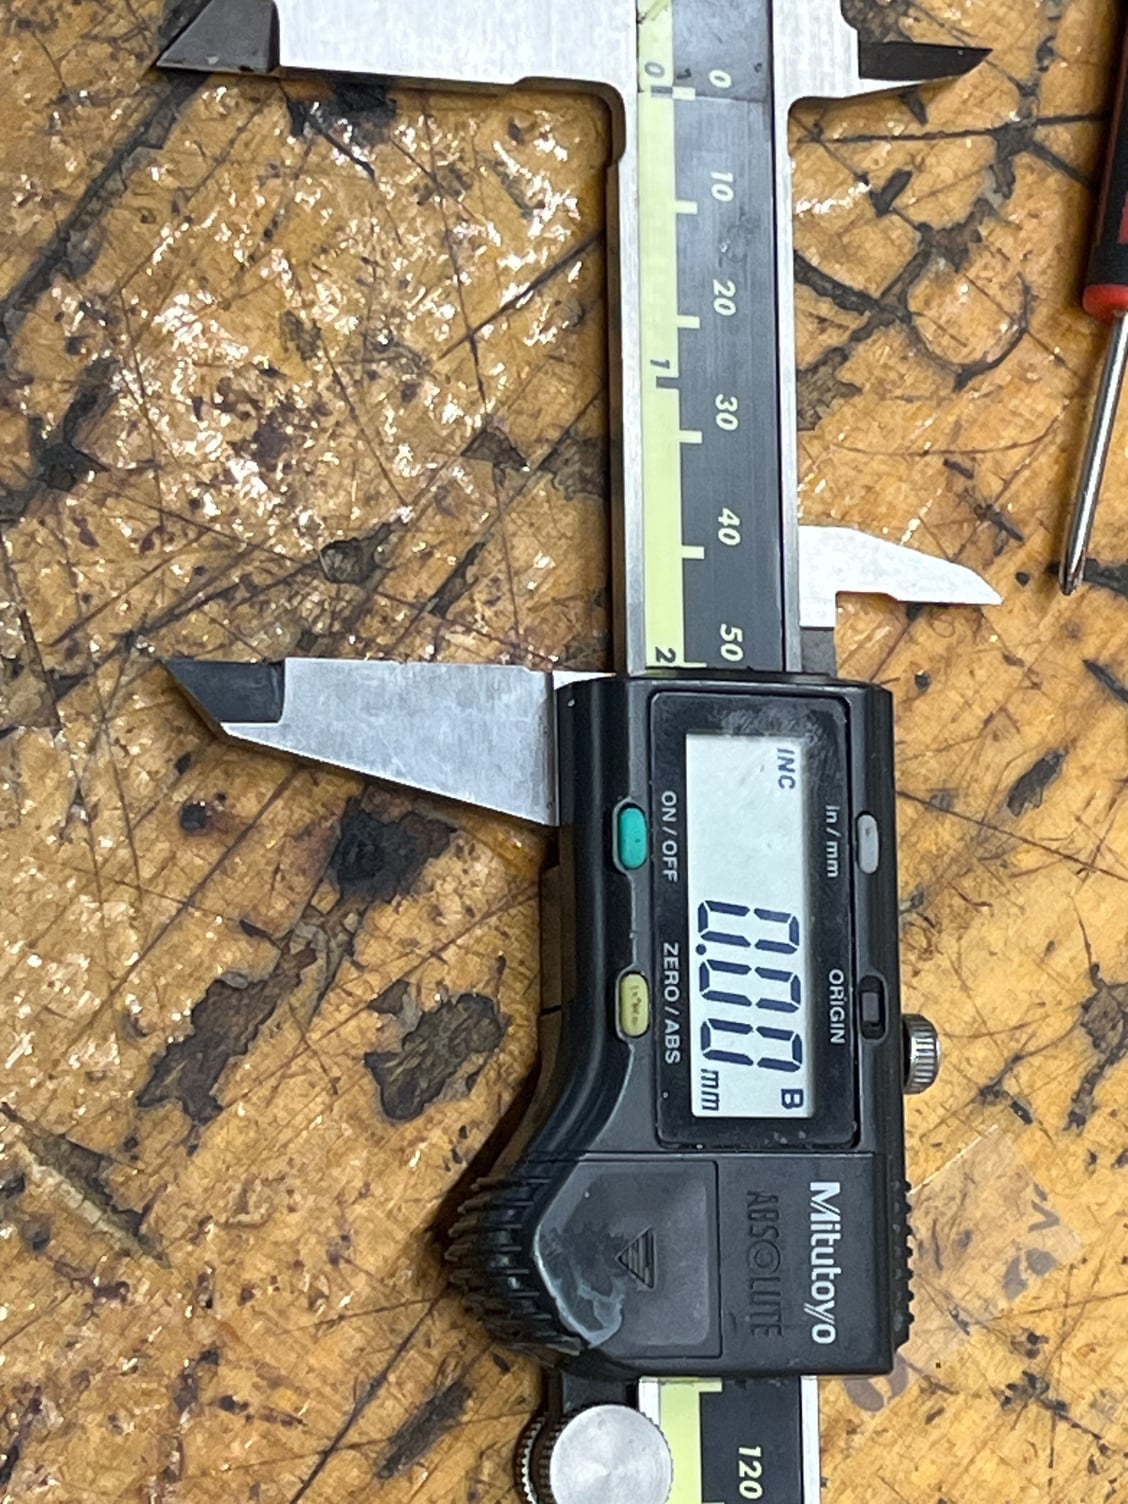
Saito 120 bore==32 mm
Saito 150 bore==34 mm
Saito 150 bore==36 mm There are external measurements also, not as easy.
Last edited by 1200SportsterRider; 06-05-2024 at 03:56 PM. Reason: Add image
 06-05-2024, 06:42 PM

Thanks, but I don't want to tear into the engine until I know how it runs. I might have to start hanging props on it and check RPM's. I'll be sure to start high and work down if I go that route!
I have a Saito 65 I can use to check the stroke and/or volume of oil it'll hold. If I can get reasonable numbers I'll go that route with the mystery engine.
It seems really surprising that Saito doesn't put something on them of a permanent nature. Even if the ID plate was there and said 1.80, it could easily be a 1.50 with a switched ID. Stronger glue would help too?
Thanks for trying. I'm going to assume there isn't an easy solution. If I come up with a decent methodology and matching data I'll add it to the thread for future reference. TC
06-05-2024, 06:57 PM

Seems the 180 is measured taller than the 120 and 150.
Have you tried a music wire probe down the glow plug hole? (Better still, a bronze welding rod)
Have you tried a music wire probe down the glow plug hole? (Better still, a bronze welding rod)
Last edited by Jesse Open; 06-05-2024 at 07:01 PM.
 06-06-2024, 05:42 PM
My Feedback: (27)

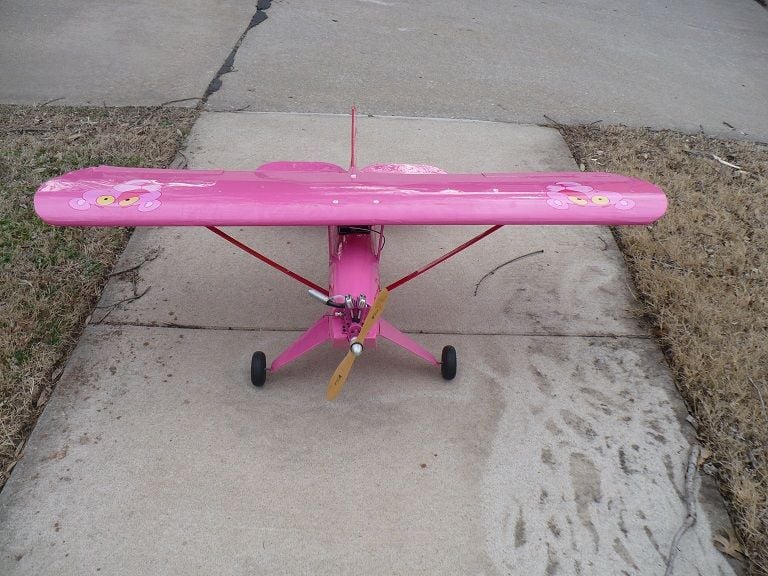
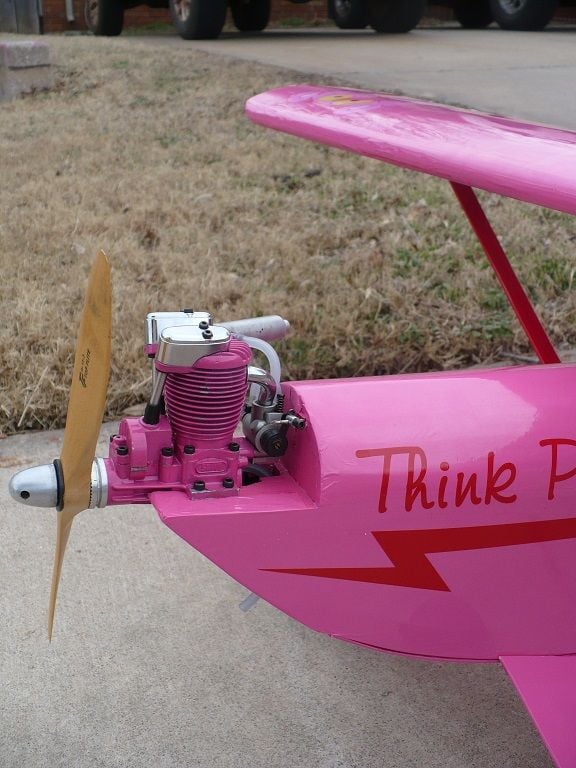
 I bought this plane at a swap meet. I usually would not buy built planes but my wife liked it because of the name. It was part of a table full of stuff from an estate that was being sold for a widow. It has never been flown. It�s a Great Planes Pete N Poke. This plane was intended for a 40 size 2 stroke. It originally had a Saito 82 on it. I pulled that thinking it was too much and put the only smaller engine in it that would fit, a Saito 72. I want to prop it for slower flight. This is not something to be flown like a war bird. I�m thinking a 14X5.
I have read doing a search on this plane that flying it too fast and hard the wing ends up pulling off. I don�t think it was ever designed to be flown hard.
Any thoughts on the right prop for a 72 to keep it slow and flying like a trainer.
06-06-2024, 06:19 PM
I bought this plane at a swap meet. I usually would not buy built planes but my wife liked it because of the name. It was part of a table full of stuff from an estate that was being sold for a widow. It has never been flown. It�s a Great Planes Pete N Poke. This plane was intended for a 40 size 2 stroke. It originally had a Saito 82 on it. I pulled that thinking it was too much and put the only smaller engine in it that would fit, a Saito 72. I want to prop it for slower flight. This is not something to be flown like a war bird. I�m thinking a 14X5.I have read doing a search on this plane that flying it too fast and hard the wing ends up pulling off. I don�t think it was ever designed to be flown hard.
Any thoughts on the right prop for a 72 to keep it slow and flying like a trainer.
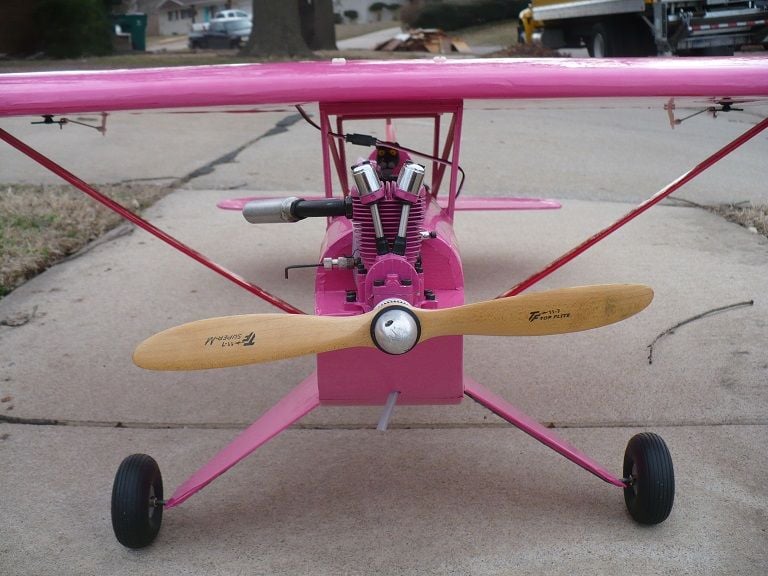
Nice plane, good looking graphics too. Are they painted on?
I'm thinking you have plenty of clearance for a 14" or even a 15" inch prop. Maybe a 14-5 would be a good match.
Let us know how it works out.
73

 06-07-2024, 02:48 AM
Senior Member
Wow, two great looking planes and Saito powered too, good stuff. The Spadport arrived yesterday, I hope I can build it as nicely as those. The packaging is so neatly done that you hesitate to tear into it. But
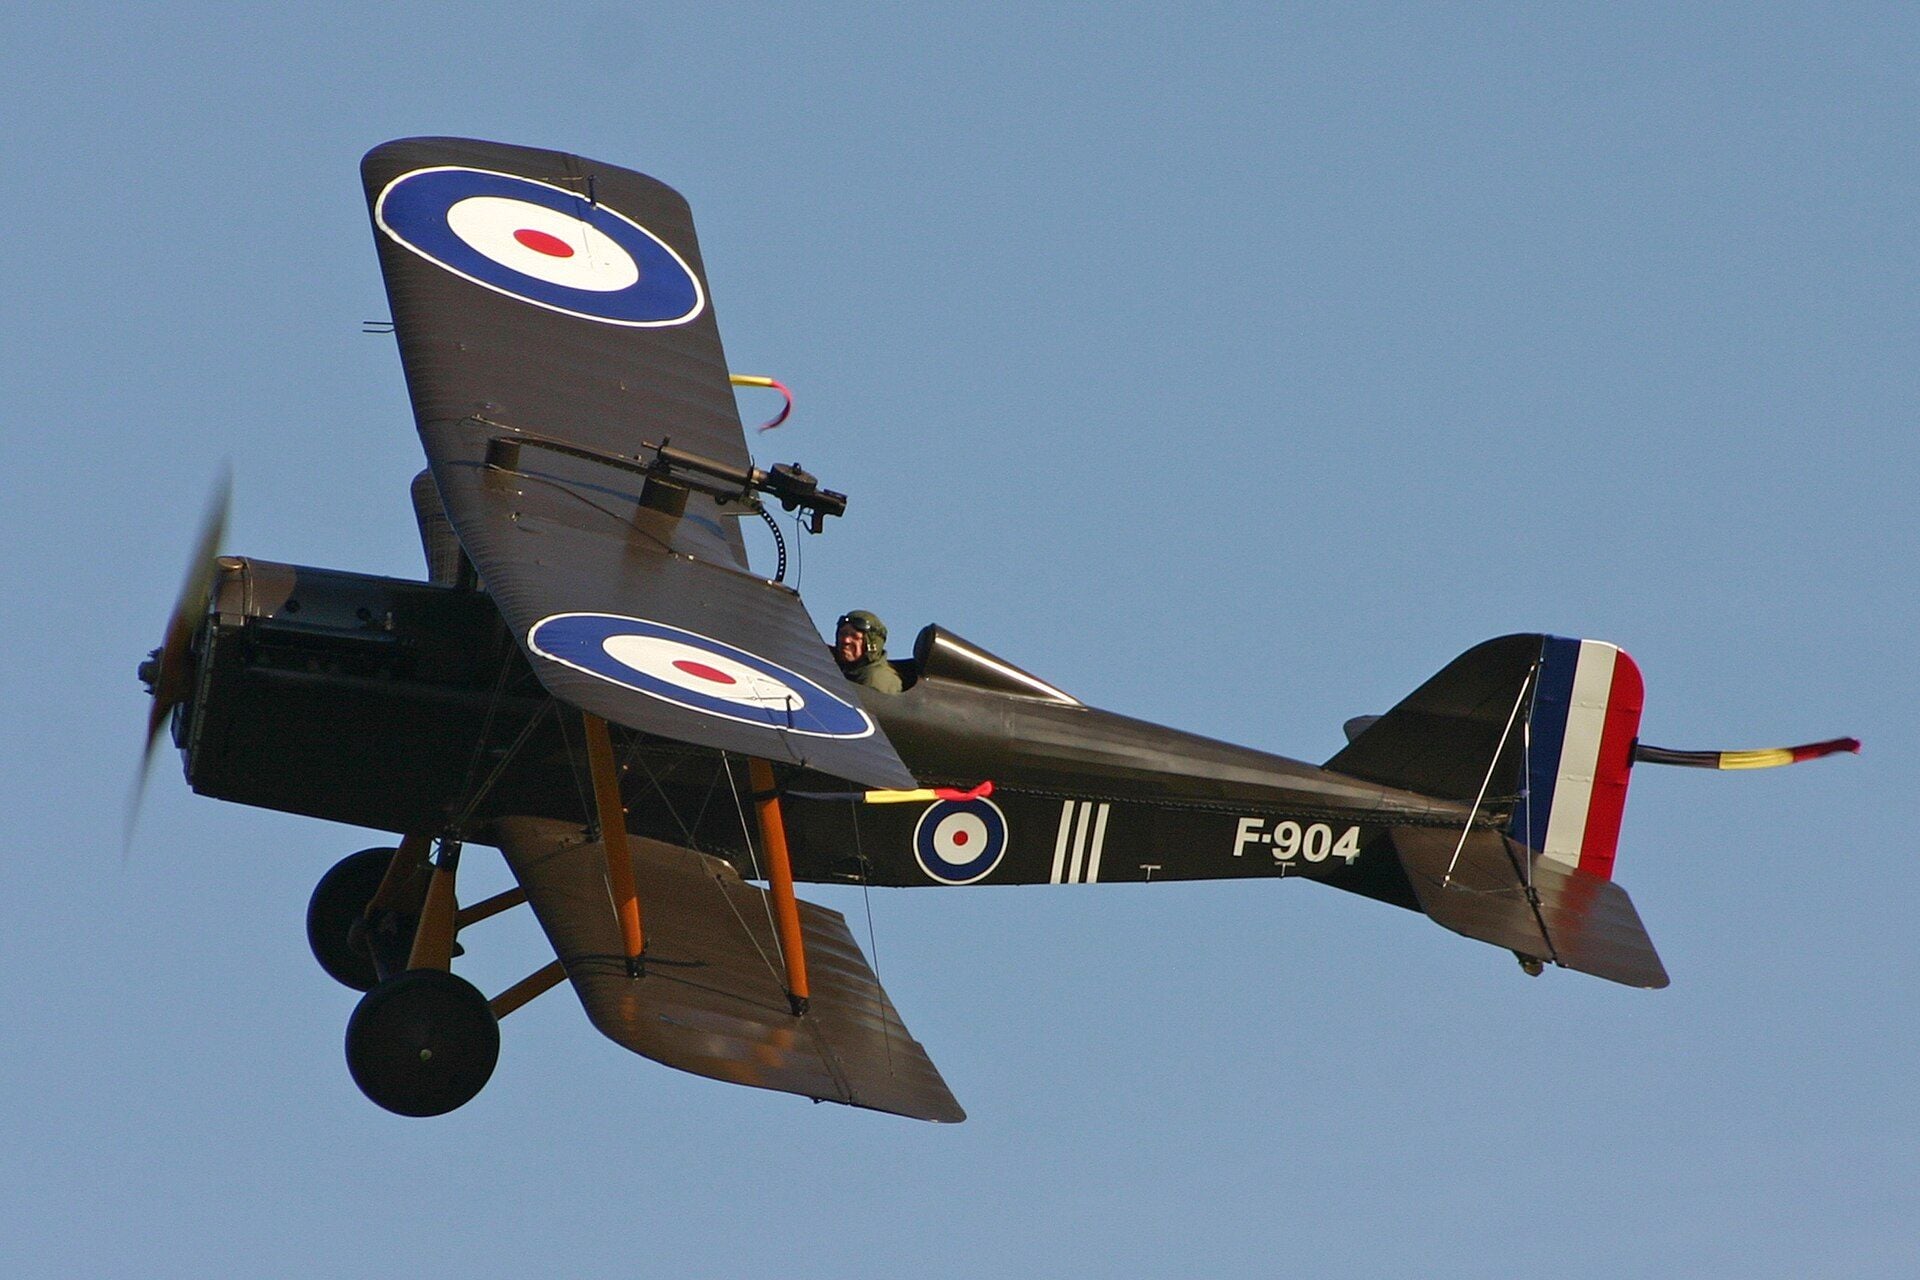
RAF SE5a, appears to the full scale plane.
RAF SE5a, appears to the full scale plane.
Last edited by 1200SportsterRider; 06-07-2024 at 03:10 AM. Reason: Add content
06-07-2024, 03:12 AM
My Feedback: (27)
Gary, the plane is all done in Monokote but I think the Pete N Poke on the tail might be a sticker that came with the kit. I think the FA-72 on it still might be a bit much. I wish I could fit a 65 in it. Yes, the XYL talks me into things at swap meets that later I'm glad I bought. I'm going to try running with a 14X5.
Mike, what size engine do you have on yours? I was looking close at your pictures, and it looks like an 11X7 prop so I'm guessing you have a FA-50 on it. How does she fly with that set up?
It had some type of electronic glow driver in it that I took out. I've never had a need for one before and I like to keep it as simple as I can.
Last edited by modeltronics; 06-07-2024 at 03:27 AM.
06-07-2024, 05:03 AM
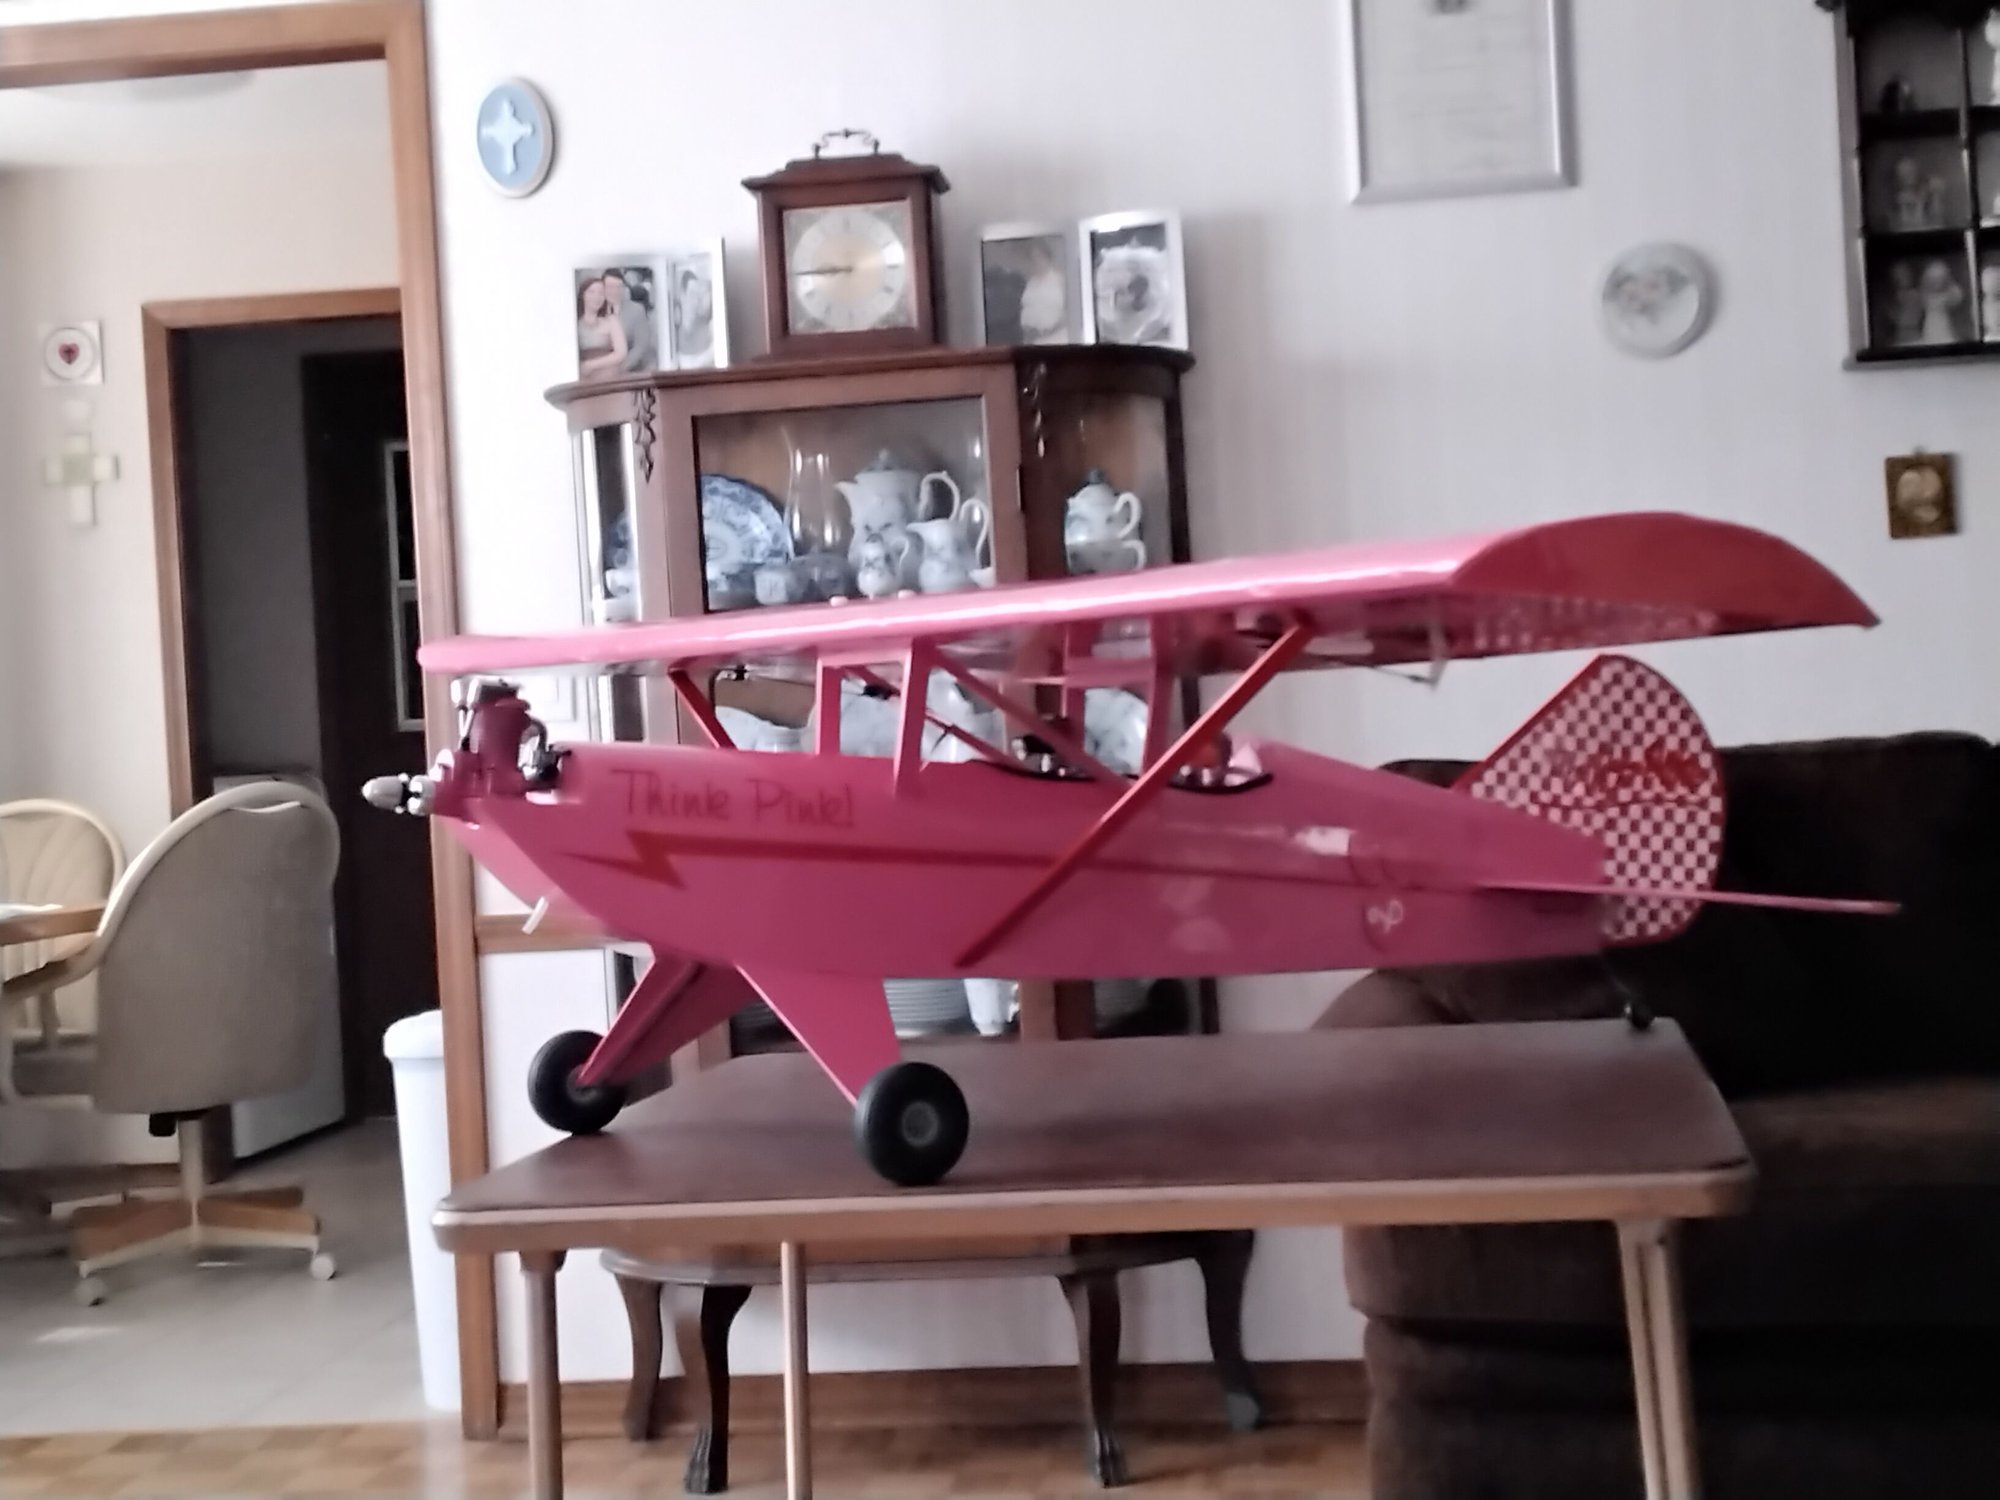
You are correct the Pete N Poke on the tail is a sticker provided in the kit. I sent a picture of it to Callie and told her to make it read Pink N Poke. I have since had her redo it to have a white boarder on it. My error the first time around. Pinky Saito is a FA-56. I'm still debating whether to put a GK FA-50 or silver FA-56 on the Hobbes' Tiger 2. My flying style is more slow and steady than 3D.
06-07-2024, 05:12 AM
The factory graphics look great and the contrasting trim screen is pure classic.
I can look and see if I have a 50 or 56 that isn't in a plane at present. Be happy to send it to you.
I know there are a few 65 and 45, including a 45 Special out there.
Air Show tomorrow at Selfridge ANG Base about 6 miles East of here on Lake St Clair.
Woke up this morning to the sounds and sights of multiple WW2 warbirds circling the area.
Quite a treat! Our club field is about three miles from Selfridge so we should get a good show from their tomorrow.
Last edited by Jesse Open; 06-07-2024 at 05:18 AM.
06-07-2024, 05:16 AM
Thanks Jesse! I'm tempted to paint the engine orange but I'm afraid I would screw it up so it will stay silver. I like covering airplanes in the bright colors makes them easy to see.
06-07-2024, 07:39 PM
In case anyone else is in the position of identifying a S1.20, S1.50, S1.80 (without disassembling it), I'm happy to say the stroke can be measured through the glow plug hole with enough accuracy to tell the difference.
I measured my 65 and when I looked up the spec, I had it spot on. The longer stroke on the bigger engines should give a little more room for error.
Be sure to use something soft - there's important stuff movin' around in there.
I should be able to choose the appropriate prop and hit a specified RPM as verification.
Why Saito ID's these engines with stick on labels... they could at least spring for some epoxy. Yeah, I know, they share the same case, but they stamp stuff on one mounting lug, why not both? Oh well, problem solved. TC
06-09-2024, 09:28 AM
That would probably work if I had one. I was able to get �-1mm accuracy with a brass rod through the plug hole. The hardest part for me was keeping it at TDC for that measurement. TC
06-09-2024, 09:43 AM
Remove glow plug, insert depth gauge rod of caliper/veneer through the glow plug hole and rest the end of the caliper body across the cooling fins. Hold pressure on the thumb wheel so the depth gauge pushes the piston to bdc. If you're using a digital caliper zero the readout at bdc. If using a dial caliper or veneer write down the reading at bdc. Raise piston to tdc allowing the depth gauge rod to be compressed by the piston. If using a digital caliper the reading at TDC is the stroke. If using a dial caliper or veneer subtracting the reading at tdc from the one you wrote down for bdc is the stroke.
Note, the caliper or veneer must be held steady and VERTICAL at bdc and through the travel from btc to tdc. Takes a little practice to get consistent readings.
Note 2, if the end of the caliper body is not wide enough the rest across the cooling fins then try resting it on the flat surface where the glow plug threads in. If the caliper body is too wide for that then clamp a small strip of wood, aluminum or whatever across the cooling fins with rubber bands and take your measurements from the top of that.
Note 3, this all gets easier with the engine mounted to something eg test stand, bench or aircraft.
Note 4, it took ten times longer to post this than it takes to do the measurements.
Last edited by Glowgeek; 06-09-2024 at 09:59 AM.
06-09-2024, 11:33 AM
If you happen to own digital calipers, you can just hit the "Zero" button at bottom then run the piston up.
Just took the Eagle 63 out for then first time this season. The 27 year old Saito FA-50 GK performed flawlessly. Started right up, idled, transition and top end spot-on. Fifth season for this engine in the Eagle. So far, no needle changes needed.
Also very likely the strongest winds this plane has seen! Winds were gusting to 40 MPH, pretty bumpy ride. Pretty good fun anyhow and didn't break anything.
Last edited by Jesse Open; 06-09-2024 at 02:39 PM.
06-09-2024, 02:39 PM
No problem at all. Heck, I still have the Brown and Sharp, verniers I got back in 1969.
They never let you down and there is no pinion to skip a tooth.
They never let you down and there is no pinion to skip a tooth.
Last edited by Jesse Open; 06-09-2024 at 05:07 PM.

