Go Back  RCU Forums > RC Airplanes > Kit Building
New Balsa USA Smoothie XL Build >

New Balsa USA Smoothie XL Build

Community
Search
Notices
Kit Building If you're building a kit and have questions or want to discuss kit building post it here.

New Balsa USA Smoothie XL Build

Thread Tools
 
Search this Thread
 
Old 10-29-2016, 10:43 AM
  #1  
Thread Starter
My Feedback: (427)
 
Join Date: Jan 2002
Location: N. Scituate, RI
Posts: 1,940
Likes: 0
Received 5 Likes on 4 Posts
Default New Balsa USA Smoothie XL Build

Hello all,
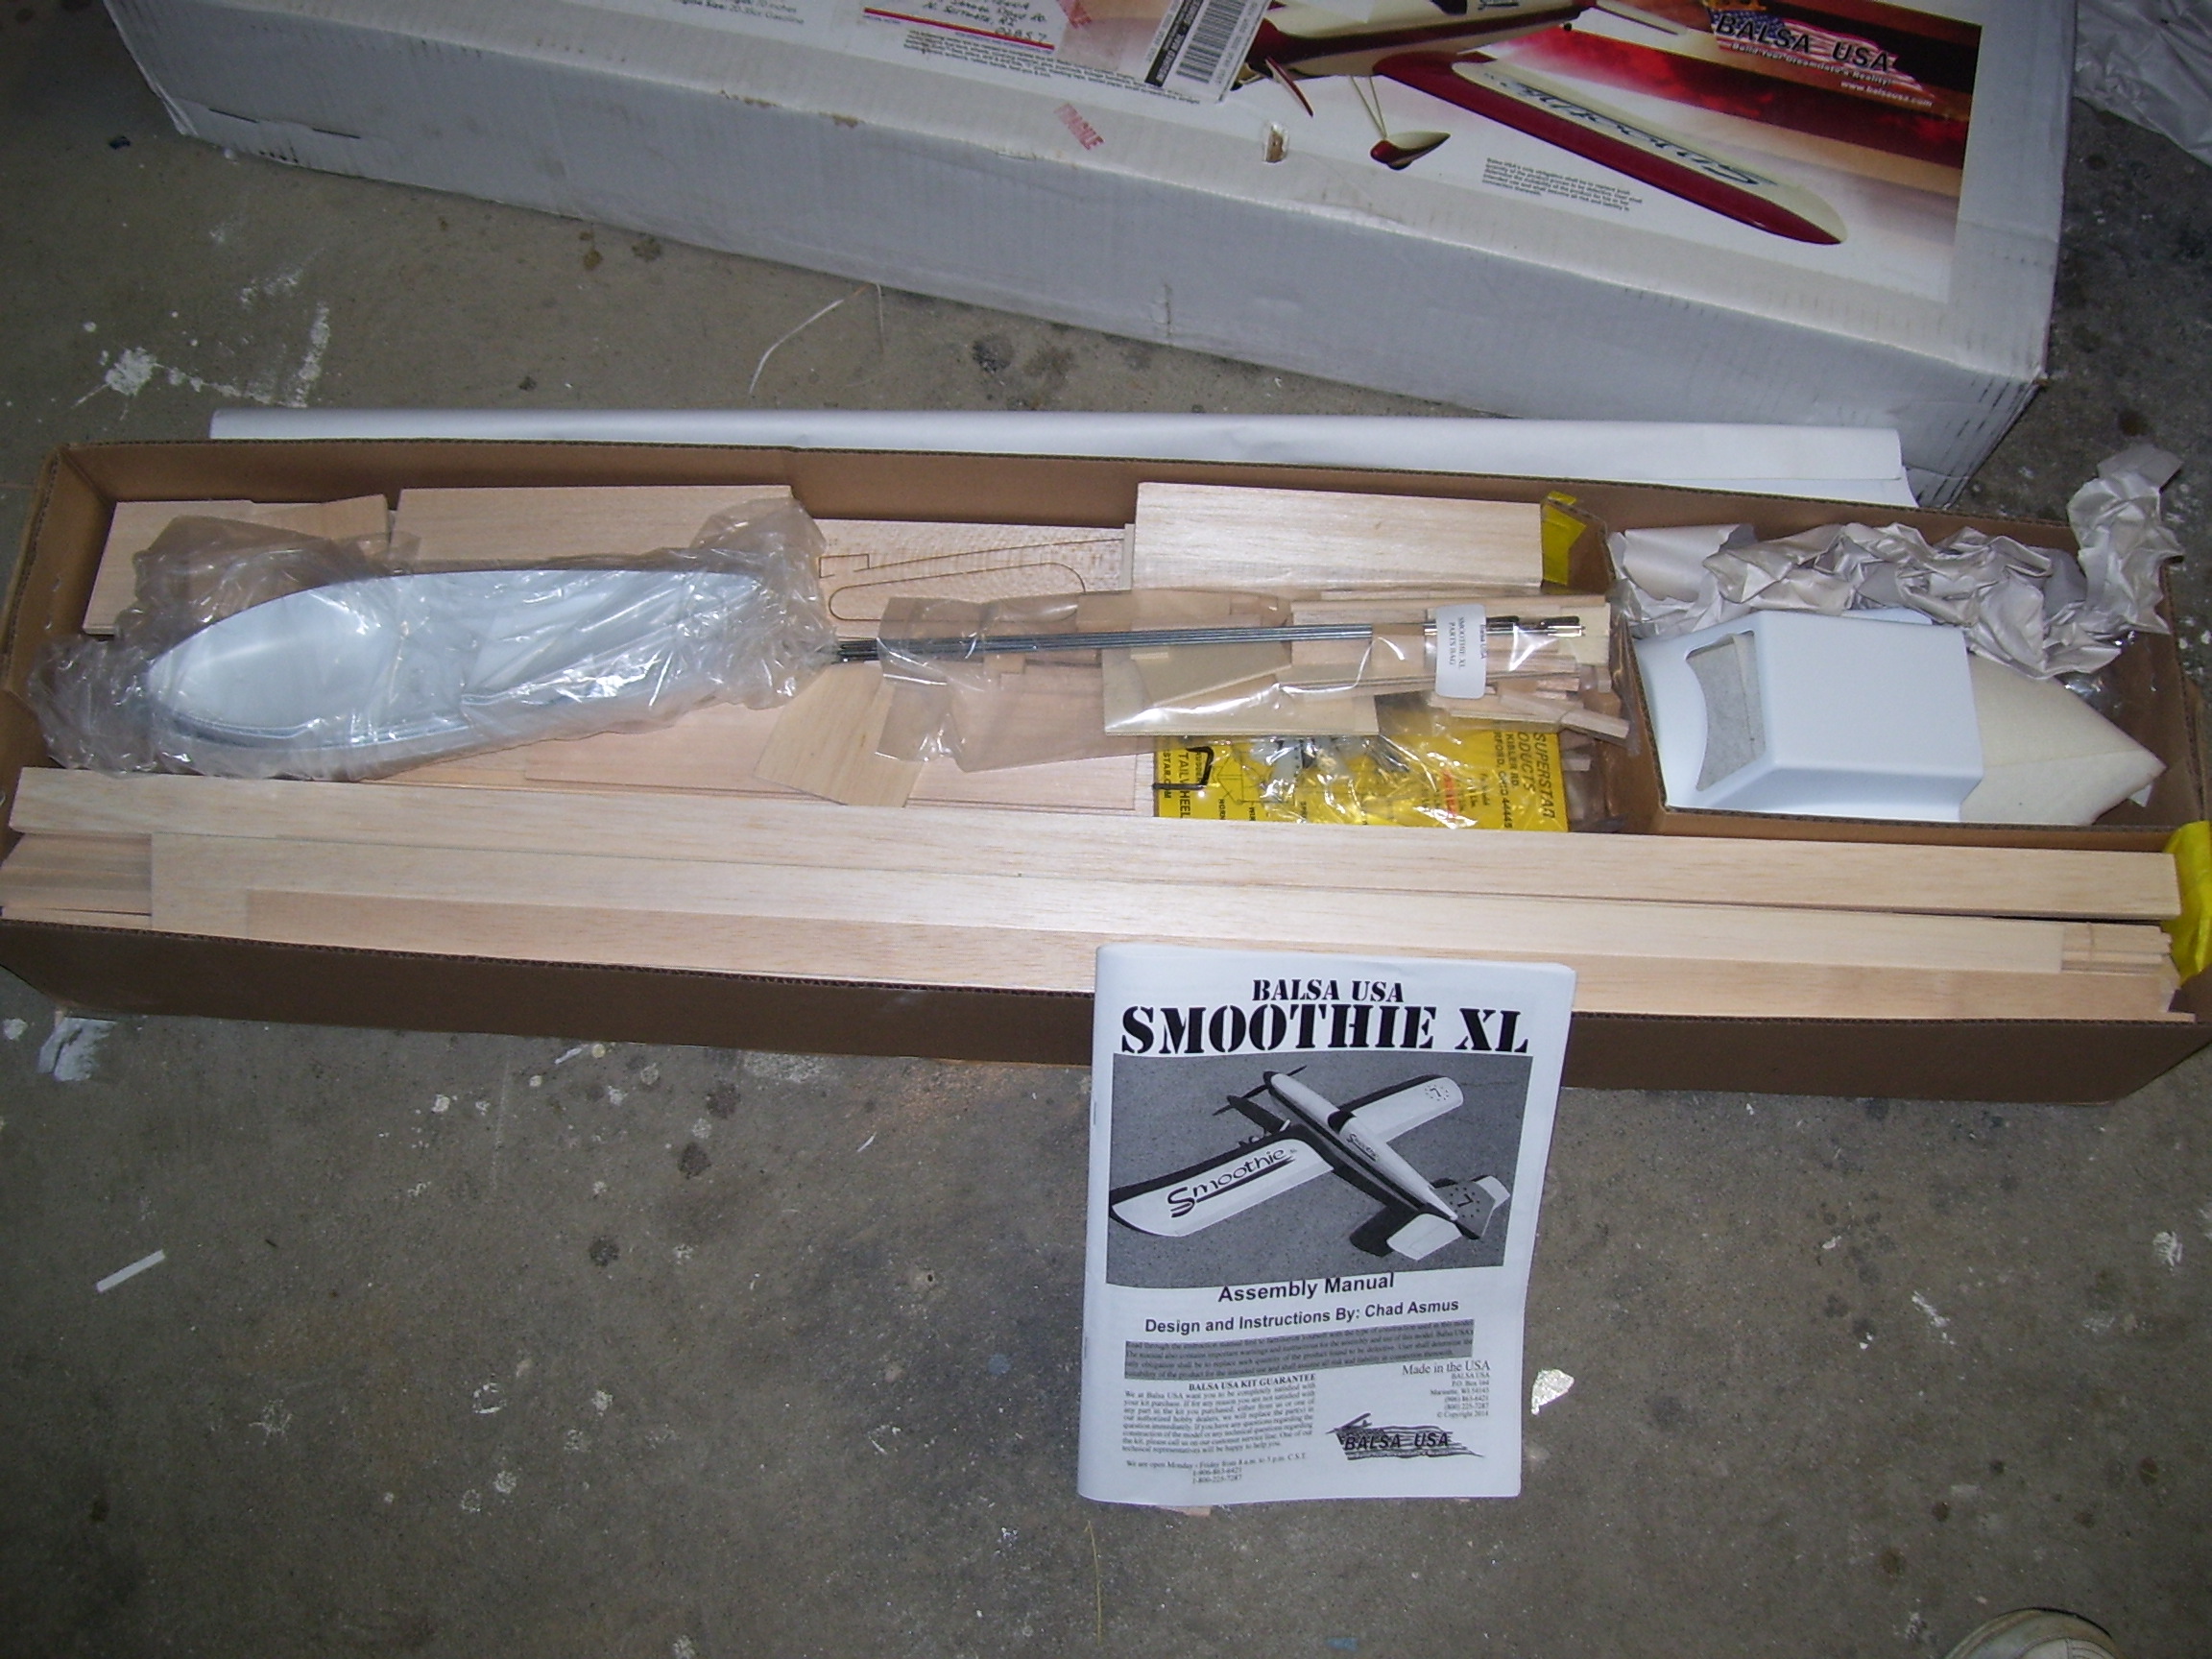
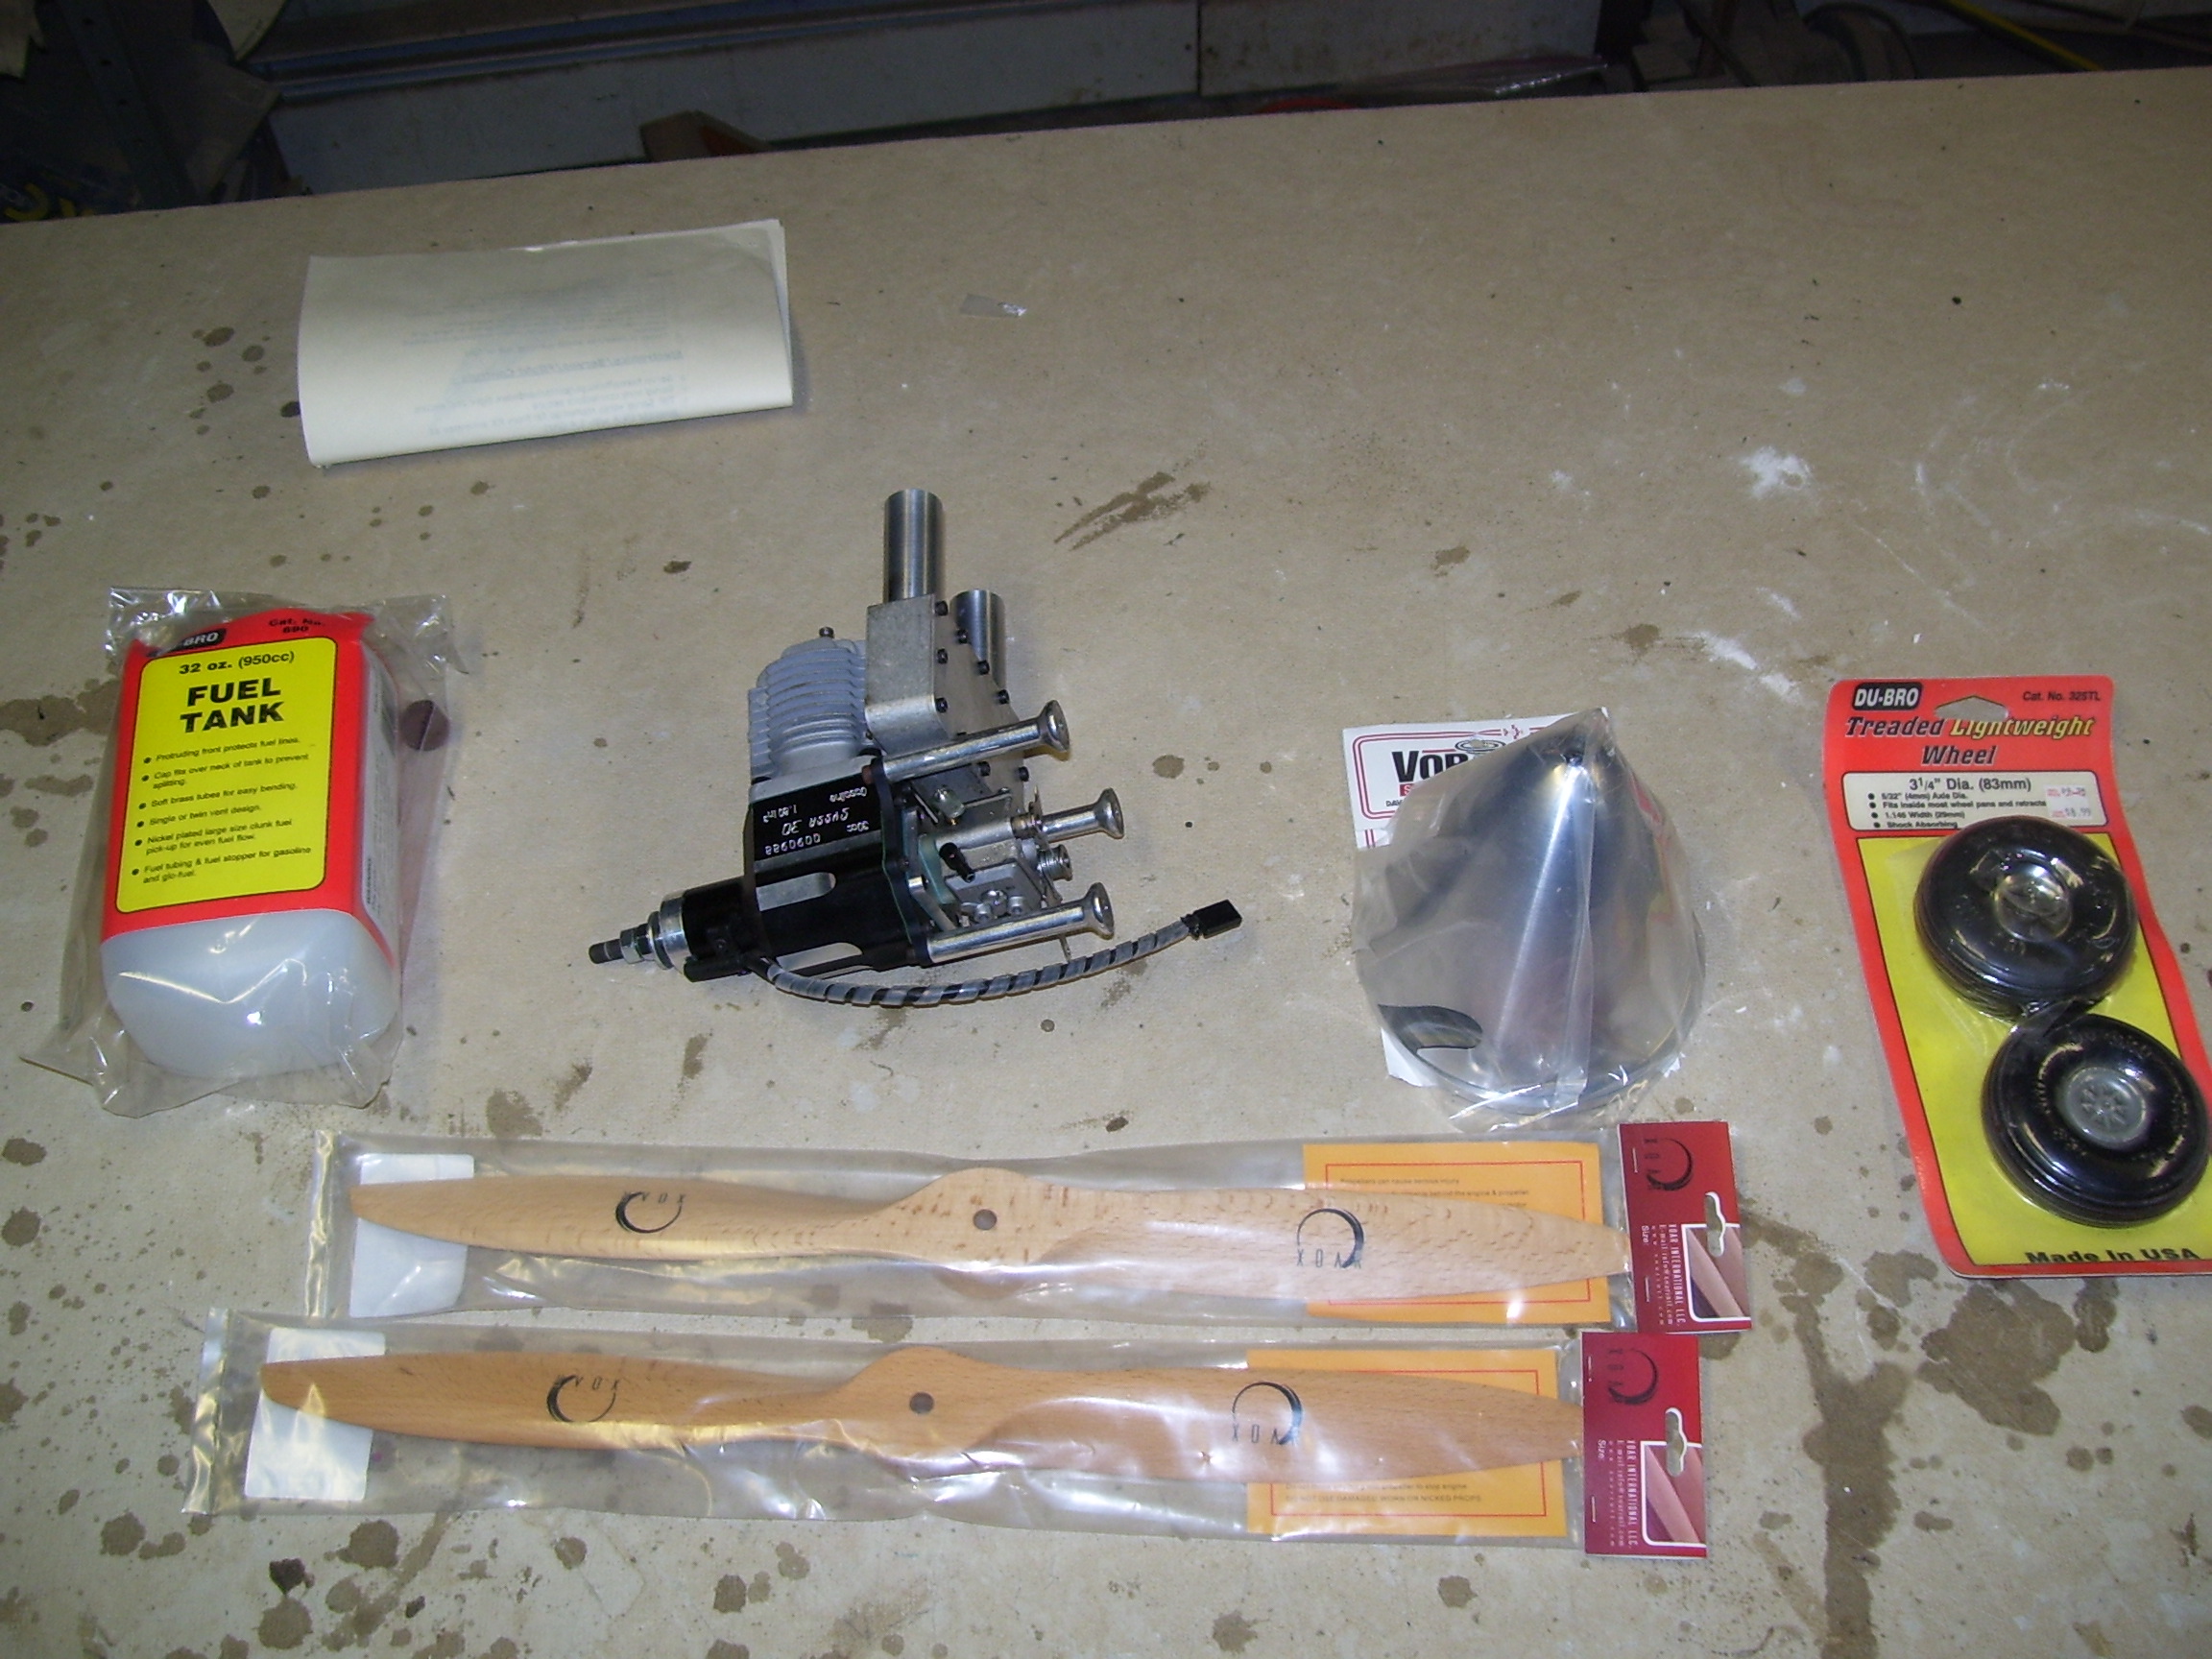
I have been building Warbirds for over 50 years. I decide I needed a break from Heavy Metal with retracts. The new rendition of Balsa USA's Smoothie caught my eye and I was hooked. Bought the kit from a fellow RCU member and then bought all the accessories. It will be powered by a Syssa 30 cc gas engine. has 5 in Dave Brown P 51 spinner. This plane is large and should be a nice flyer. 88 3/4 in. span , two piece wing.
Stay tuned and feel free to add suggestions and comments.
Thanks,
Fred Menna Check6
Attached Thumbnails Click image for larger version

Name:	Picture 2282.jpg
Views:	5100
Size:	1.03 MB
ID:	2188092   Click image for larger version

Name:	Picture 2283.jpg
Views:	4761
Size:	1.01 MB
ID:	2188093   Click image for larger version

Name:	Picture 2284.jpg
Views:	4835
Size:	1.01 MB
ID:	2188094   Click image for larger version

Name:	Picture 2285.jpg
Views:	4400
Size:	1,004.6 KB
ID:	2188095  
Old 10-29-2016, 04:19 PM
  #2  
 
RICKSTUBBZ's Avatar
 
Join Date: Oct 2007
Location: Hempstead, TX
Posts: 1,540
Received 31 Likes on 27 Posts
Default

There seems to be quite a bit of "BUZZ" on this plane.
Looking forward to seeing your build.
Will you be using cloth to cover it?
Old 10-29-2016, 04:32 PM
  #3  
Thread Starter
My Feedback: (427)
 
Join Date: Jan 2002
Location: N. Scituate, RI
Posts: 1,940
Likes: 0
Received 5 Likes on 4 Posts
Default

Yes, I will be covering it with solartex fabric. I'm pretty much doing a stock build.
Thanks,
Fred
Old 10-30-2016, 07:45 PM
  #4  
 
Join Date: Oct 2006
Location: Collierville, TN
Posts: 602
Likes: 0
Received 0 Likes on 0 Posts
Default

With a 32oz tank you'll be able to fuel it at home, take it to the field, and fly all day. Haha...
Old 10-31-2016, 06:52 AM
  #5  
Thread Starter
My Feedback: (427)
 
Join Date: Jan 2002
Location: N. Scituate, RI
Posts: 1,940
Likes: 0
Received 5 Likes on 4 Posts
Default

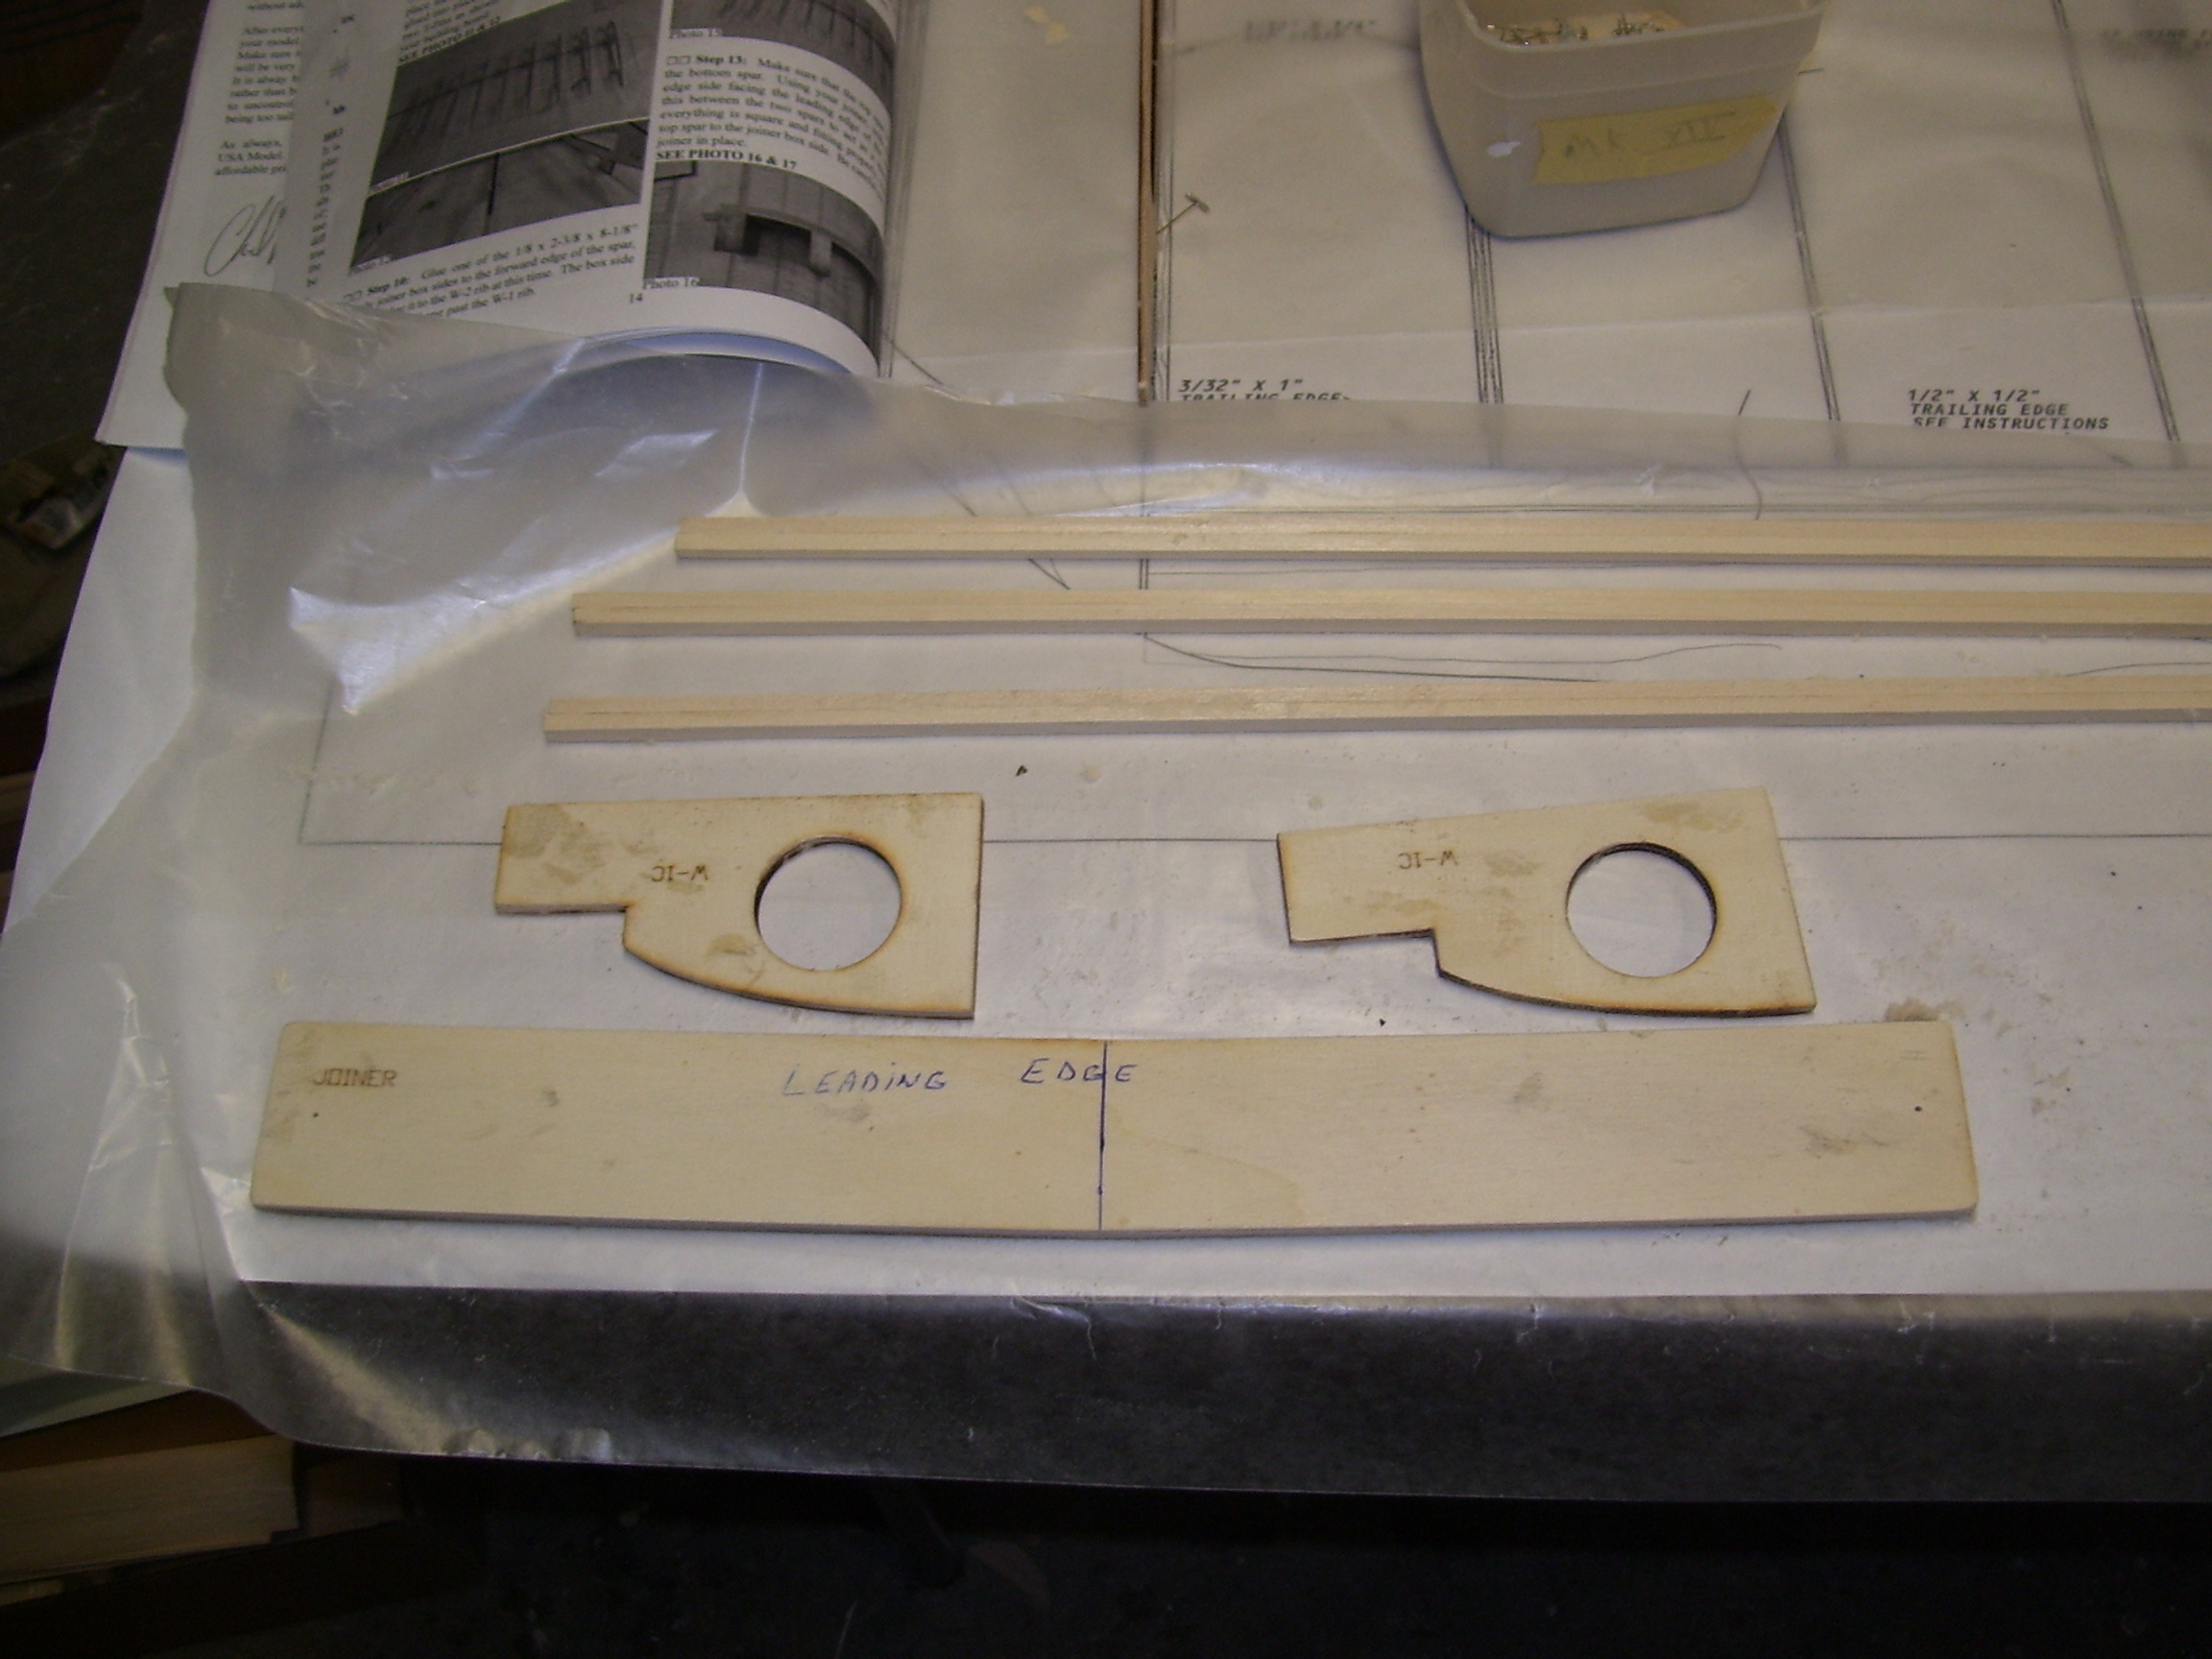
There are a lot of sub assemblies that have to be laminated before construction begins. Wing joiner is made of 4 separate pieces of plywood. all the main spars are made of two pieces of hardwood laminated together. Some structural ribs are laminated. It makes for some strong light pieces
Attached Thumbnails Click image for larger version

Name:	Picture 2286.jpg
Views:	4245
Size:	1,016.8 KB
ID:	2188365  

Last edited by Check6; 10-31-2016 at 12:57 PM.
Old 10-31-2016, 07:03 AM
  #6  
Thread Starter
My Feedback: (427)
 
Join Date: Jan 2002
Location: N. Scituate, RI
Posts: 1,940
Likes: 0
Received 5 Likes on 4 Posts
Default

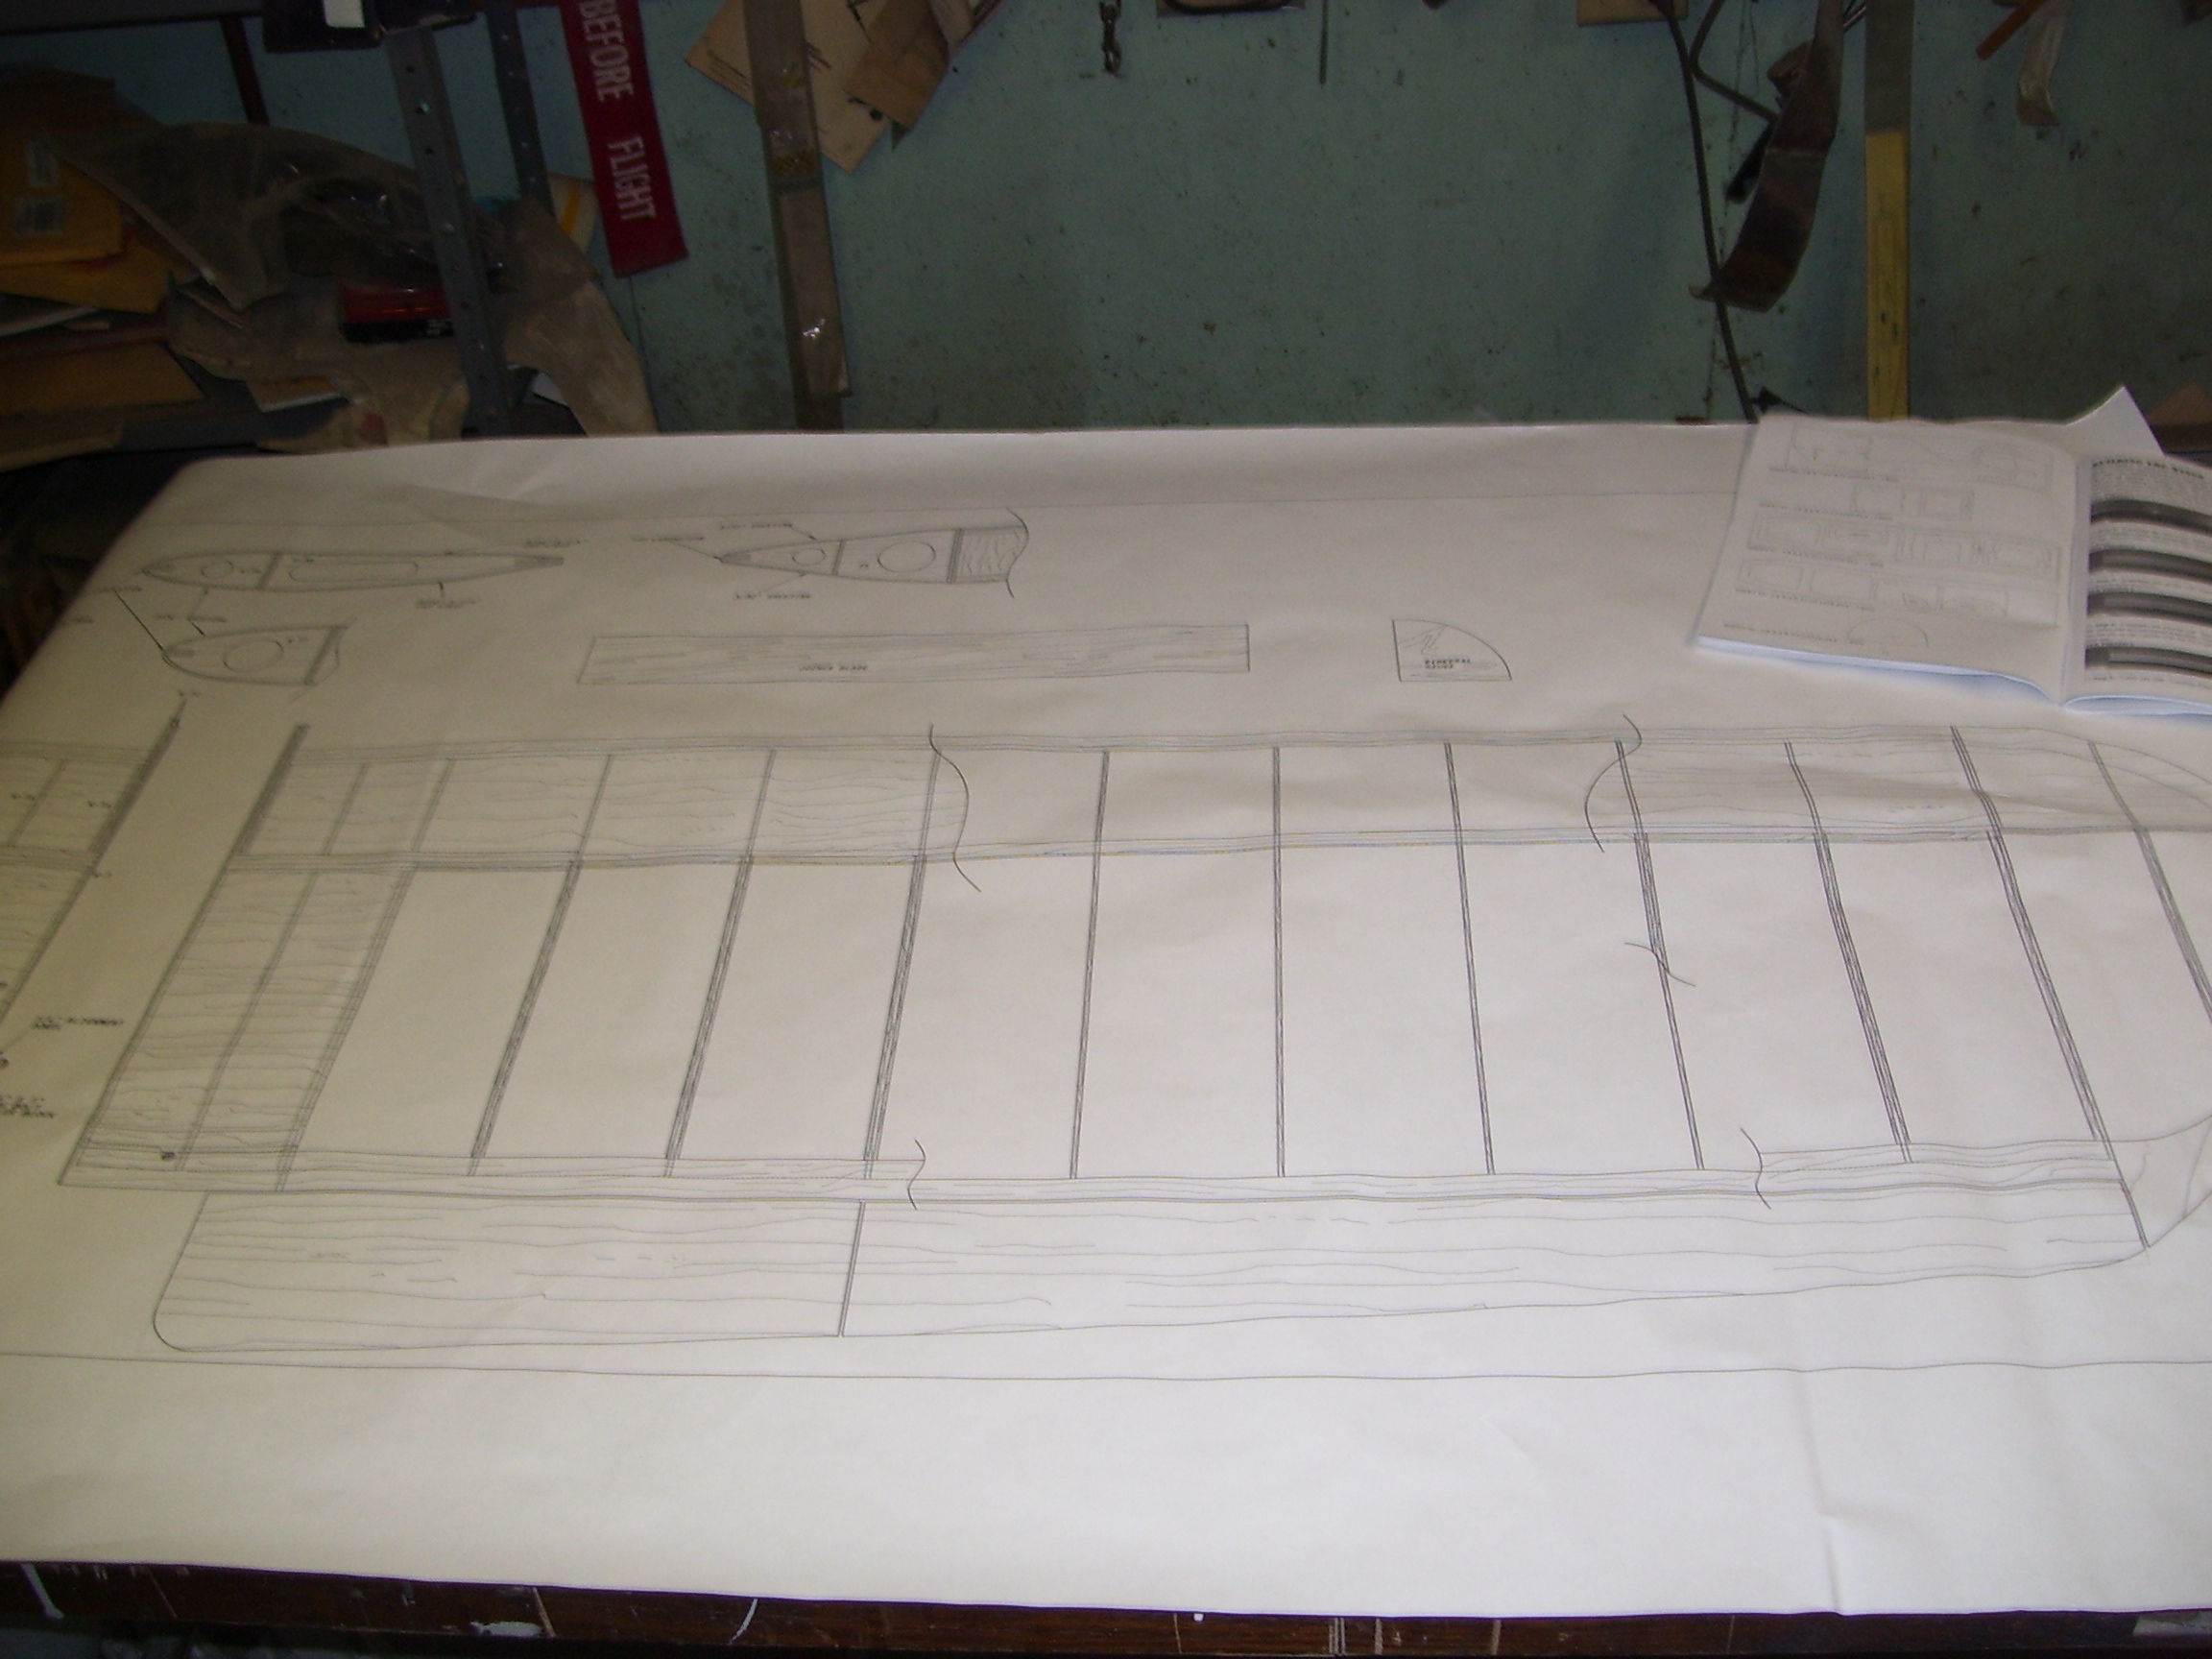
Spars are pinned to the plans and ribs are being installed
Attached Thumbnails Click image for larger version

Name:	Picture 2287.jpg
Views:	4398
Size:	1.01 MB
ID:	2188371  
Old 10-31-2016, 07:07 AM
  #7  
Thread Starter
My Feedback: (427)
 
Join Date: Jan 2002
Location: N. Scituate, RI
Posts: 1,940
Likes: 0
Received 5 Likes on 4 Posts
Default

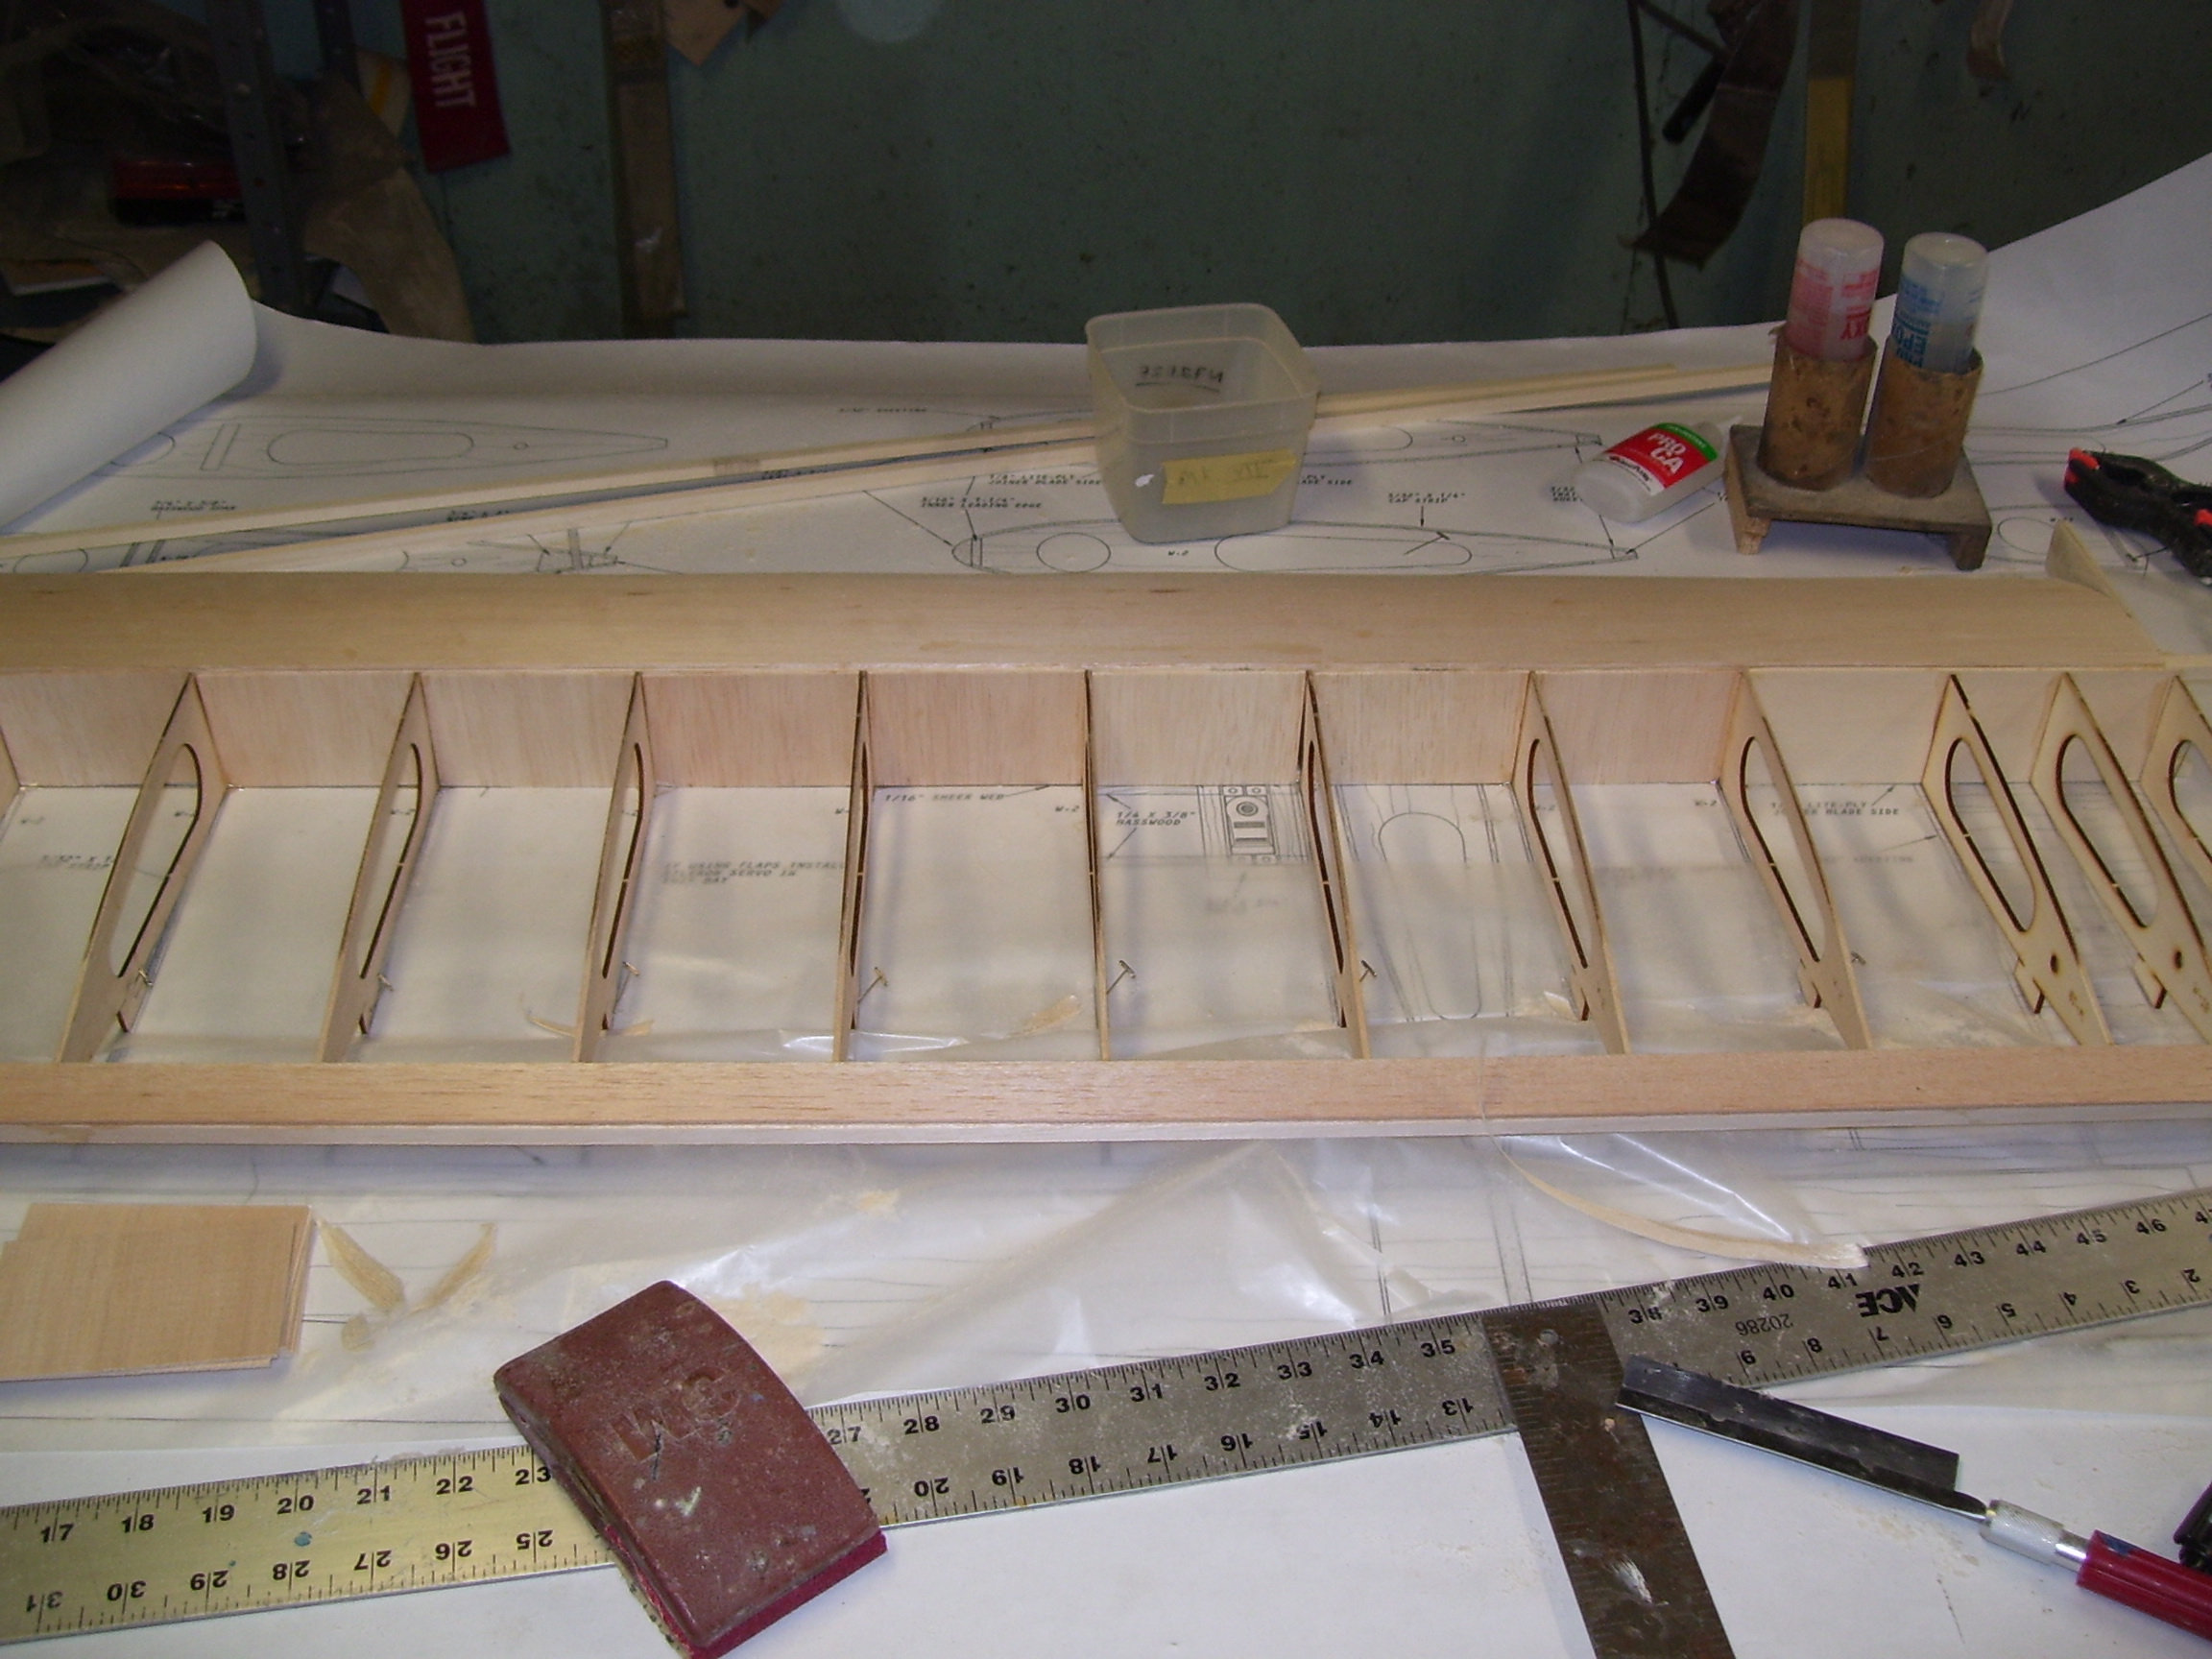
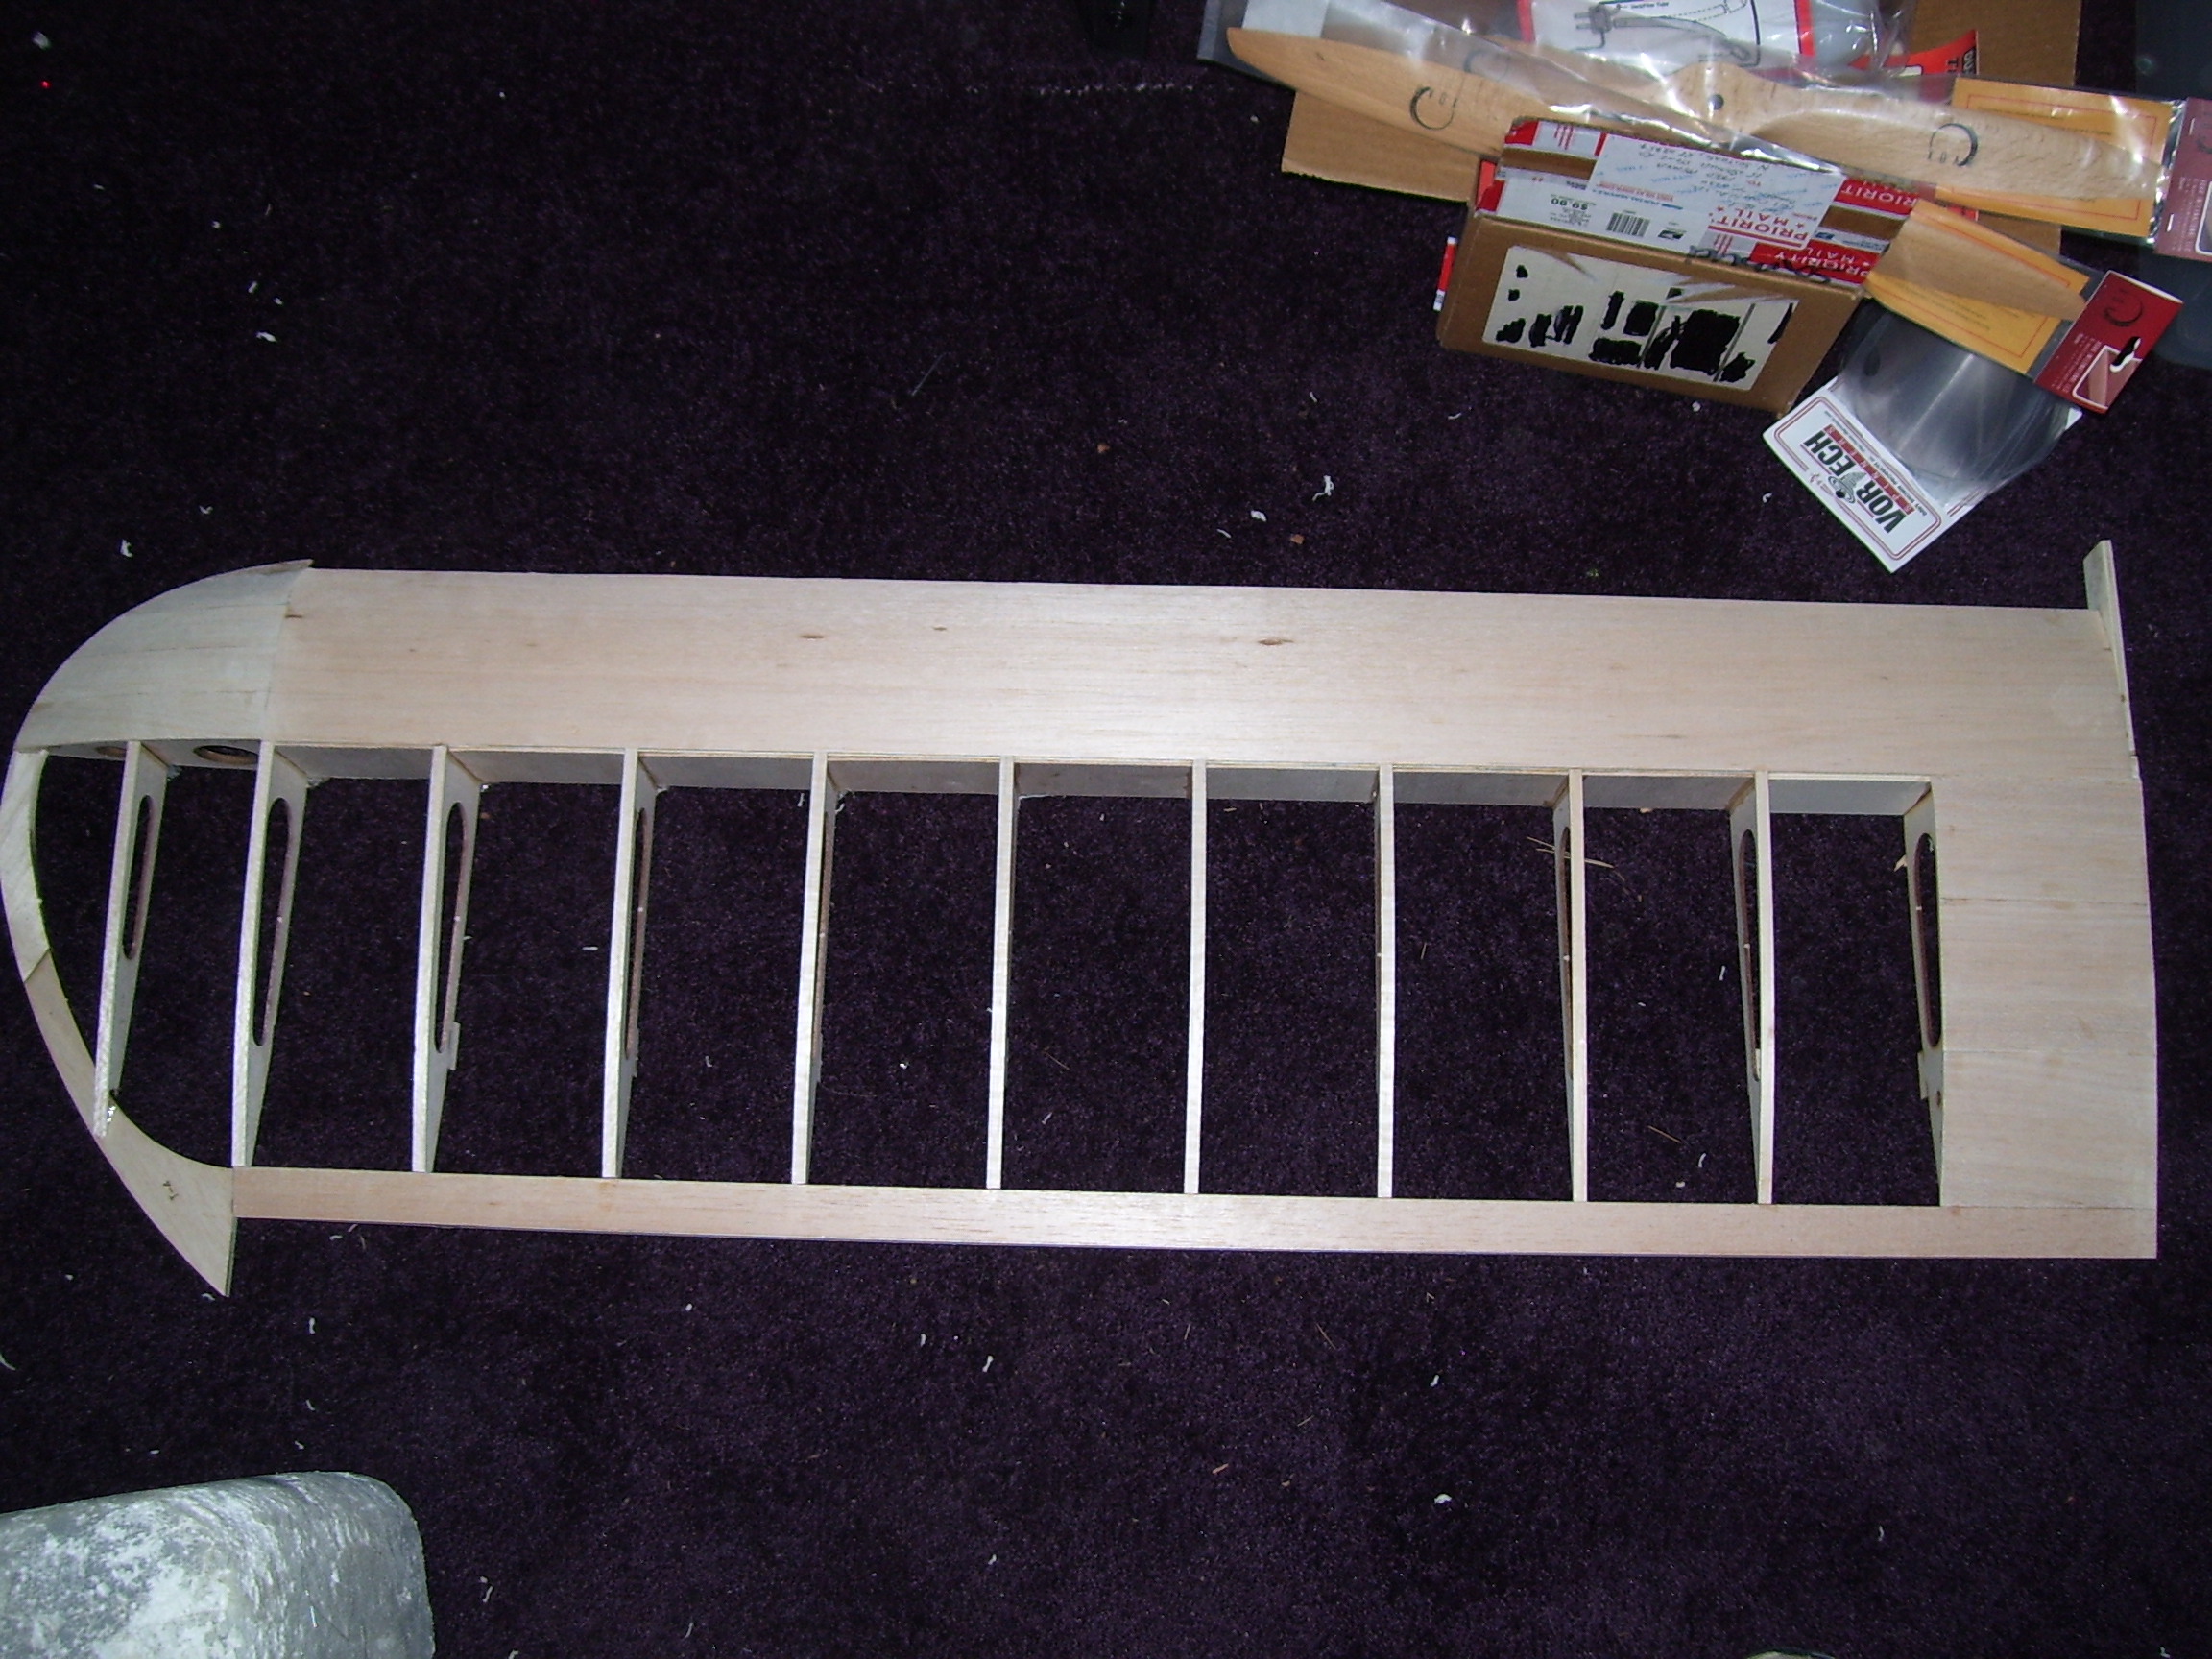
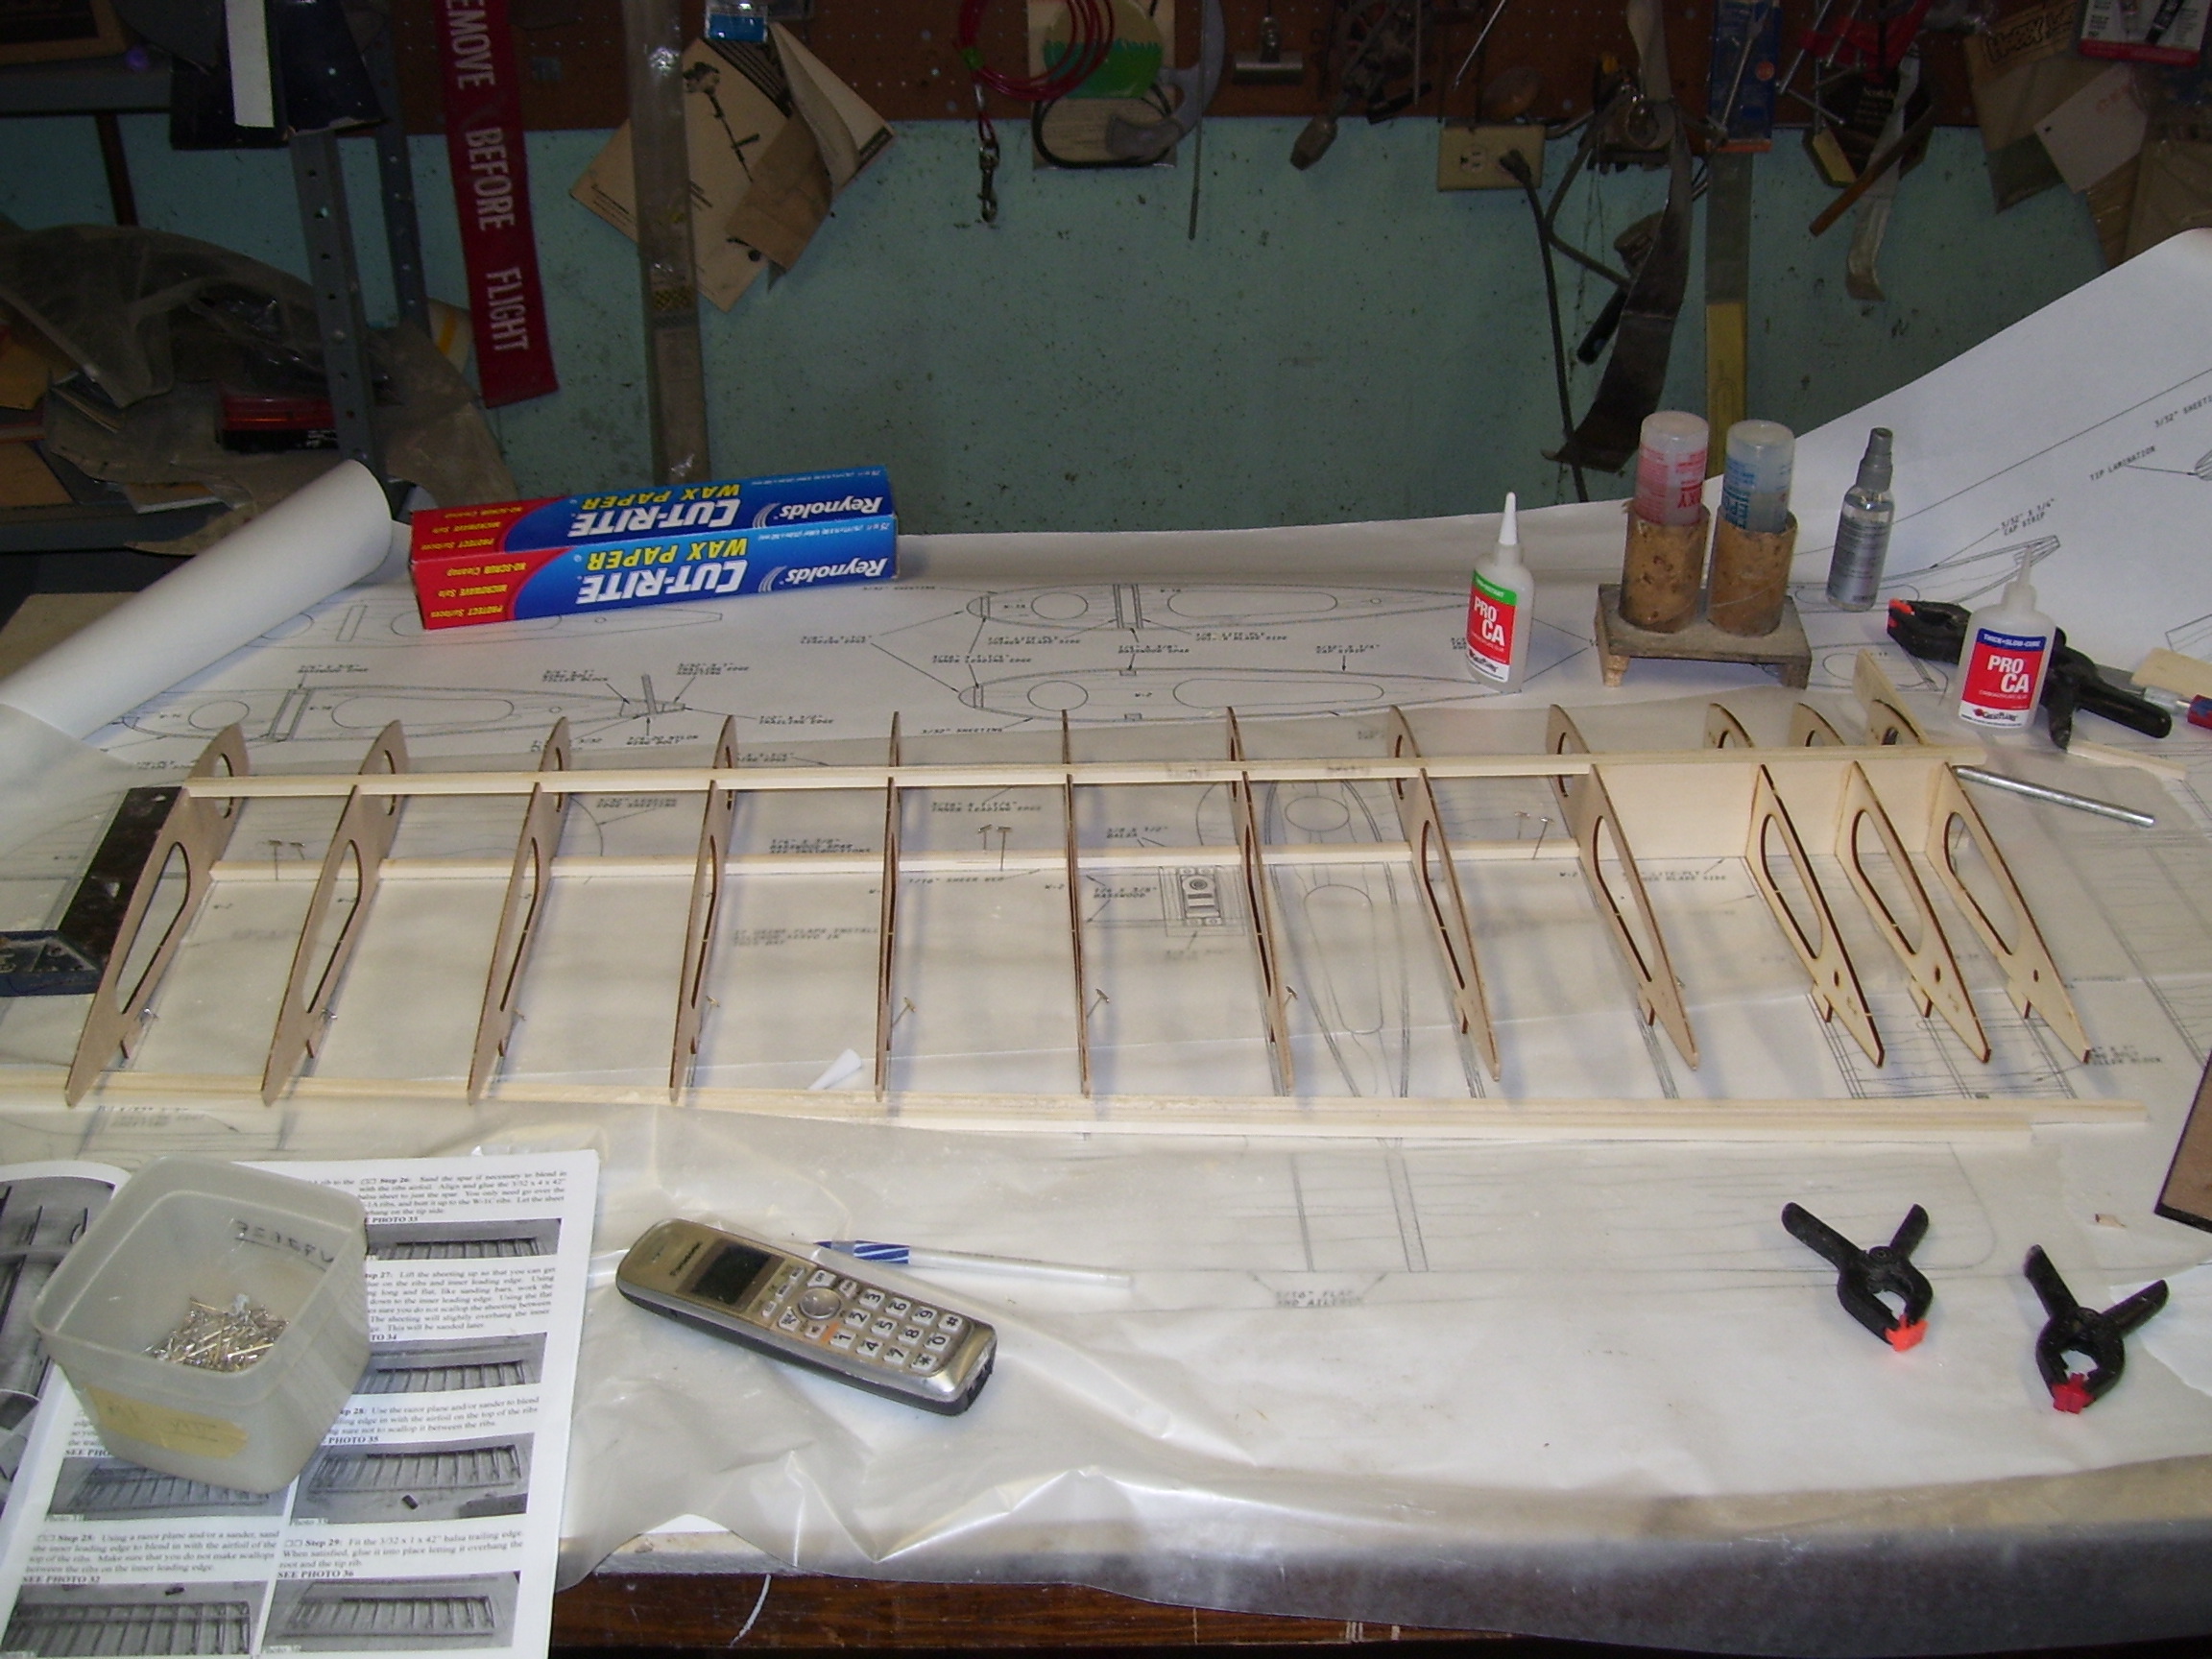
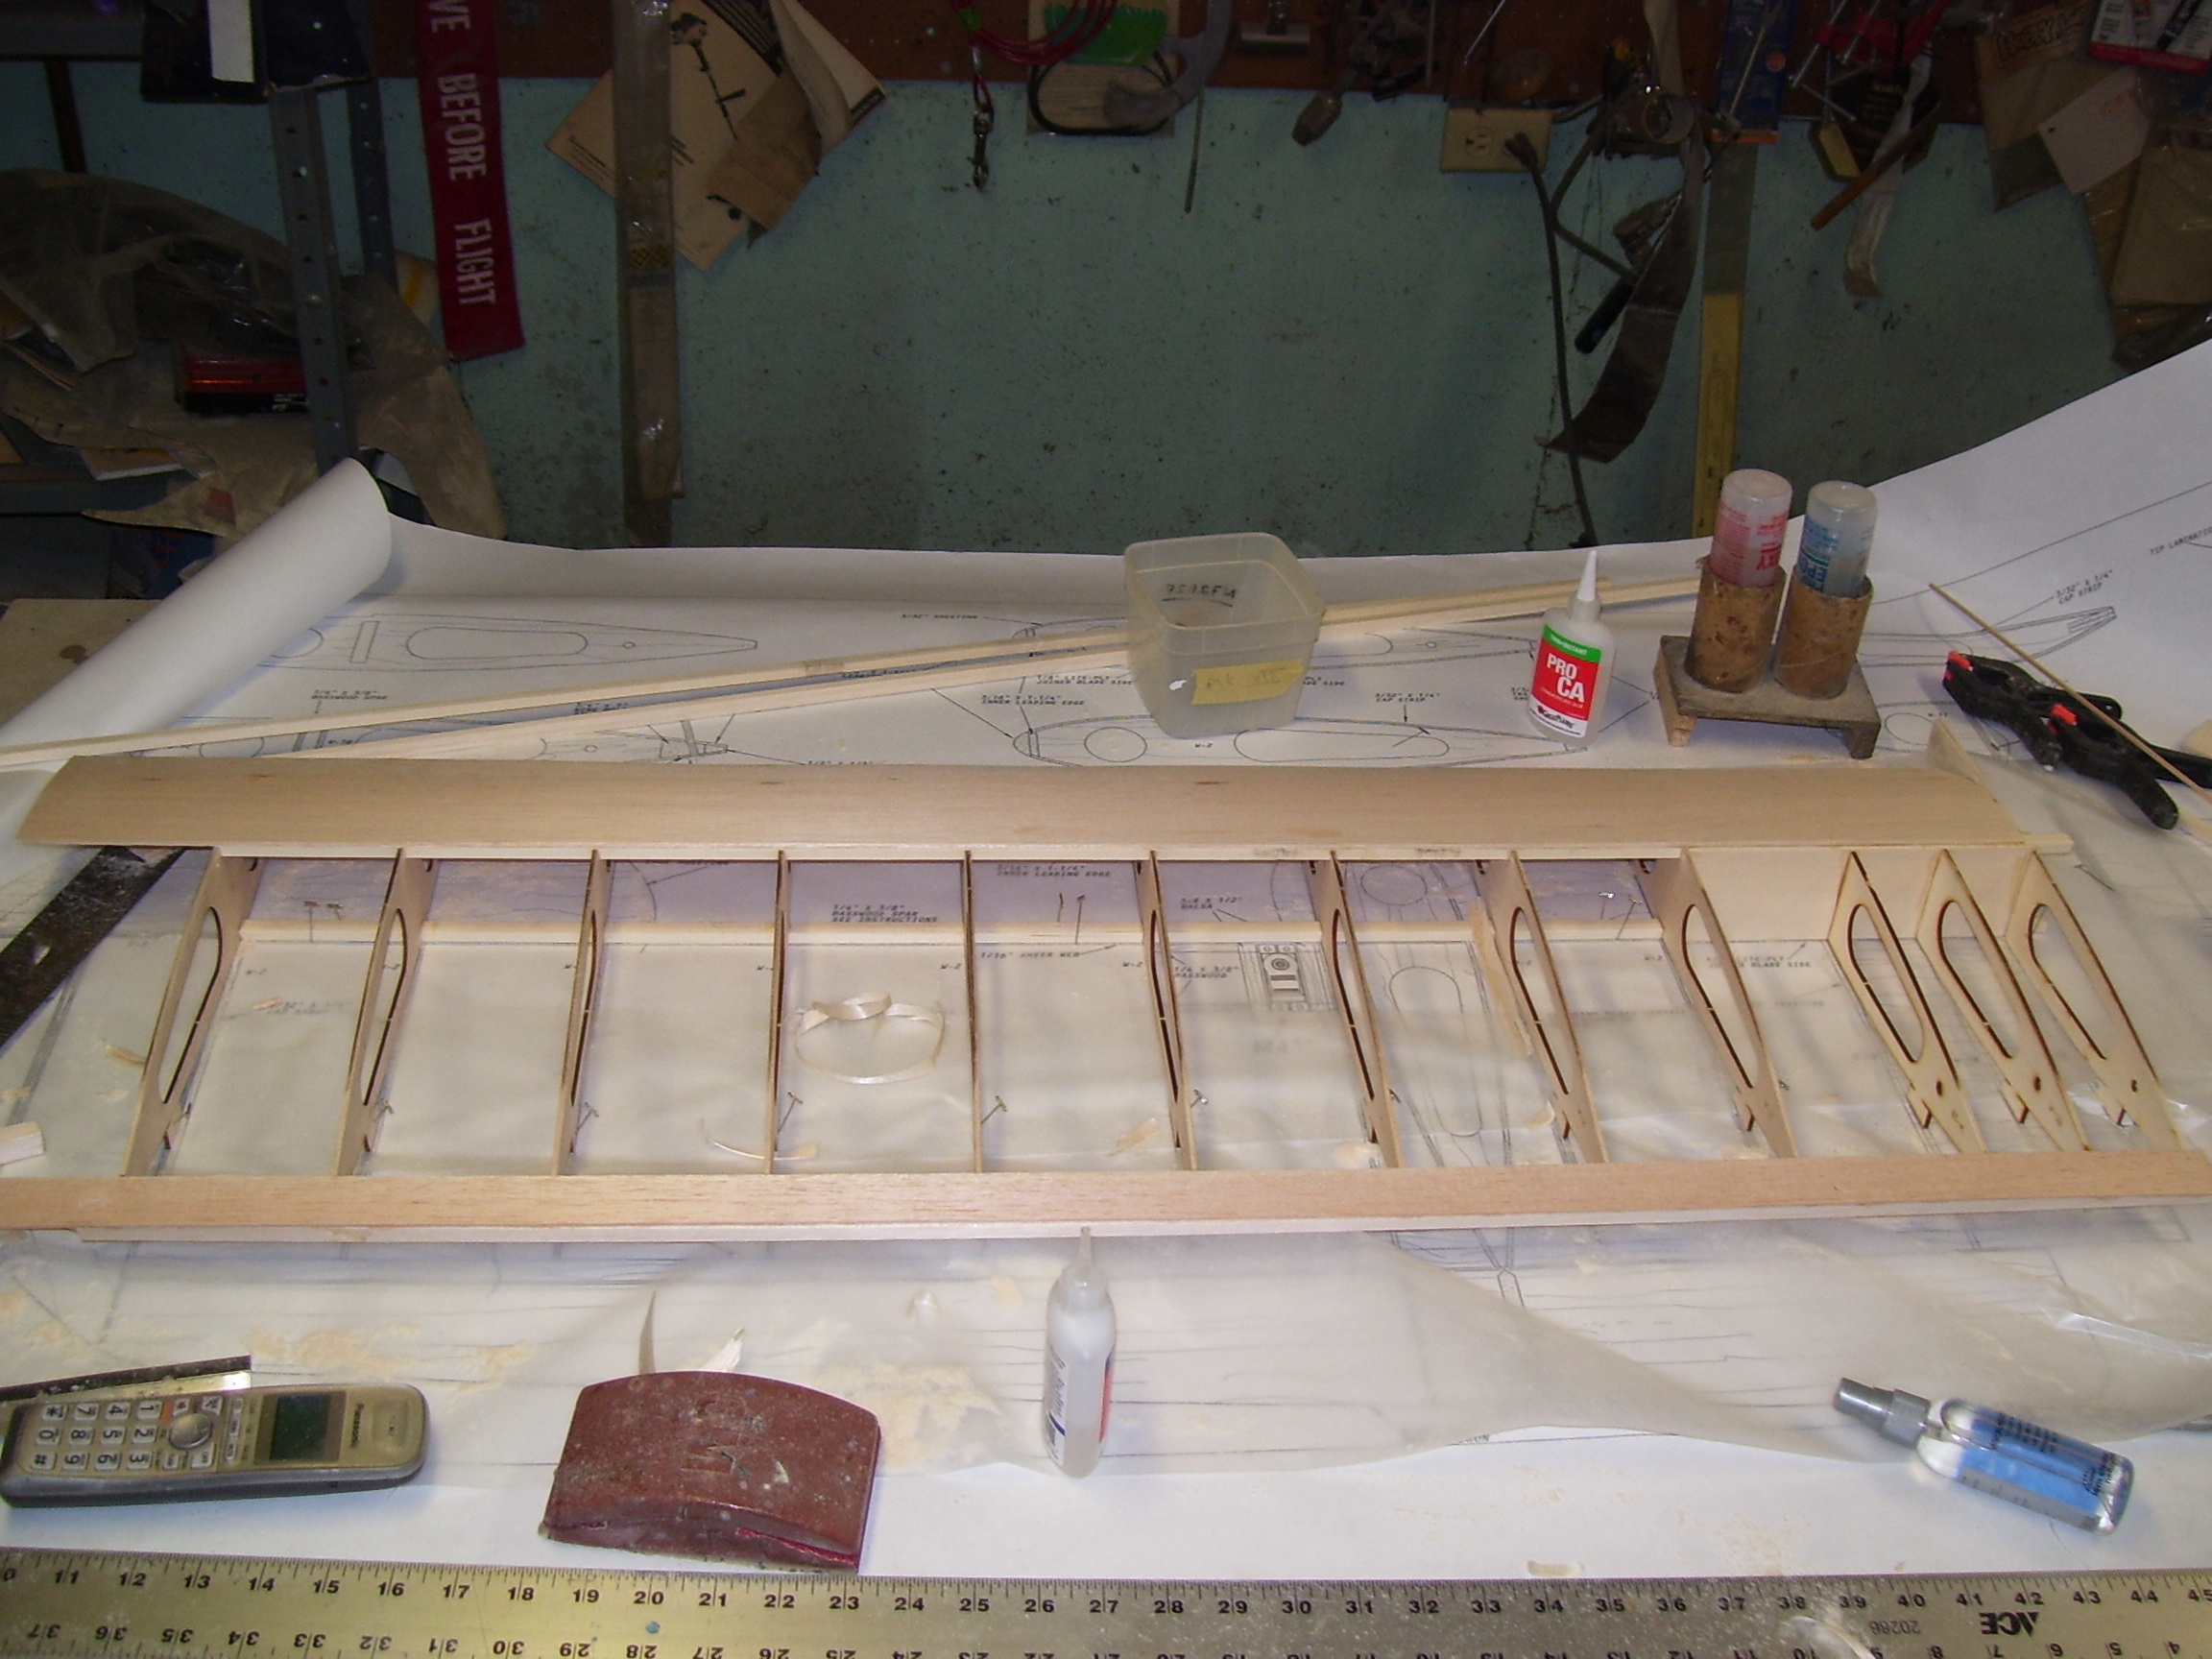
Install all the ribs, they are all identical and have allignment tabs on the bottom. You then install top spar, leading and trailing edge sheeting shear webbing, wing tip, and cap strips for the wing. You are then able to remove the wing and finish the bottom. Wing is very light and strong.
Attached Thumbnails Click image for larger version

Name:	Picture 2288.jpg
Views:	4099
Size:	1,010.2 KB
ID:	2188372   Click image for larger version

Name:	Picture 2289.jpg
Views:	4309
Size:	1.00 MB
ID:	2188373   Click image for larger version

Name:	Picture 2290.jpg
Views:	4239
Size:	1,013.0 KB
ID:	2188374   Click image for larger version

Name:	Picture 2291.jpg
Views:	4140
Size:	1,020.1 KB
ID:	2188375  
Old 10-31-2016, 09:42 AM
  #8  
Thread Starter
My Feedback: (427)
 
Join Date: Jan 2002
Location: N. Scituate, RI
Posts: 1,940
Likes: 0
Received 5 Likes on 4 Posts
Default

Hang in there guys. I'm taking a slight break from the Smoothie build to finish fiberglassing my 1/5 th scale Corsair. 86 in. span. I need the workbench to lay out the cloth. Will be back soon.
Thanks,
Fred
Attached Thumbnails Click image for larger version

Name:	Picture 2293.jpg
Views:	4015
Size:	1.01 MB
ID:	2188382   Click image for larger version

Name:	Picture 2294.jpg
Views:	4189
Size:	1.01 MB
ID:	2188383   Click image for larger version

Name:	Picture 2295.jpg
Views:	4234
Size:	1.01 MB
ID:	2188384  
Old 11-02-2016, 02:20 PM
  #9  
Thread Starter
My Feedback: (427)
 
Join Date: Jan 2002
Location: N. Scituate, RI
Posts: 1,940
Likes: 0
Received 5 Likes on 4 Posts
Default

OK guys, I have the Corsair all glassed, just need a second fill coat and prime and paint. This will be done in the spring when the weather is better.
Back to the Smoothie!!
Attached Thumbnails Click image for larger version

Name:	Picture 2296.jpg
Views:	4079
Size:	1.03 MB
ID:	2188645   Click image for larger version

Name:	Picture 2297.jpg
Views:	4078
Size:	1.02 MB
ID:	2188646   Click image for larger version

Name:	Picture 2298.jpg
Views:	4389
Size:	1.00 MB
ID:	2188647  
Old 11-03-2016, 01:08 PM
  #10  
Thread Starter
My Feedback: (427)
 
Join Date: Jan 2002
Location: N. Scituate, RI
Posts: 1,940
Likes: 0
Received 5 Likes on 4 Posts
Default

Right panel has been framed up exactly like the left one. The leading and trailing edge sheeting as well as the cap strips need to be installed on the bottom of the wing
Attached Thumbnails Click image for larger version

Name:	Picture 2299.jpg
Views:	4009
Size:	1,023.1 KB
ID:	2188785  
Old 11-03-2016, 01:14 PM
  #11  
Thread Starter
My Feedback: (427)
 
Join Date: Jan 2002
Location: N. Scituate, RI
Posts: 1,940
Likes: 0
Received 5 Likes on 4 Posts
Default

The left wing is complete except for servo trays and hinging of the flaps and ailerons. It's a good size wing and fits together nicely with the wing joiner.
Attached Thumbnails Click image for larger version

Name:	Picture 2300.jpg
Views:	3941
Size:	1,021.7 KB
ID:	2188786   Click image for larger version

Name:	Picture 2301.jpg
Views:	3931
Size:	1,019.4 KB
ID:	2188787   Click image for larger version

Name:	Picture 2302.jpg
Views:	3965
Size:	1.00 MB
ID:	2188788   Click image for larger version

Name:	Picture 2302.jpg
Views:	4002
Size:	1.00 MB
ID:	2188789   Click image for larger version

Name:	Picture 2303.jpg
Views:	3993
Size:	1.00 MB
ID:	2188790  
Old 11-03-2016, 03:53 PM
  #12  
 
RICKSTUBBZ's Avatar
 
Join Date: Oct 2007
Location: Hempstead, TX
Posts: 1,540
Received 31 Likes on 27 Posts
Default

Got any pictures of the wing joiner set up?
I had heard it builds as a two piece wing.
But from what I have seen in your pictures it looks as if it finishes out as a one piece wing?
Old 11-03-2016, 05:40 PM
  #13  
Thread Starter
My Feedback: (427)
 
Join Date: Jan 2002
Location: N. Scituate, RI
Posts: 1,940
Likes: 0
Received 5 Likes on 4 Posts
Default

Here you go. Two piece wing. I suppose if you wanted to you could glue it together.
Attached Thumbnails Click image for larger version

Name:	Picture 2304.jpg
Views:	3829
Size:	1,002.0 KB
ID:	2188813   Click image for larger version

Name:	Picture 2305.jpg
Views:	4044
Size:	991.2 KB
ID:	2188814   Click image for larger version

Name:	Picture 2306.jpg
Views:	3942
Size:	1.01 MB
ID:	2188815   Click image for larger version

Name:	Picture 2307.jpg
Views:	3850
Size:	1.00 MB
ID:	2188816   Click image for larger version

Name:	Picture 2308.jpg
Views:	3960
Size:	1.01 MB
ID:	2188817   Click image for larger version

Name:	Picture 2311.jpg
Views:	3877
Size:	1,008.4 KB
ID:	2188818  
Old 11-04-2016, 05:16 AM
  #14  
 
VincentJ's Avatar
 
Join Date: Mar 2011
Location: Hancock, NH
Posts: 4,583
Received 120 Likes on 108 Posts
Default

Nice work! I'm a little confused though, what holds the two wing halves together and stops them from separating in flight?

Last edited by VincentJ; 11-04-2016 at 06:13 AM.
Old 11-04-2016, 05:52 AM
  #15  
 
Join Date: Oct 2006
Location: Collierville, TN
Posts: 602
Likes: 0
Received 0 Likes on 0 Posts
Default

Each wing half has a 1/4" tab. Once the two halves are joined together with a 1/4" ply joiner (temporarily or permanently) they key into a 1/2" wide slot in a fuselage bulkhead, you can see all this in the images above but it's a different way to do things and I was initially confused until I got the kit (I'm at the same point in the build). Two conventional wing bolts at the trailing edge then hold the assembly together for flight. This isn't a 3D plane so this seems to be a perfectly reasonable and innovative wing attachment scheme.
Old 11-04-2016, 05:54 AM
  #16  
Thread Starter
My Feedback: (427)
 
Join Date: Jan 2002
Location: N. Scituate, RI
Posts: 1,940
Likes: 0
Received 5 Likes on 4 Posts
Default

Thanks, The tabs at the leading edge fit into a slot on the fuse bulkhead at the leading edge and then two wing bolts in the back lock everything in. Exactly like having a one piece wing with dowels in the front and hold down bolts in the back. Hope this helps.
Old 11-04-2016, 05:55 AM
  #17  
Thread Starter
My Feedback: (427)
 
Join Date: Jan 2002
Location: N. Scituate, RI
Posts: 1,940
Likes: 0
Received 5 Likes on 4 Posts
Default

Hi Pappy 35. I didn't see your reply, before I answered. I guess great minds think alike. LOL.
Thanks,
Fred
Old 11-04-2016, 06:02 AM
  #18  
 
VincentJ's Avatar
 
Join Date: Mar 2011
Location: Hancock, NH
Posts: 4,583
Received 120 Likes on 108 Posts
Default

Thanks for the explanation Pappy and Check6, yes it makes sense to me now. Not having seen the plans before I was wondering how this was accomplished.
Old 11-04-2016, 06:37 AM
  #19  
My Feedback: (17)
 
jwrich's Avatar
 
Join Date: Jul 2002
Location: Enid, OK
Posts: 1,031
Likes: 0
Received 11 Likes on 9 Posts
Default

Thanks for doing the construction thread. Years ago I build at least 3 Smoothies with K&B 40 engines, they were great flying planes. I built one the look like a P-51 and another a P-40. I'll be following your build. Maybe you should join the Balsa USA Brotherhood on this site.

Fair Winds & Happy Happy Flyin'
Rich
Old 11-04-2016, 08:09 AM
  #20  
Thread Starter
My Feedback: (427)
 
Join Date: Jan 2002
Location: N. Scituate, RI
Posts: 1,940
Likes: 0
Received 5 Likes on 4 Posts
Default

Originally Posted by jwrich
Thanks for doing the construction thread. Years ago I build at least 3 Smoothies with K&B 40 engines, they were great flying planes. I built one the look like a P-51 and another a P-40. I'll be following your build. Maybe you should join the Balsa USA Brotherhood on this site.

Fair Winds & Happy Happy Flyin'
Rich
Hi Rich, sounds good sign me up.
Thanks,
Fred
Old 11-04-2016, 08:38 AM
  #21  
My Feedback: (17)
 
jwrich's Avatar
 
Join Date: Jul 2002
Location: Enid, OK
Posts: 1,031
Likes: 0
Received 11 Likes on 9 Posts
Default

I'll sign you up Fred, just go over to the Balsa USA Brotherhood thread and check it out.

Fair Winds & Happy Flyin'
Rich
Old 11-04-2016, 10:49 AM
  #22  
Thread Starter
My Feedback: (427)
 
Join Date: Jan 2002
Location: N. Scituate, RI
Posts: 1,940
Likes: 0
Received 5 Likes on 4 Posts
Default

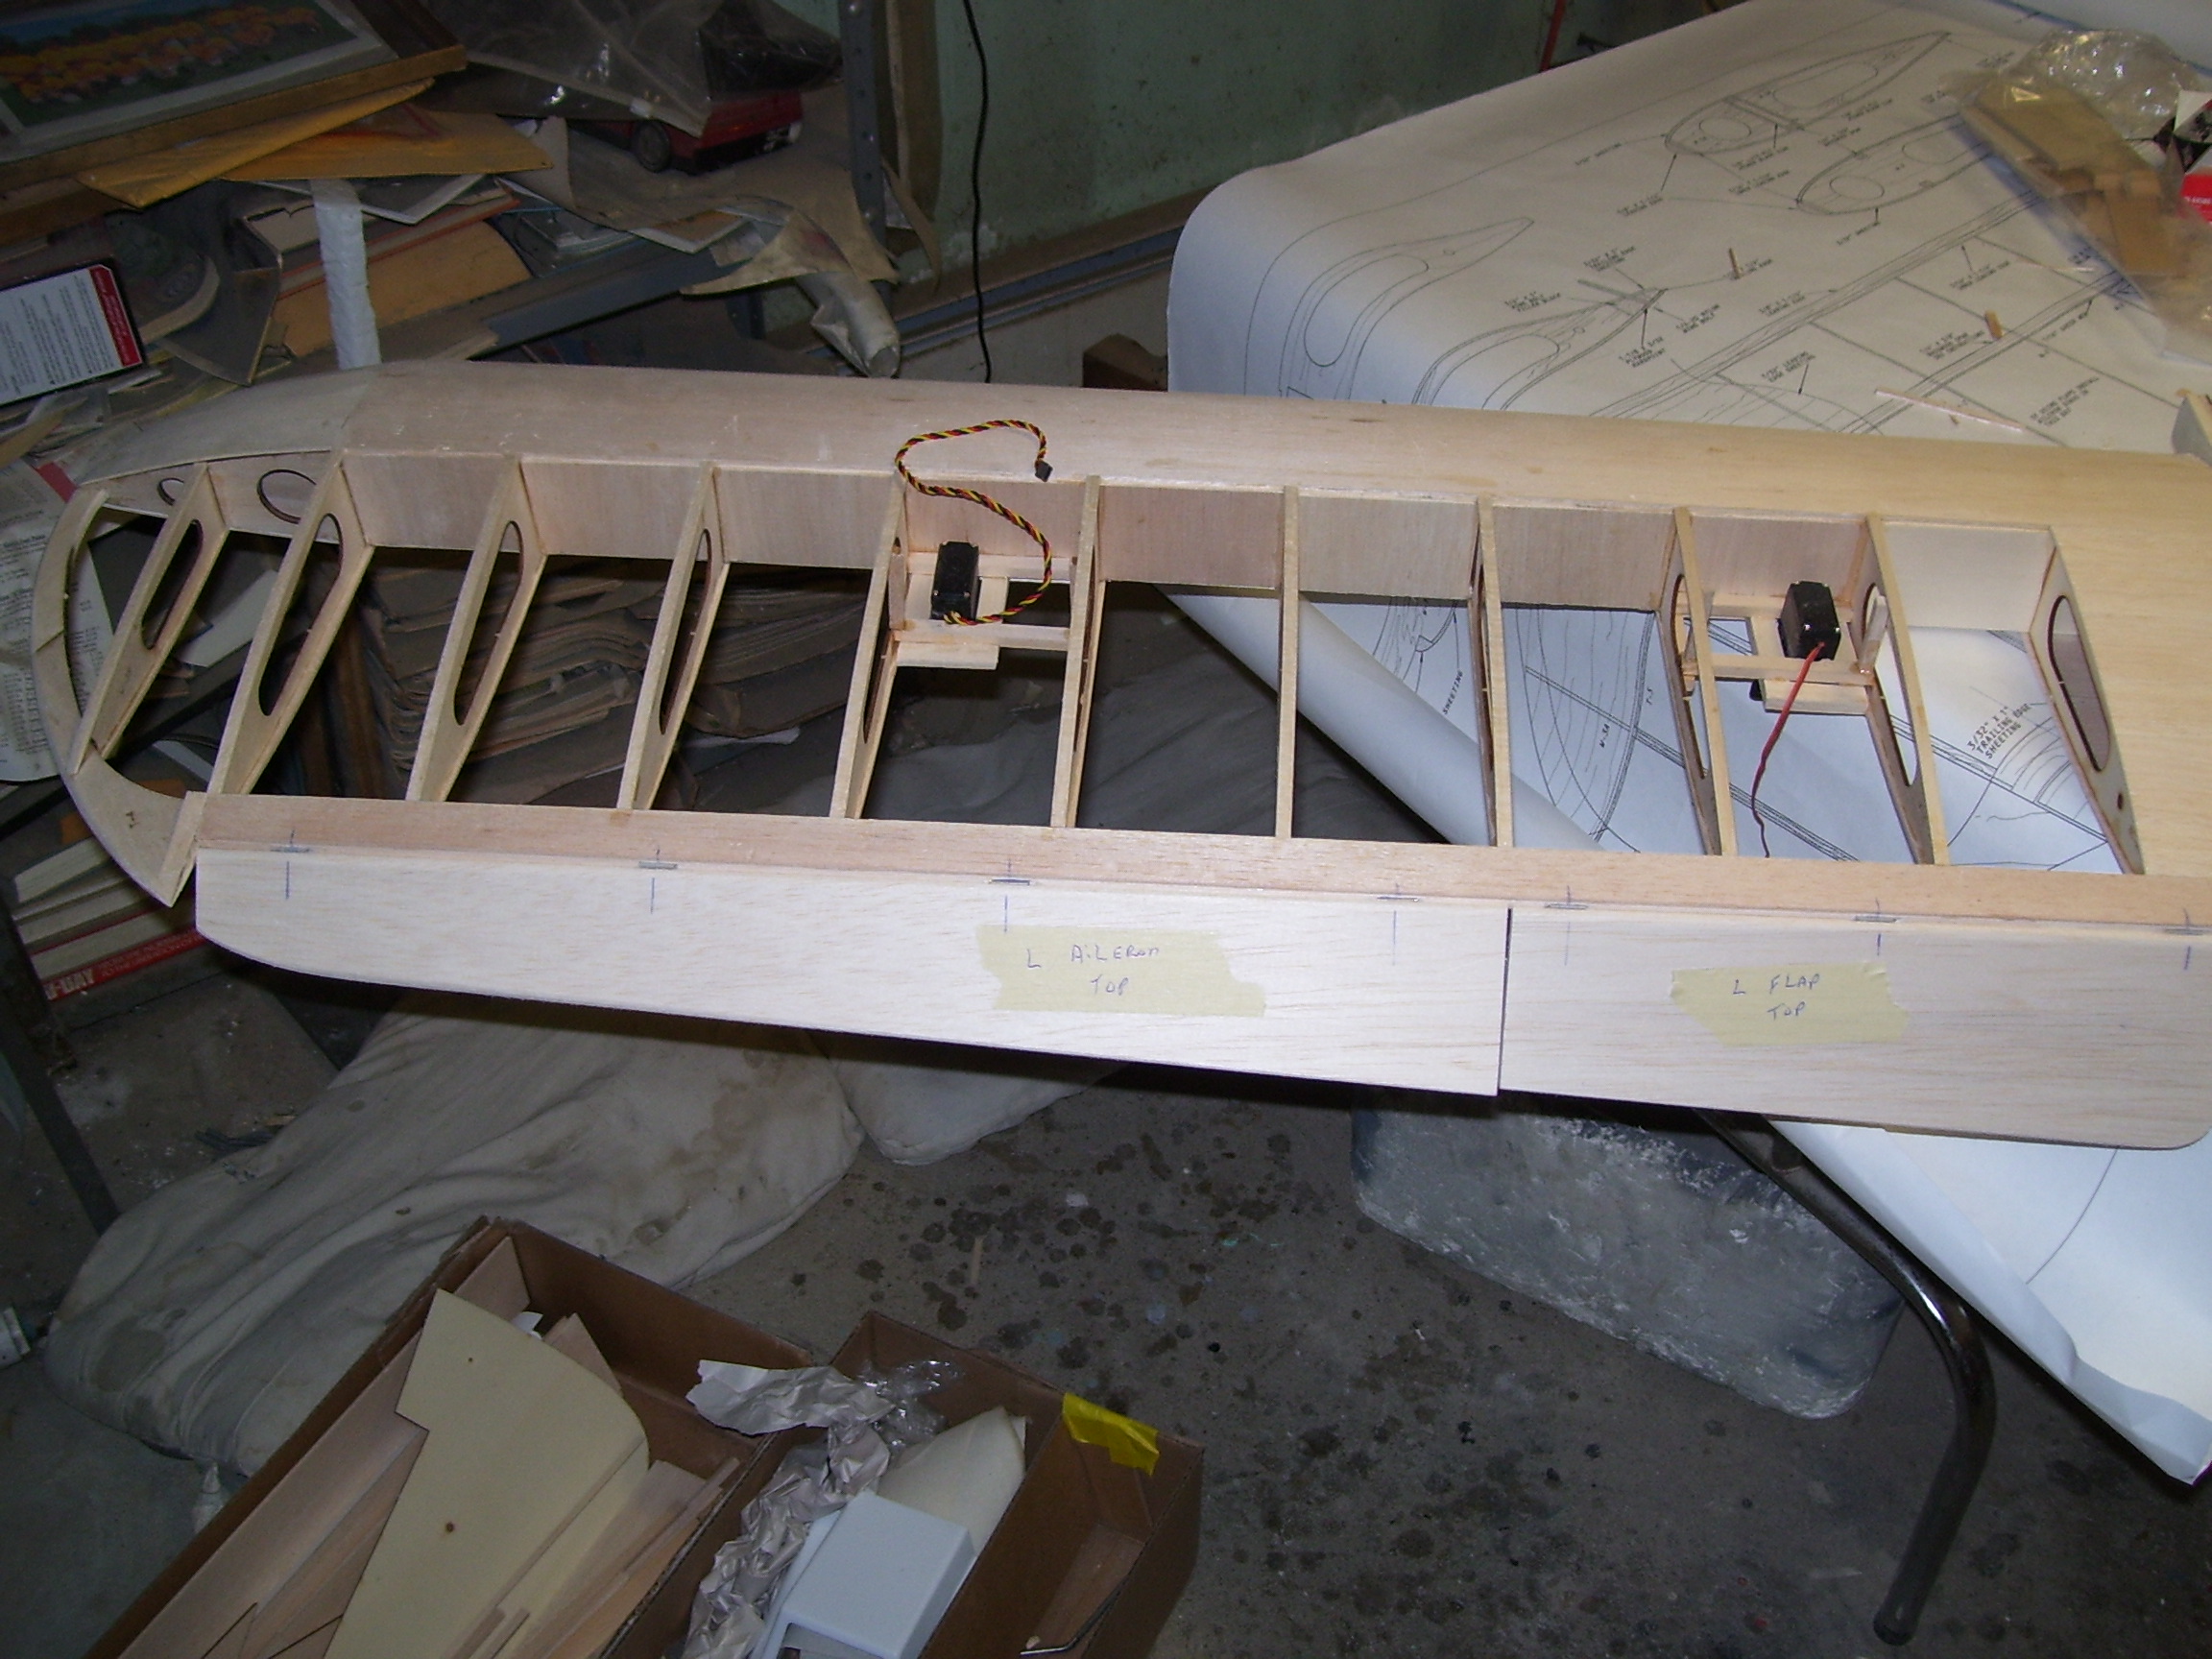
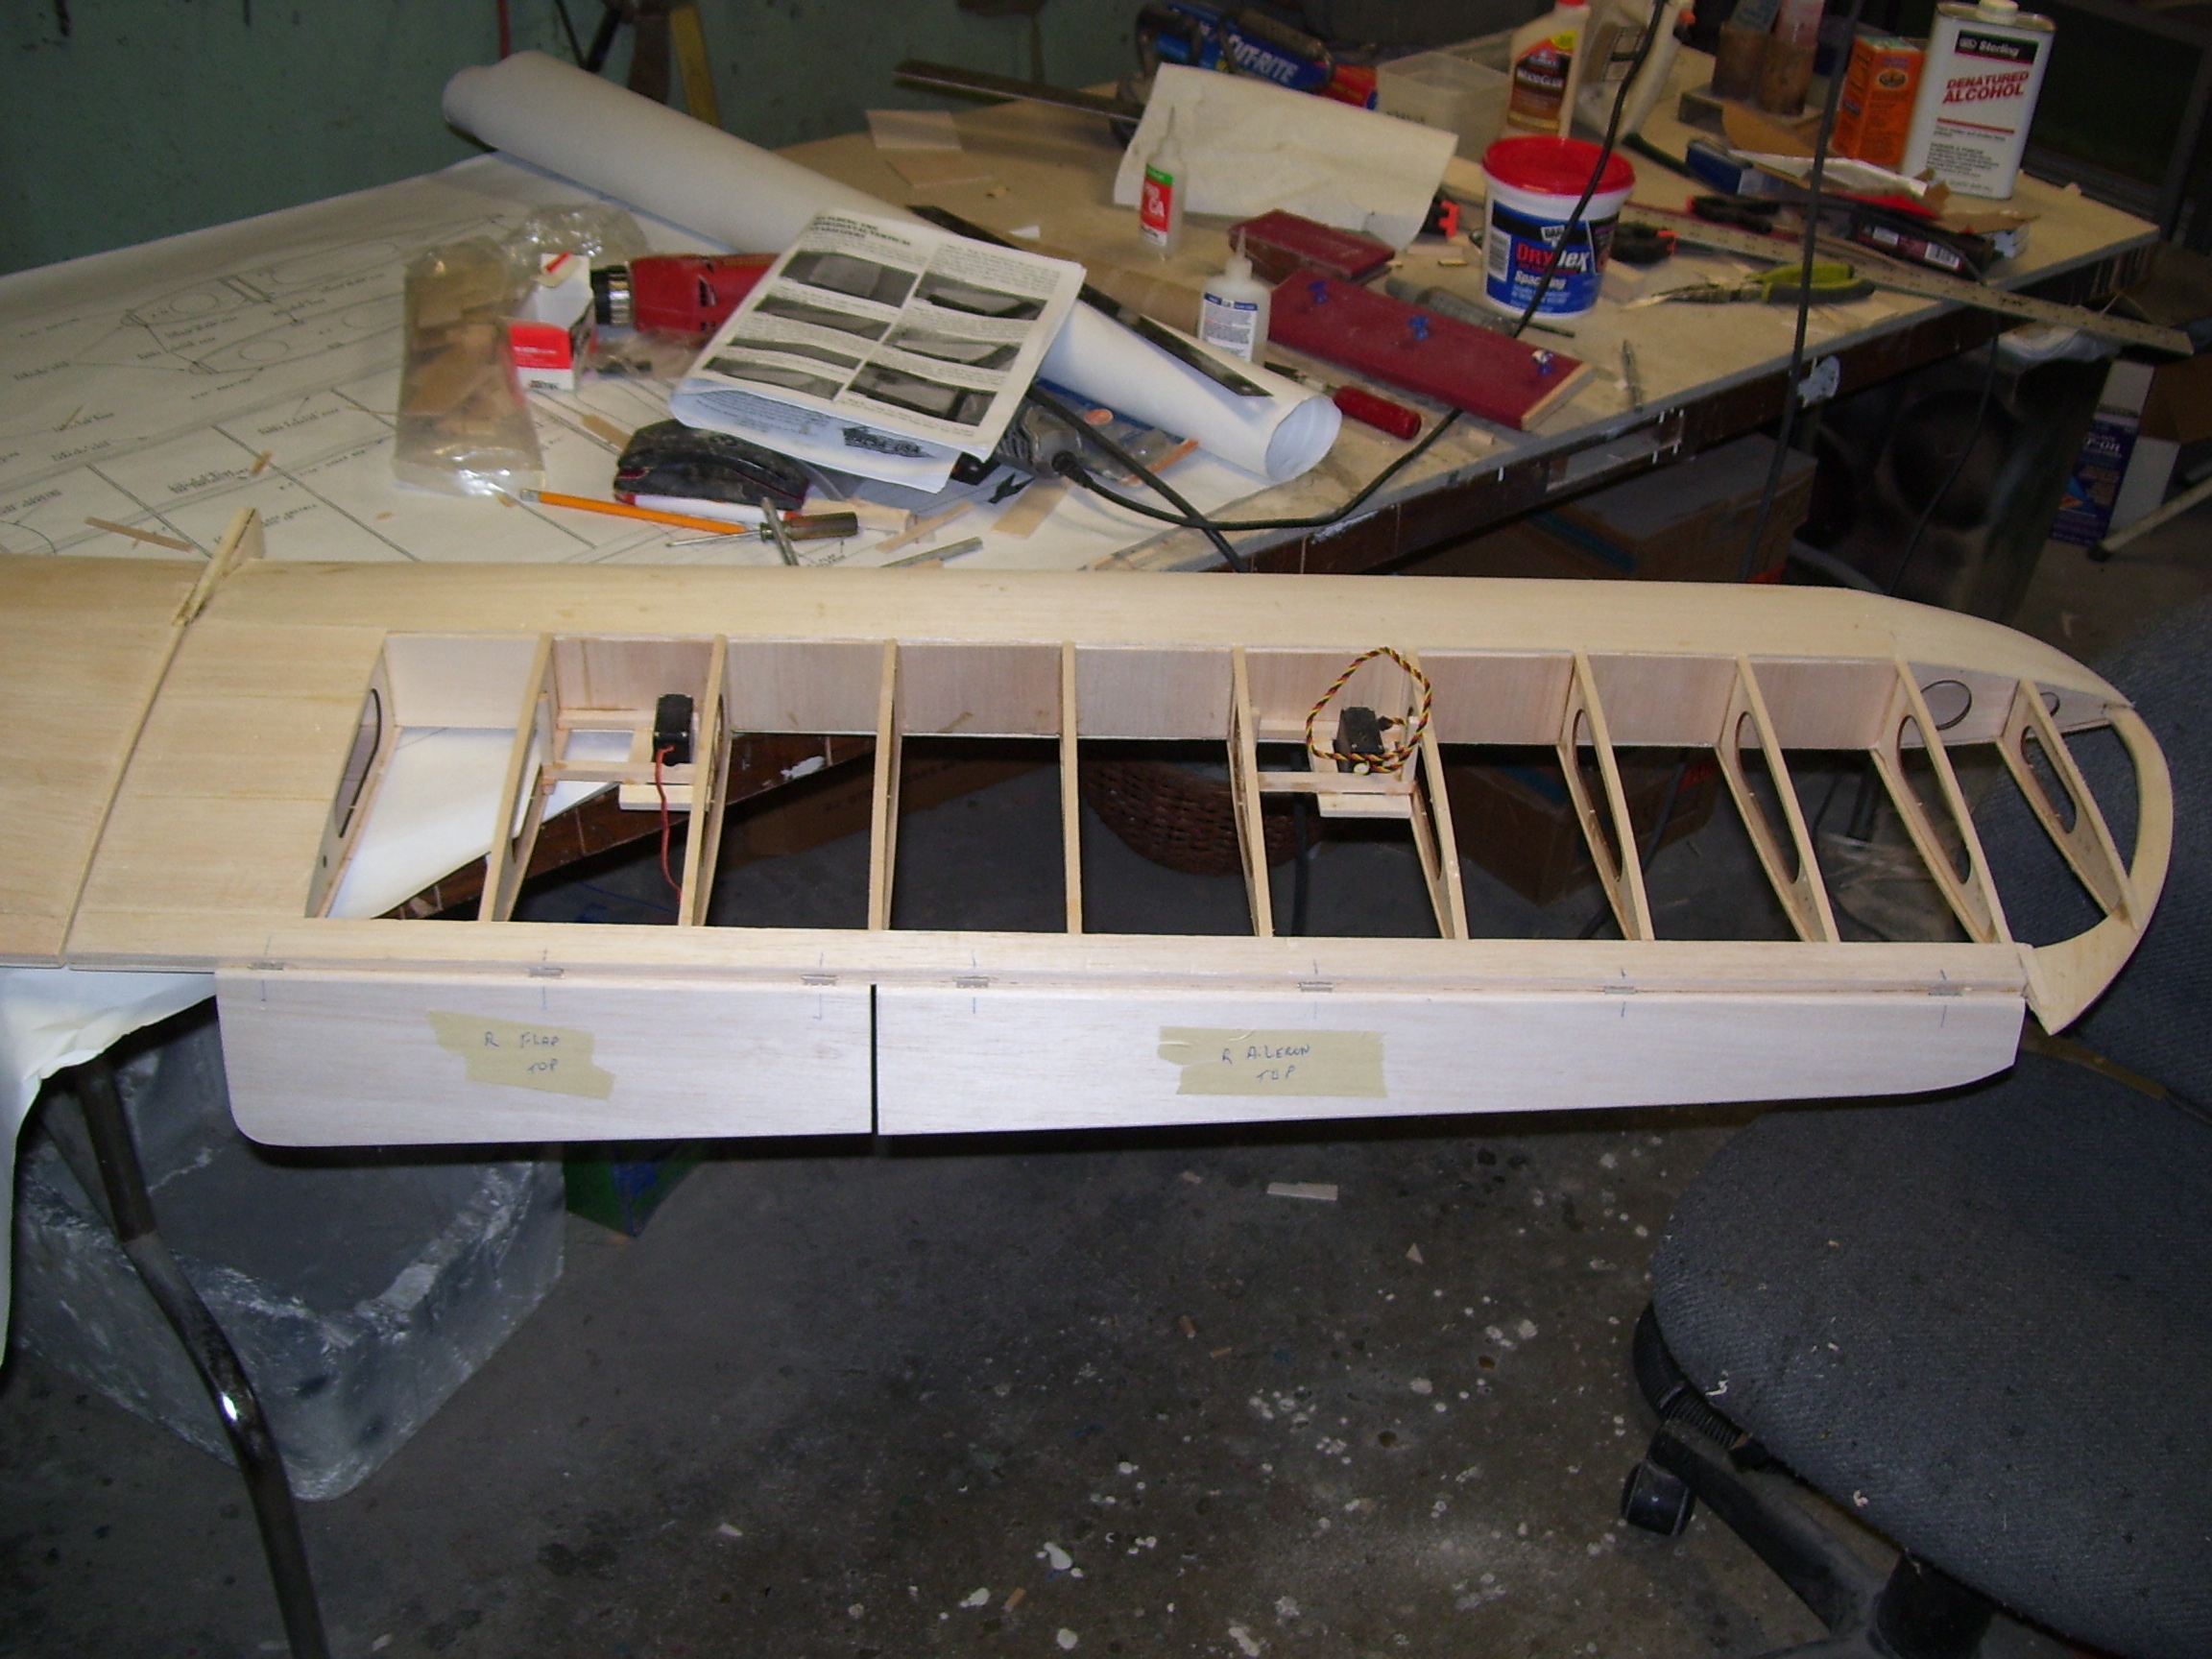
OK guys, I have the left wing panel construction complete. Servo rails are installed and servos temp mounted. flaps and ailerons are dry hinged. Starting on the right panel Servos are mounted on the bottom of the wing out in the open
Attached Thumbnails Click image for larger version

Name:	Picture 2312.jpg
Views:	3762
Size:	1,019.6 KB
ID:	2188901   Click image for larger version

Name:	Picture 2312.jpg
Views:	3844
Size:	1,019.6 KB
ID:	2188902   Click image for larger version

Name:	Picture 2313.jpg
Views:	3731
Size:	988.7 KB
ID:	2188903   Click image for larger version

Name:	Picture 2314.jpg
Views:	4015
Size:	1,007.9 KB
ID:	2188904  
Old 11-04-2016, 01:14 PM
  #23  
My Feedback: (38)
 
R/C Art's Avatar
 
Join Date: Jan 2003
Location: Shelbyville, IN
Posts: 2,043
Received 3 Likes on 3 Posts
Default

Hi, I'm signed in and watching. Have been interested in this plane but haven't pulled the trigger yet.
Thanks for presenting the build.
Art
Old 11-04-2016, 01:28 PM
  #24  
Thread Starter
My Feedback: (427)
 
Join Date: Jan 2002
Location: N. Scituate, RI
Posts: 1,940
Likes: 0
Received 5 Likes on 4 Posts
Default

Hi Art,
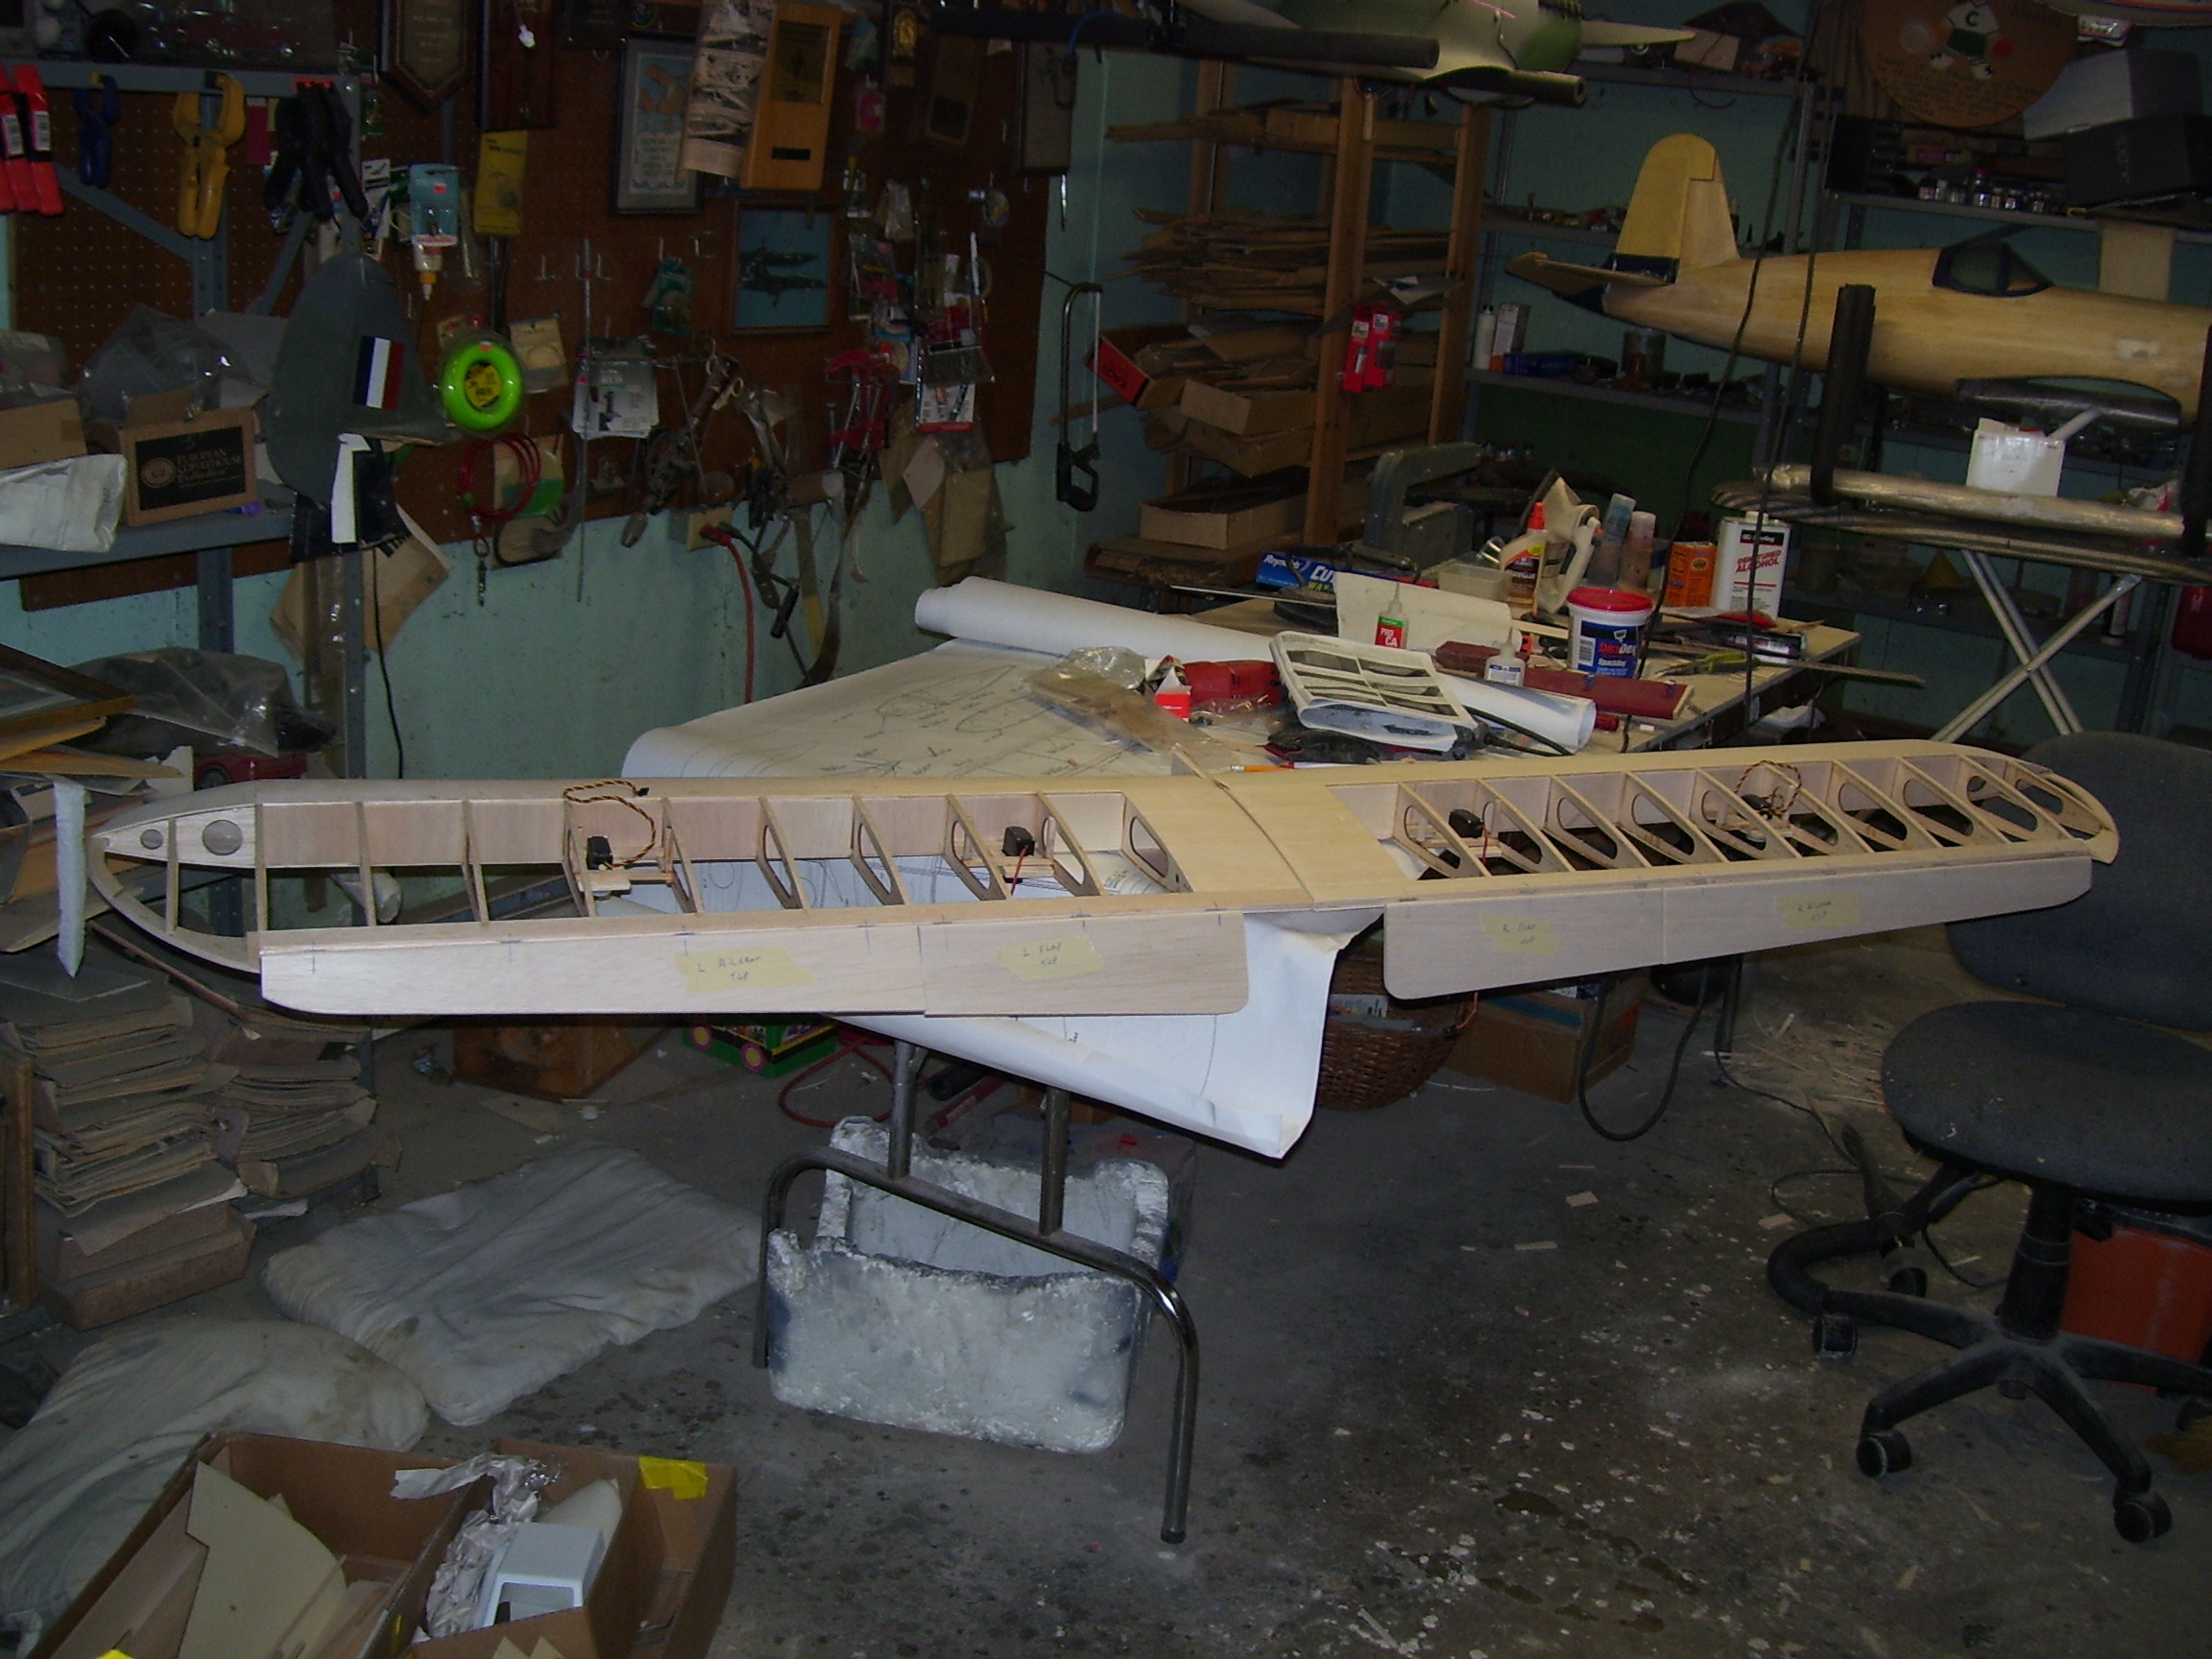
Go for it. This is a great kit you will enjoy it. I just finished both wing panels. Servos installed and ail and flaps hinged. Starting on the stab,elevators and fin and rudder. I have to laminate the leading and trailing edges of all the tail surfaces. Stay tuned.
Thanks,
Fred
Attached Thumbnails Click image for larger version

Name:	Picture 2315.jpg
Views:	3853
Size:	1.01 MB
ID:	2188912   Click image for larger version

Name:	Picture 2316.jpg
Views:	3948
Size:	1,012.6 KB
ID:	2188913   Click image for larger version

Name:	Picture 2317.jpg
Views:	3795
Size:	1,006.0 KB
ID:	2188914  
Old 11-04-2016, 02:37 PM
  #25  
 
smkrcflyer's Avatar
 
Join Date: Sep 2006
Location: Hamburg, PA
Posts: 1,015
Likes: 0
Received 0 Likes on 0 Posts
Default

Fred,
She is looking good. Are the flaps optional so that you could have a long aileron? I don't need the flaps.


Contact Us - Manage Preferences Archive - Advertising - Cookie Policy - Privacy Statement - Terms of Service

Copyright © 2024 MH Sub I, LLC dba Internet Brands. All rights reserved. Use of this site indicates your consent to the Terms of Use.